How To Install TeamViewer on openSUSE

In this tutorial, we will show you how to install TeamViewer on openSUSE. TeamViewer is a connectivity software platform that enables remote access, control, management, monitoring, and repair of devices. It was founded in 2005 by the German company TeamViewer AG and has been installed on over 2 billion devices globally.
Some key features of TeamViewer:
- It facilitates remote desktop support, online meetings, web conferencing, file sharing, etc. This allows IT professionals to provide technical support and employees to collaborate remotely.
- It integrates with platforms like Microsoft Teams, Salesforce, SAP, etc. This improves workflow efficiencies for businesses.
- It offers robust security with encryption, two-factor authentication, trusted devices, etc. This makes remote connections highly secure.
- It has customizable enterprise solutions for asset management, IT monitoring, cybersecurity, etc. This helps manage IT infrastructure effectively.
- It is compatible across platforms like Windows, macOS, Linux, iOS, Android, etc. This provides flexibility to connect various devices.
This article assumes you have at least basic knowledge of Linux, know how to use the shell, and most importantly, you host your site on your own VPS. The installation is quite simple and assumes you are running in the root account, if not you may need to add ‘sudo‘ to the commands to get root privileges. I will show you the step-by-step installation of the TeamViewer on openSUSE.
Prerequisites
- A server running one of the following operating systems: openSUSE.
- It’s recommended that you use a fresh OS install to prevent any potential issues.
- You will need access to the terminal to execute commands. openSUSE provides the Terminal application for this purpose. It can be found in your Applications menu.
- You’ll need an active internet connection to download TeamViewer and its dependencies.
- You’ll need administrative (root) access or a user account with sudo privileges.
Install TeamViewer on openSUSE
Step 1. The first step in any installation process is to ensure your system is up-to-date. On openSUSE Linux, this can be achieved using the zypper package manager. Open your terminal and type the following command:
sudo zypper refresh
sudo zypper update
Step 2. Enabling SUSE Package Hub.
The SUSE Package Hub is a repository of software packages that can be installed on SUSE systems. To enable it, use the SUSEConnect command as follows:
SUSEConnect -p PackageHub/15.2/x86_64
Replace 15.2 and x86_64 with your openSUSE version and system architecture respectively.
Step 3. Installing TeamViewer on openSUSE.
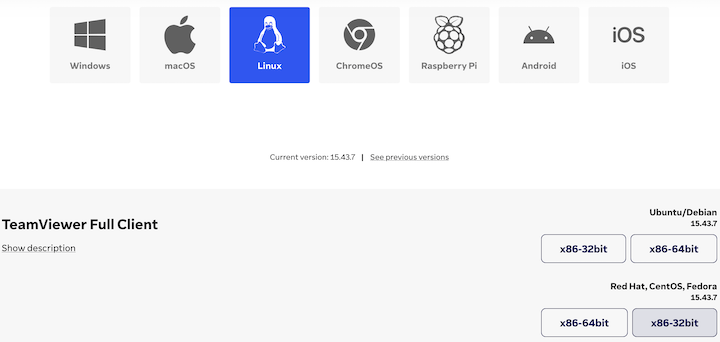
Next, download the TeamViewer package for openSUSE. You can do this by visiting the official TeamViewer downloads page or by using the wget command in the terminal:

wget https://download.teamviewer.com/download/linux/teamviewer-suse.x86_64.rpm
Once the download is complete, use the zypper command to install the downloaded TeamViewer package:
zypper install ./teamviewer-suse.x86_64.rpm
Step 4. Starting and Using TeamViewer on openSUSE.
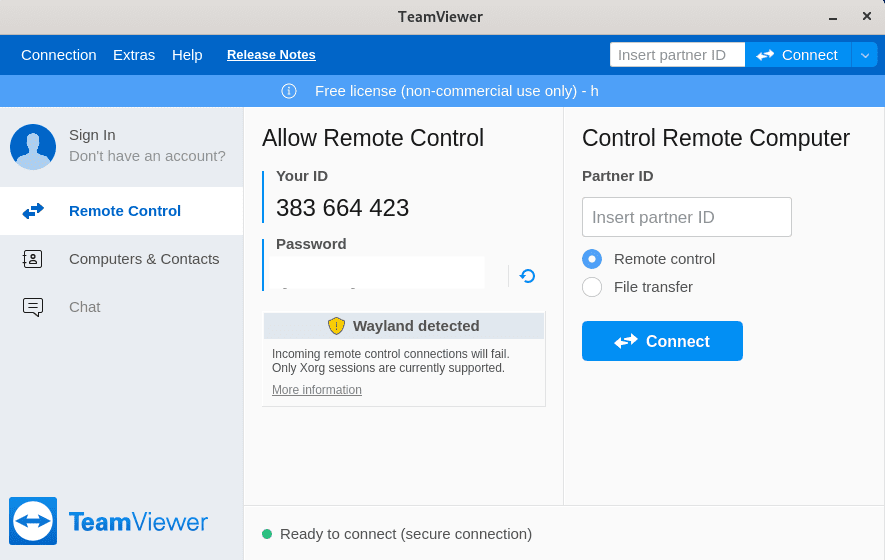
Once TeamViewer is installed and configured, you can start it using the teamviewer command in the terminal. To connect to a remote system, you’ll need the TeamViewer ID of the system you want to connect to. Enter this ID in the TeamViewer interface, and you’ll be able to control the remote system as if you were sitting in front of it.

Congratulations! You have successfully installed TeamViewer. Thanks for using this tutorial for installing TeamViewer on your openSUSE system. For additional or useful information, we recommend you check the official TeamViewer website.