How To Install TeamViewer on Ubuntu 24.04 LTS

In this tutorial, we will show you how to install TeamViewer on Ubuntu 24.04 LTS. TeamViewer is a powerful remote desktop application that allows users to access and control remote computers securely over the internet. With its user-friendly interface and robust feature set, TeamViewer has become a go-to solution for remote support, collaboration, and file sharing.
This article assumes you have at least basic knowledge of Linux, know how to use the shell, and most importantly, you host your site on your own VPS. The installation is quite simple and assumes you are running in the root account, if not you may need to add ‘sudo‘ to the commands to get root privileges. I will show you the step-by-step installation of the TeamViewer remote desktop software on Ubuntu 24.04 (Noble Numbat). You can follow the same instructions for Ubuntu 22.04 and any other Debian-based distribution like Linux Mint, Elementary OS, Pop!_OS, and more as well.
Prerequisites
- A server running one of the following operating systems: Ubuntu and any other Debian-based distribution like Linux Mint.
- It’s recommended that you use a fresh OS install to prevent any potential issues.
- SSH access to the server (or just open Terminal if you’re on a desktop).
- An active internet connection. You’ll need an internet connection to download the necessary packages and dependencies.
- An Ubuntu 24.04 system with root access or a user with sudo privileges.
Install TeamViewer on Ubuntu 24.04 LTS Noble Numbat
Step 1. Updating the Package Repository.
Before installing TeamViewer, it’s a good practice to update your system’s package list and upgrade any existing packages to their latest versions. Open a terminal and execute the following commands:
sudo apt update
sudo apt upgrade
This command will fetch the latest package information from the Ubuntu repositories, allowing you to install the most recent version of TeamViewer and its dependencies. Updating the package repository is crucial to maintaining the security and stability of your system.
Step 2. Installing TeamViewer on Ubuntu 24.04.
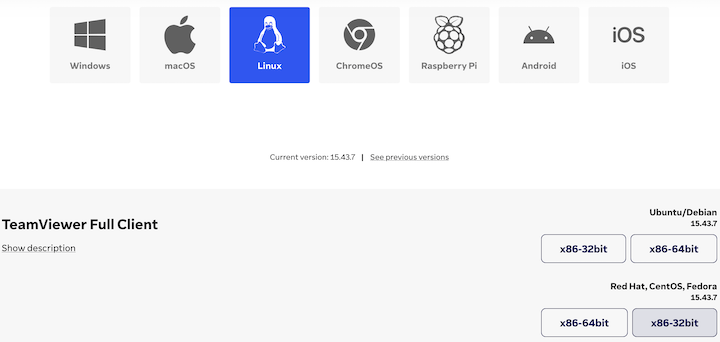
Visit the official TeamViewer website and navigate to the Linux downloads section. Select the appropriate package for your Ubuntu 24.04 system (32-bit or 64-bit) and download the .deb file.

Alternatively, you can use the command line to download the package directly. Open a terminal and run the following command below:
wget https://download.teamviewer.com/download/linux/teamviewer_amd64.deb
To install the downloaded TeamViewer package, you can use either the graphical user interface or the terminal. If you prefer the graphical method, simply double-click on the downloaded .deb file and follow the prompts in the Ubuntu Software Center.
For terminal-based installation, navigate to the directory where you downloaded the package and run the following command:
sudo dpkg -i teamviewer_amd64.deb
If you encounter any dependency errors during the installation process, run the following command to resolve them:
sudo apt --fix-broken install
Step 3. Accessing TeamViewer on Ubuntu.
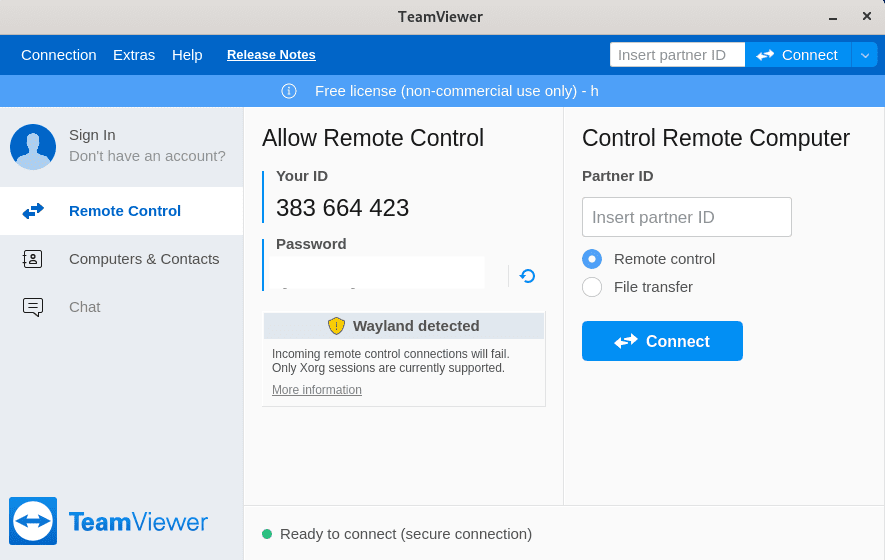
Once the installation is complete, you can verify that TeamViewer is installed correctly by launching the application from your Ubuntu 24.04 applications menu. Alternatively, you can run the following command in the terminal:
teamviewer

As you continue to use TeamViewer, be sure to explore its various features and settings to make the most of your remote access experience. Keep your installation up to date, adhere to security best practices, and don’t hesitate to reach out to the TeamViewer community or official support channels if you need further assistance.
Congratulations! You have successfully installed TeamViewer. Thanks for using this tutorial for installing the TeamViewer remote desktop software on the Ubuntu 24.04 LTS system. For additional help or useful information, we recommend you check the TeamViewer website.