In this tutorial, we will show you how to install Thunderbird on Ubuntu 20.04 LTS. For those of you who didn’t know, Thunderbird has been around since 2003 and has evolved into a powerful email client with a strong focus on security, privacy, and user experience. One of its standout features is built-in OpenPGP encryption, which allows you to send and receive encrypted emails, ensuring your communication remains secure and private. Additionally, Thunderbird supports multiple email accounts, making it easy to manage both personal and professional emails from a single interface.
The user interface of Thunderbird is highly customizable, allowing you to tailor the look and feel to your preferences. You can choose from a variety of themes, adjust the layout, and even create your own custom views. Thunderbird also offers a range of add-ons and extensions, further enhancing its functionality and allowing you to extend its capabilities to suit your specific needs.
This article assumes you have at least basic knowledge of Linux, know how to use the shell, and most importantly, you host your site on your own VPS. The installation is quite simple and assumes you are running in the root account, if not you may need to add ‘sudo‘ to the commands to get root privileges. I will show you the step-by-step installation of Thunderbird Email Client on Ubuntu 20.04 (Focal Fossa). You can follow the same instructions for Ubuntu 18.04, 16.04, and any other Debian-based distribution like Linux Mint.
Prerequisites
- A server running one of the following operating systems: Ubuntu 20.04, 18.04, 16.04, and any other Debian-based distribution like Linux Mint.
- It’s recommended that you use a fresh OS install to prevent any potential issues.
- SSH access to the server (or just open Terminal if you’re on a desktop).
- A
non-root sudo useror access to theroot user. We recommend acting as anon-root sudo user, however, as you can harm your system if you’re not careful when acting as the root.
Install Thunderbird on Ubuntu 20.04 LTS Focal Fossa
Step 1. First, recommended to update your system repositories before installing any new software. This ensures that you have access to the latest package versions and security updates. You can update your repositories by running the following commands in the terminal:
sudo apt update
sudo apt upgrade
Step 2. Installing Thunderbird in Ubuntu 20.04.
- Install Thunderbird from the default Ubuntu repository:
The easiest way to install Thunderbird on Ubuntu 20.04 is through the APT package manager. APT is the default package management system for Ubuntu and most other Debian-based distributions. To install Thunderbird using APT, open the terminal and run the following command:
sudo apt install thunderbird
- Install Thunderbird via Snap:
Snap is a universal package management system developed by Canonical, the company behind Ubuntu. Snap packages are self-contained and isolated from the rest of the system, ensuring a consistent experience across different Linux distributions. To install Thunderbird using Snap, open the terminal and run the following command:
sudo apt install snapd
sudo snap install thunderbird
Step 3. Accessing Thunderbird on Ubuntu.
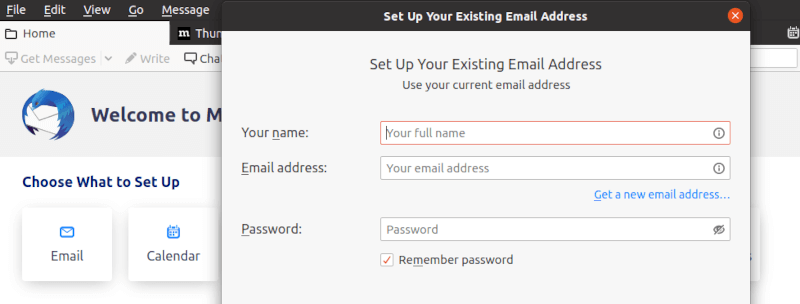
Once successfully installed, Thunderbird can be accessed either through Systems’ main Menu or from the terminal (issue thunderbird in terminal to run the application):
thunderbird

Congratulations! You have successfully installed Thunderbird. Thanks for using this tutorial for installing the Thunderbird email client on Ubuntu 20.04 LTS Focal Fossa system. For additional help or useful information, we recommend you check the official Thunderbird website.