In this tutorial, we will show you how to install and configuration of uTorrent on your Ubuntu 16.04. For those of you who didn’t know, uTorrent is a freeware and a closed source BitTorrent Client. One of the most used lightweight BitTorrent Client, Now it is available for Linux as a uTorrent server. The µTorrent is designed to use minimal computer resources while offering functionality comparable to larger BitTorrent clients such as Vuze or BitComet and also it provides performance, stability, and support for older hardware and versions of the operating system. It is available for Microsoft Windows and Mac OS X.
This article assumes you have at least basic knowledge of Linux, know how to use the shell, and most importantly, you host your site on your own VPS. The installation is quite simple and assumes you are running in the root account, if not you may need to add ‘sudo‘ to the commands to get root privileges. I will show you the step-by-step installation uTorrent on a Ubuntu 16.04 server.
Prerequisites
- A server running one of the following operating systems: Ubuntu 16.04, and any other Debian-based distribution like Linux Mint.
- It’s recommended that you use a fresh OS install to prevent any potential issues.
- SSH access to the server (or just open Terminal if you’re on a desktop).
- A
non-root sudo useror access to theroot user. We recommend acting as anon-root sudo user, however, as you can harm your system if you’re not careful when acting as the root.
Install uTorrent on Ubuntu 16.04
Step 1. First, make sure that all your system packages are up-to-date by running the following apt-get commands in the terminal.
sudo apt-get update
sudo apt-get upgrade
Step 2. Install the dependency library.
Open Terminal and run the following command to install dependency libraries. Assign the password for the user when asked:
sudo apt-get install libssl1.0.0 libssl-dev
Step 3. Installing uTorrent.
The first thing to do is to go to uTorrent’s download page and download the latest stable version of uTorrent, At the moment of writing this article it is version 3.3:
### 32 bit ###
wget http://download-new.utorrent.com/endpoint/utserver/os/linux-i386-ubuntu-13-04/track/beta/ -O utserver.tar.gz

### 64 bit ###
wget http://download-new.utorrent.com/endpoint/utserver/os/linux-x64-ubuntu-13-04/track/beta/ -O utserver.tar.gz
Move the downloaded tar.gz directory to /opt directory. Run the following commands or you can also do it manually:
sudo tar -zxvf utserver.tar.gz -C /opt/
Set executable permission to the extracted directory for running the uTorrent server:
sudo chmod 777 /opt/utorrent-server-alpha-v3_3/
Run the command to link the uTorrent server to the /user/bin directory:
sudo ln -s /opt/utorrent-server-alpha-v3_3/utserver /usr/bin/utserver
Finally, start the uTorrent Server by executing the following command:
utserver -settingspath /opt/utorrent-server-alpha-v3_3/ &
Step 4. Accessing uTorrent.
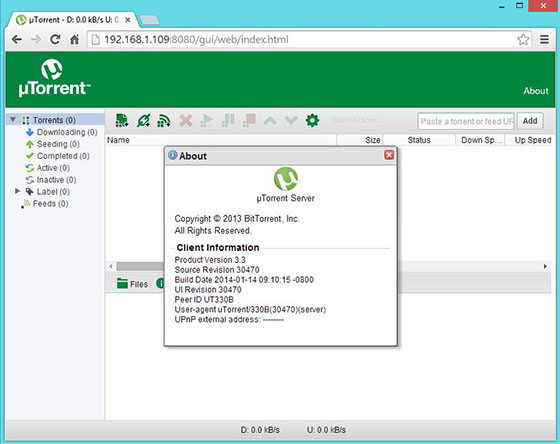
uTorrent will be available on HTTP port 8080 by default. Open your favorite browser and navigate to http://yourdomain.com:8080 or http://your-ip-address:8080/gui. It will ask you for the username and password. The default username is admin and leaves the password field empty. Also, if you are using a firewall, please open port 8080 to enable access to the control panel.

Congratulations! You have successfully installed uTorrent. Thanks for using this tutorial for installing μTorrent (uTorrent) in Ubuntu 16.04 systems. For additional help or useful information, we recommend you check the official uTorrent website.