How To Install Viber on Ubuntu 22.04 LTS

In this tutorial, we will show you how to install Viber on Ubuntu 22.04 LTS. For those of you who didn’t know, Viber is the ultimate messaging and VoIP application that lets you connect with friends and family across the globe for free. And the best part? It’s available on various platforms, including the widely popular Linux-based operating system, Ubuntu 22.04. So, are you ready to step up your messaging and calling the game? Let’s dive in and install Viber on Ubuntu 22.04.
This article assumes you have at least basic knowledge of Linux, know how to use the shell, and most importantly, you host your site on your own VPS. The installation is quite simple and assumes you are running in the root account, if not you may need to add ‘sudo‘ to the commands to get root privileges. I will show you the step-by-step installation of Viber instant messaging and VoIP application on Ubuntu 22.04 (Jammy Jellyfish). You can follow the same instructions for Ubuntu 22.04 and any other Debian-based distribution like Linux Mint, Elementary OS, Pop!_OS, and more as well.
Prerequisites
- A server running one of the following operating systems: Ubuntu 22.04, 20.04, and any other Debian-based distribution like Linux Mint.
- It’s recommended that you use a fresh OS install to prevent any potential issues.
- SSH access to the server (or just open Terminal if you’re on a desktop).
- An active internet connection. You’ll need an internet connection to download the necessary packages and dependencies for Viber.
- A
non-root sudo useror access to theroot user. We recommend acting as anon-root sudo user, however, as you can harm your system if you’re not careful when acting as the root.
Install Viber on Ubuntu 22.04 LTS Jammy Jellyfish
Step 1. Before proceeding with the installation, it’s recommended to update your system’s package index and upgrade any existing packages to their latest versions. Open the terminal and enter the following commands:
sudo apt update
sudo apt upgrade
sudo apt install wget apt-transport-https gnupg2 software-properties-common
Step 2. Installing Viber on Ubuntu 22.04.
- Method 1. Install Viber using the official .deb package √
Next, you’ll need to download the official Viber .deb package using the wget command. In the terminal, enter the following:
wget https://download.cdn.viber.com/cdn/desktop/Linux/viber.deb
Next, open a terminal window navigate to the directory where the .deb package was downloaded, and install the package using the following command:
sudo dpkg -i viber.deb
If there are any missing dependencies, you can install them using the following command:
sudo apt -f install
- Method 2. Install Viber using Flatpak √
Flatpak is a universal packaging system that allows you to install applications across different Linux distributions. You can install Flatpak on Ubuntu 22.04 LTS using the following command:
sudo apt install flatpak
After installing Flatpak, you need to add the Flathub repository to your system using the following command:
flatpak remote-add --if-not-exists flathub https://flathub.org/repo/flathub.flatpakrepo
Verify Flatpak installation:
flatpak – version
Once Flatpak is installed on your system, you can install Viber using the following command:
flatpak install flathub com.viber.Viber
For additional resources on installing Flatpak, read the post below:
Step 3. Accessing Viber on Ubuntu 22.04.
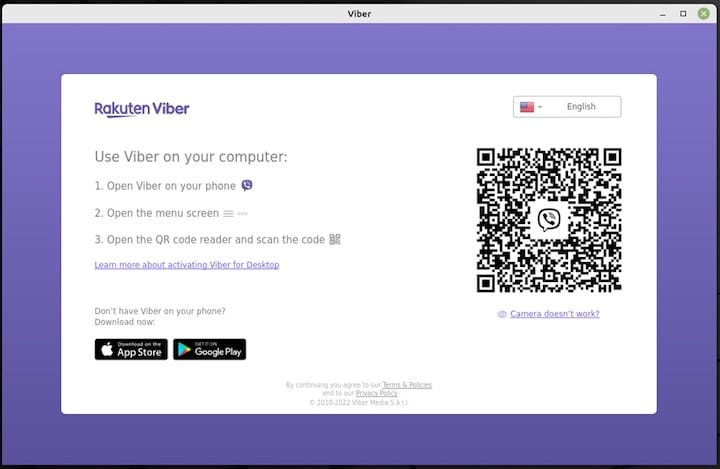
Once you have successfully installed Viber on your Ubuntu 22.04 system, you can open Viber by searching for it in the Ubuntu application menu or by running the following command in the terminal:
viber
Alternatively, Flatpak users must launch using the command below from a terminal instance:
flatpak run com.viber.Viber

Congratulations! You have successfully installed Viber. Thanks for using this tutorial for installing the Viber instant messaging and VoIP application on the Ubuntu 22.04 LTS Jammy Jellyfish system. For additional help or useful information, we recommend you check the official Viber website.