How To Install VirtualBox on AlmaLinux 9

In this tutorial, we will show you how to install VirtualBox on AlmaLinux 9. For those of you who didn’t know, VirtualBox is a free and open-source virtualization software commonly used at the desktop level to create a test environment. Using VirtualBox you can run Windows on Linux Machine and Linux on a Windows machine without getting into complications of installing a dual boot operating system. VirtualBox may be installed on Windows, macOS, Linux, and Solaris.
This article assumes you have at least basic knowledge of Linux, know how to use the shell, and most importantly, you host your site on your own VPS. The installation is quite simple and assumes you are running in the root account, if not you may need to add ‘sudo‘ to the commands to get root privileges. I will show you the step-by-step installation of the VirtualBox virtualization on AlmaLinux 9. You can follow the same instructions for CentOS and Rocky Linux.
Prerequisites
- A server running one of the following operating systems: AlmaLinux 9.
- It’s recommended that you use a fresh OS install to prevent any potential issues.
- SSH access to the server (or just open Terminal if you’re on a desktop).
- A
non-root sudo useror access to theroot user. We recommend acting as anon-root sudo user, however, as you can harm your system if you’re not careful when acting as the root.
Install VirtualBox on AlmaLinux 9
Step 1. First, let’s start by ensuring your system is up-to-date.
sudo dnf clean all
sudo dnf update
sudo dnf install kernel-devel kernel-headers gcc make perl elfutils-libelf-devel
sudo dnf groupinstall "Development Tools"
Step 2. Installing VirtualBox on AlmaLinux 9.
By default, VirtualBox is not available on the AlmaLinux 9 base repository. So, we’ll add manually official VirtualBox repository to your AlmaLinux:
sudo dnf config-manager --add-repo=https://download.virtualbox.org/virtualbox/rpm/el/virtualbox.repo
Next, search for VirtualBox versions available for installation on our AlmaLinux system:
sudo dnf search virtualbox
Update Linux package repositories, then type the following command to install VirtualBox:
sudo dnf install VirtualBox-6.1
After installed, the VirtualBox service needs to be enabled to do this, use the following command:
sudo systemctl enable vboxdrv --now
systemctl status vboxdrv
Step 3. Installing VirtualBox Extension Pack.
This is an optional step, but I strongly encourage it because it will make working with VirtualBox on your AlmaLinux system easier and more convenient. Now we download the extension pack that is available to download from the official page:
wget https://download.virtualbox.org/virtualbox/6.1.34/Oracle_VM_VirtualBox_Extension_Pack-6.1.34.vbox-extpack
Then, install the VirtualBox Extension pack, run the vboxmanage command as follows:
sudo vboxmanage extpack install Oracle_VM_VirtualBox_Extension_Pack-6.1.34.vbox-extpack
Step 4. Accessing VirtualBox on AlmaLinux 9.
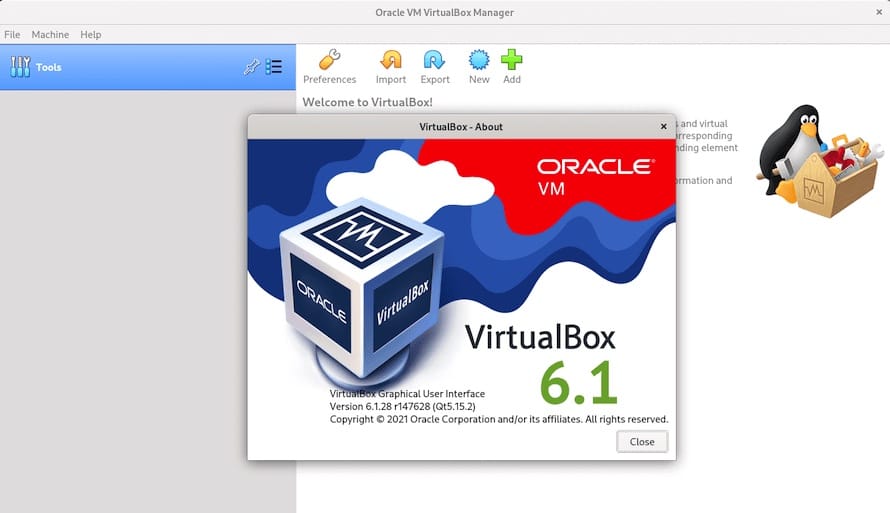
Once the installation is completed, open the VirtualBox on your system by using the application search bar. Click on the ‘Activities’ and then type ‘Virtualbox’ in the application search box or by executing the following command:
virtualbox

Congratulations! You have successfully installed VirtualBox. Thanks for using this tutorial for installing the VirtualBox virtualization on your AlmaLinux 9 system. For additional help or useful information, we recommend you check the official Oracle VirtualBox website.