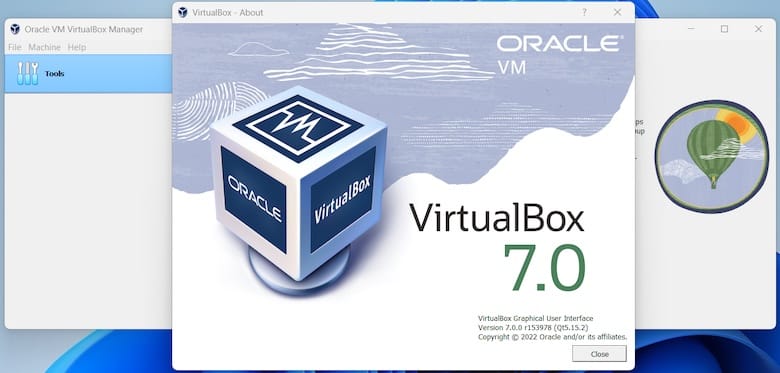
How To Install VirtualBox on Fedora 40

In this tutorial, we will show you how to install VirtualBox on Fedora 40. Virtualization has become an essential tool for modern computing, allowing users to run multiple operating systems on a single machine. VirtualBox, a powerful and versatile virtualization software, is a popular choice among Linux users.
This article assumes you have at least basic knowledge of Linux, know how to use the shell, and most importantly, you host your site on your own VPS. The installation is quite simple and assumes you are running in the root account, if not you may need to add ‘sudo‘ to the commands to get root privileges. I will show you the step-by-step installation of the VirtualBox on Fedora 40.
Prerequisites
Before we dive into the installation process, ensure that you have the following prerequisites in place:
- A server running one of the following operating systems: Fedora 40.
- It’s recommended that you use a fresh OS install to prevent any potential issues.
- You will need access to the terminal to execute commands. Fedora provides the Terminal application for this purpose. It can be found in your Applications menu.
- A stable internet connection to download the necessary packages.
- A non-root sudo user or access to the root user. We recommend acting as a non-root sudo user, however, as you can harm your system if you’re not careful when acting as the root.
Install VirtualBox on Fedora 40
Step 1. Update the System.
To ensure a smooth installation process, it’s crucial to start with an up-to-date system. Open a terminal and run the following commands to update your Fedora 40 installation:
sudo dnf clean all
sudo dnf update
Step 2. Installing VirtualBox Dependencies.
VirtualBox requires several development tools and kernel-related packages to function correctly. Open your terminal and execute the following commands to install these dependencies:
sudo dnf install @development-tools
sudo dnf install kernel-headers kernel-devel dkms
After installing the dependencies, reboot your system to apply the changes:
reboot
Step 3. Installing VirtualBox on Fedora 40.
To ensure that you have access to the latest version of VirtualBox, add the official VirtualBox repository to your Fedora 40 system. Create a new repository file using your preferred text editor:
sudo nano /etc/yum.repos.d/virtualbox.repo
Copy and paste the following content into the file:
[virtualbox]
name=Fedora $releasever - $basearch - VirtualBox
baseurl=http://download.virtualbox.org/virtualbox/rpm/fedora/$releasever/$basearch
enabled=1
gpgcheck=1
repo_gpgcheck=1
gpgkey=https://www.virtualbox.org/download/oracle_vbox_2016.asc
Save the file and exit the text editor, then refresh the package list and import the GPG key by running:
sudo dnf update
With the repository added and dependencies installed, you can now proceed to install VirtualBox on your Fedora 40 system. Run the following command:
sudo dnf install VirtualBox-7.0
Step 4. Installing the VirtualBox Extension Pack.
The VirtualBox Extension Pack provides additional features and functionality, such as USB 2.0 and 3.0 support, VirtualBox RDP, and more. To install the Extension Pack, follow these steps:
wget https://download.virtualbox.org/virtualbox/7.0.18/Oracle_VM_VirtualBox_Extension_Pack-7.0.18.vbox-extpack
Install the Extension Pack using the following command:
sudo VBoxManage extpack install Oracle_VM_VirtualBox_Extension_Pack-7.0.18.vbox-extpack
Step 5. Add your user to the vboxusers group
To manage VirtualBox without using sudo, add your user to the vboxusers group:
sudo usermod -aG vboxusers $USER
newgrp vboxusers
Verify that your user has been added to the group by running:
id $USER
Step 6. Launch VirtualBox on Fedora.
You can now launch VirtualBox from your application menu or by typing virtualbox in the terminal.

Congratulations! You have successfully installed VirtualBox. Thanks for using this tutorial for installing the VirtualBox on Fedora 40 system. For additional help or useful information, we recommend you check the VirtualBox website.