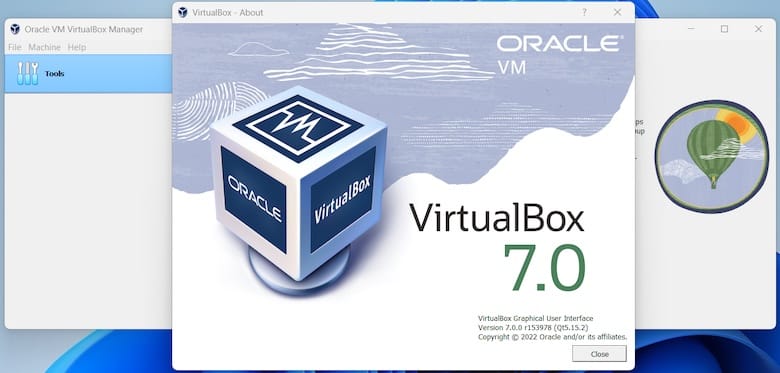
How To Install VirtualBox on Fedora 41

Virtualization has become an essential tool for developers, IT professionals, and tech enthusiasts alike. Among the various virtualization solutions available, VirtualBox stands out as a powerful and user-friendly option. In this comprehensive guide, we’ll walk you through the process of installing VirtualBox on Fedora 41, ensuring you can harness the full potential of this versatile virtualization software.
Understanding VirtualBox and Its Importance
VirtualBox is an open-source hypervisor developed by Oracle that allows users to run multiple operating systems on a single physical machine. This capability is invaluable for testing software, running legacy applications, or experimenting with different operating systems without the need for additional hardware.
For Fedora users, VirtualBox offers a seamless way to integrate virtualization into their workflow. Fedora 41, known for its cutting-edge features and robust performance, provides an excellent platform for running VirtualBox efficiently.
Prerequisites for Installing VirtualBox on Fedora 41
Before we dive into the installation process, let’s ensure your system meets the necessary requirements:
- System Requirements:
- A 64-bit processor with virtualization support (Intel VT-x or AMD-V)
- At least 4GB of RAM (8GB or more recommended for optimal performance)
- Sufficient free disk space (at least 25GB for VirtualBox and virtual machines)
- User Permissions: Administrative access (sudo privileges) on your Fedora system
- Internet Connection: A stable internet connection for downloading packages
- Updated System: Ensure your Fedora 41 system is up-to-date
Step-by-Step Installation Guide
1. Update Your Fedora 41 System
Begin by updating your Fedora system to ensure you have the latest packages and security updates:
sudo dnf update -y
sudo reboot
The reboot is essential to ensure all updates are properly applied, especially if there are kernel updates.
2. Install Required Dependencies
VirtualBox requires several dependencies to function correctly. Install them using the following commands:
sudo dnf install @development-tools -y
sudo dnf install kernel-headers kernel-devel dkms elfutils-libelf-devel qt5-qtx11extras -y
These packages provide the necessary tools and libraries for compiling kernel modules and running VirtualBox efficiently.
3. Add the Official VirtualBox Repository
To ensure you’re installing the latest version of VirtualBox from Oracle, add their official repository:
sudo wget http://download.virtualbox.org/virtualbox/rpm/fedora/virtualbox.repo -P /etc/yum.repos.d/This command downloads the repository configuration file and places it in the correct directory.
4. Import the VirtualBox GPG Key
For security reasons, import the VirtualBox GPG key to verify the authenticity of the packages:
sudo rpm --import https://www.virtualbox.org/download/oracle_vbox.asc5. Install VirtualBox
Now, you’re ready to install VirtualBox. Execute the following command:
sudo dnf install VirtualBox-7.1 -yThis command installs the latest version of VirtualBox 7.1. The installation process may take a few minutes, depending on your internet speed and system performance.
6. Add Your User to the vboxusers Group
To ensure you have the necessary permissions to use VirtualBox, add your user account to the vboxusers group:
sudo usermod -a -G vboxusers $USERAfter running this command, log out and log back in for the changes to take effect.
7. Install the VirtualBox Extension Pack (Optional but Recommended)
The VirtualBox Extension Pack provides additional features like USB 2.0 and 3.0 support, RDP, and disk encryption. To install it:
- Visit the VirtualBox downloads page
- Download the Extension Pack that matches your VirtualBox version
- Install the Extension Pack using the following command:
sudo VBoxManage extpack install --replace /path/to/Oracle_VM_VirtualBox_Extension_Pack-*.vbox-extpackReplace “/path/to/” with the actual path to the downloaded file.
Verifying the Installation
To ensure VirtualBox is installed correctly, you can:
- Launch VirtualBox from the application menu or by typing
virtualboxin the terminal. - Check the version using the command:
vboxmanage --version
If VirtualBox opens without errors and you see the version number, congratulations! You’ve successfully installed VirtualBox on Fedora 41.

Troubleshooting Common Issues
Even with careful installation, you might encounter some issues. Here are solutions to common problems:
Kernel Driver Not Installed
If you see an error about kernel drivers, try rebuilding them:
sudo /sbin/vboxconfigVirtualBox Can’t Operate in VMX Root Mode
This error often occurs when KVM is enabled by default. To resolve:
sudo modprobe -r kvm_intel
sudo modprobe -r kvm
If you need to use KVM for other purposes, consider adding kvm.enable_virt_at_load=0 to your kernel command line in GRUB.
SELinux Conflicts
If SELinux is preventing VirtualBox from functioning correctly, you can either configure SELinux to allow VirtualBox or temporarily set SELinux to permissive mode:
sudo setenforce 0Remember to re-enable SELinux after troubleshooting.
Optimizing VirtualBox Performance
To get the most out of VirtualBox on Fedora 41, consider these optimization tips:
- Allocate Sufficient Resources: Assign adequate RAM and CPU cores to your virtual machines based on their requirements.
- Enable Virtualization Extensions: Ensure Intel VT-x or AMD-V is enabled in your BIOS/UEFI settings.
- Use Host I/O Cache: Enable the “Use Host I/O Cache” option in the virtual machine’s storage settings for improved disk performance.
- Install Guest Additions: Always install VirtualBox Guest Additions in your virtual machines for better integration and performance.
Keeping VirtualBox Updated
To ensure you have the latest features and security updates, regularly update VirtualBox using:
sudo dnf update VirtualBox-7.1This command will update VirtualBox to the latest version available in the repository.
Uninstalling VirtualBox
If you need to remove VirtualBox from your Fedora 41 system, use the following commands:
sudo dnf remove VirtualBox-7.1
sudo rm /etc/yum.repos.d/virtualbox.repo
These commands will remove VirtualBox and its repository configuration.
Congratulations! You have successfully installed VirtualBox. Thanks for using this tutorial for installing the VirtualBox on Fedora 41 system. For additional help or useful information, we recommend you check the VirtualBox website.