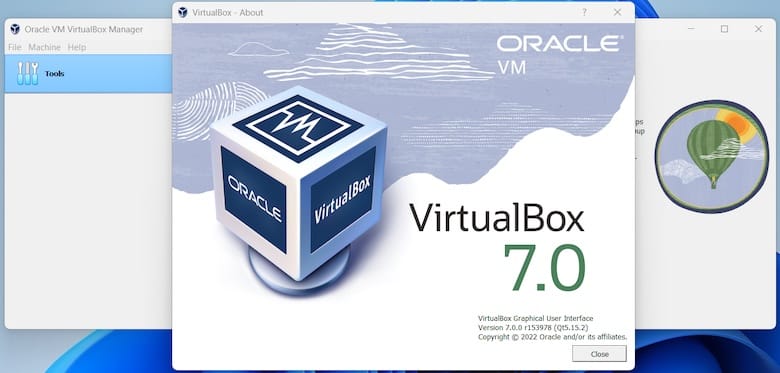
How To Install VirtualBox on openSUSE

In this tutorial, we will show you how to install VirtualBox on openSUSE. VirtualBox is a powerful and versatile virtualization software that allows users to run multiple operating systems on a single machine. Whether you’re a developer, a system administrator, or just someone who wants to experiment with different operating systems, VirtualBox provides a reliable platform for virtualization.
This article assumes you have at least basic knowledge of Linux, know how to use the shell, and most importantly, you host your site on your own VPS. The installation is quite simple and assumes you are running in the root account, if not you may need to add ‘sudo‘ to the commands to get root privileges. I will show you the step-by-step installation of the VirtualBox on openSUSE.
Prerequisites
- A server running one of the following operating systems: openSUSE(Leap or Tumbleweed)
- It’s recommended that you use a fresh OS install to prevent any potential issues.
- You will need access to the terminal to execute commands. openSUSE provides the Terminal application for this purpose. It can be found in your Applications menu.
- You’ll need an active internet connection to download VirtualBox and its dependencies.
- You’ll need administrative (root) access or a user account with sudo privileges.
Install VirtualBox on openSUSE
Step 1. The first step is to update your openSUSE system repositories to ensure that you have the latest packages and dependencies. Open a terminal window and run the following command:
sudo zypper refresh
sudo zypper update
Step 2. Installing Required Dependencies.
Before installing VirtualBox, you need to install some required dependencies. Run the following command to install the necessary packages:
sudo zypper install gcc make kernel-devel dkms qt5-qtsvg-devel libqt5x11extras5 libxslt-devel libxml2-devel
Step 3. Installing VirtualBox on openSUSE.
To install VirtualBox from the official Oracle repository, you need to import their public key. Run the following command to download and import the key:
sudo wget -q https://www.virtualbox.org/download/oracle_vbox.asc
sudo rpm --import oracle_vbox.asc
Now that you have updated your system repositories, installed the required dependencies, and imported Oracle’s public key, you can proceed to install VirtualBox. Run the following command to install VirtualBox:
sudo zypper install virtualbox
Once the installation is complete, add your local user to the ‘vboxusers‘ group so that you can perform all the tasks related to VirtualBox. Run the following command to add your user to the group:
sudo usermod -a -G vboxusers your_username
Log out and log back in for the changes to take effect.
Step 4. Installing VirtualBox Extension Pack.
The VirtualBox Extension Pack provides additional features like USB device support, remote desktop protocol (RDP), and disk encryption. To install the Extension Pack, follow these steps:
-
- Download the Extension Pack from the VirtualBox downloads page.
- In the VirtualBox application, go to
File>Preferences>Extensions. - Click the
+icon and navigate to the downloaded Extension Pack file. - Follow the prompts to install the Extension Pack.
Step 5. Launch VirtualBox on openSUSE.
You can now launch VirtualBox from the application menu or by running the following command in the terminal:
virtualbox

Step 6. Creating Your First Virtual Machine.
Now that VirtualBox is installed and configured, you can create your first virtual machine. Here’s a step-by-step guide:
-
- Open VirtualBox.
- Click on “New” to create a new virtual machine.
- Enter a name for your virtual machine and select the operating system you want to install.
- Allocate the desired amount of memory for your virtual machine.
- Create a virtual hard disk by selecting “Create a virtual hard disk now” and then click “Create”.
- Choose the type of hard disk file you want to create (VDI, VMDK, or VHD).
- Select the storage on your host system where you want to save the virtual hard disk file.
- Click “Create” to finish creating the virtual machine.
Congratulations! You have successfully installed VirtualBox. Thanks for using this tutorial for installing the VirtualBox on your openSUSE system. For additional or useful information, we recommend you check the official VirtualBox website.