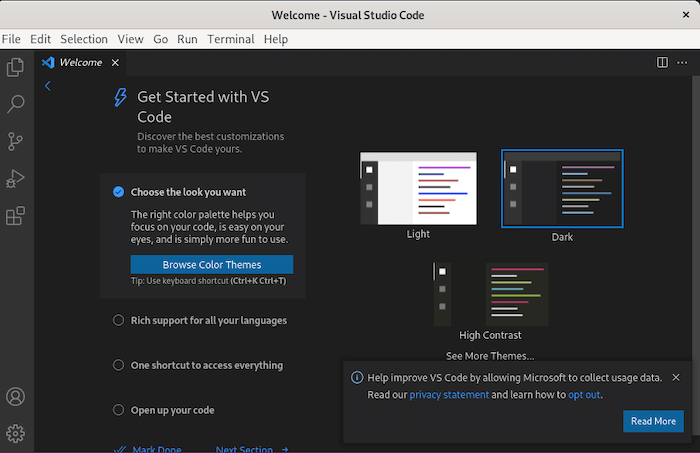
In this tutorial, we will show you how to install Visual Studio Code on CentOS 7. For those of you who didn’t know, Visual Studio Code (VS Code) is a powerful, lightweight, and versatile code editor that has gained immense popularity among developers worldwide. With its extensive range of features, customization options, and cross-platform support, VS Code has become a go-to choice for coding enthusiasts and professionals alike. As a developer working on a CentOS 7 system, having a reliable and efficient code editor is crucial for streamlining your workflow and enhancing productivity.
This article assumes you have at least basic knowledge of Linux, know how to use the shell, and most importantly, you host your site on your own VPS. The installation is quite simple and assumes you are running in the root account, if not you may need to add ‘sudo‘ to the commands to get root privileges. I will show you the step-by-step installation of Visual Studio Code (VS Code) on CentOS 7.
Prerequisites
- A server running one of the following operating systems: CentOS 7.
- It’s recommended that you use a fresh OS install to prevent any potential issues.
- SSH access to the server (or just open Terminal if you’re on a desktop).
- An active internet connection. You’ll need an internet connection to download the necessary packages and dependencies for Visual Studio Code.
- A
non-root sudo useror access to theroot user. We recommend acting as anon-root sudo user, however, as you can harm your system if you’re not careful when acting as the root.
Install Visual Studio Code on CentOS 7
Step 1. First, let’s start by ensuring your system is up-to-date.
yum clean all
yum install -y epel-release
yum -y update
Step 2. Installing Visual Studio Code on CentOS 7.
To ensure the integrity and authenticity of the Visual Studio Code package, we need to import Microsoft’s GPG key. A GPG (GNU Privacy Guard) key is a digital signature that verifies the package’s origin and ensures it hasn’t been tampered with during the download process.
To import the Microsoft GPG key, open your terminal and execute the following command:
sudo rpm --import https://packages.microsoft.com/keys/microsoft.asc
This command imports the GPG key from the specified URL, allowing your system to trust packages signed by Microsoft.
Next, create the following repo file to enable the Visual Studio Code repository:
sudo nano /etc/yum.repos.d/vscode.repo
Paste the following file:
[code]
name=Visual Studio Code
baseurl=https://packages.microsoft.com/yumrepos/vscode
enabled=1
gpgcheck=1
gpgkey=https://packages.microsoft.com/keys/microsoft.asc
Next, update the package cache and install Visual Studio with:
sudo yum install code
Step 3. Starting Visual Studio Code.
Now that VS Code is installed on your CentOS system you can launch it either from the command line by typing code or by clicking on the VS Code icon (Applications -> Accessories -> Visual Studio Code).

To ensure you have access to the latest features, bug fixes, and security updates, it’s important to keep your Visual Studio Code installation up to date. Microsoft regularly releases updates for VS Code, and updating it on your CentOS 7 system is a straightforward process.
To update Visual Studio Code, open your terminal and run the following command:
sudo yum update code
Congratulations! You have successfully installed Visual Studio Code. Thanks for using this tutorial for installing Visual Studio on CentOS 7 system. For additional help or useful information, we recommend you check the official Visual Studio Code website.