In this tutorial, we will show you how to install VNC Server on Debian 11. For those of you who didn’t know, VNC stands for Virtual Network Computer. This is a graphical desktop sharing system that uses the Remote Frame Buffer protocol (RFB). Those who are not comfortable with the command line, use VNC to let them use a keyboard and mouse to interact with a graphical desktop environment on a remote server.
This article assumes you have at least basic knowledge of Linux, know how to use the shell, and most importantly, you host your site on your own VPS. The installation is quite simple and assumes you are running in the root account, if not you may need to add ‘sudo‘ to the commands to get root privileges. I will show you through the step-by-step installation of the VNC Server on a Debian 11 (Bullseye).
Prerequisites
- A server running one of the following operating systems: Debian 11 (Bullseye).
- It’s recommended that you use a fresh OS install to prevent any potential issues.
- An active internet connection.
- A
non-root sudo useror access to theroot user. We recommend acting as anon-root sudo user, however, as you can harm your system if you’re not careful when acting as the root.
Install VNC Server on Debian 11 Bullseye
Step 1. Before we install any software, it’s important to make sure your system is up to date by running the following apt commands in the terminal:
sudo apt update
sudo apt upgrade
Step 2. Installing VNC Server on Debian 11.
By default, the graphical environment is not installed on server versions of Debian. Therefore, if we want to connect to a remote desktop, we need to install a graphical shell. Let’s install the TightVNC Server itself at the same time:
sudo apt install xfce4 xfce4-goodies tightvncserver
Step 3. Configure VNC Server.
Once complete installation, let’s start the VNC Server for the first time. It will create the files necessary for work and ask to create a password:
vncserver
After that, stop your TightVNC session to adjust other settings:
vncserver -kill :1
Next, open the TightVNC config file using your favorite text editor:
nano ~/.vnc/xstartup
Add the following line:
startxfce4
Save and close the file then, start the server again:
vncserver
Step 4. Create the Systemd File.
Now we create the systemd unit file named vncserver.service:
nano /etc/systemd/system/vncserver.service
Add the following file:
[Unit]
Description=TightVNC server
After=syslog.target network.target

[Service]
Type=forking
User=root
PAMName=login
PIDFile=/root/.vnc/%H:1.pid
ExecStartPre=-/usr/bin/vncserver -kill :1 > /dev/null 2>&1
ExecStart=/usr/bin/vncserver
ExecStop=/usr/bin/vncserver -kill :1

[Install]
WantedBy=multi-user.target
Save and close the file, then enable autorun of the TightVNC server and start it
sudo systemctl daemon-reload
systemctl enable --now vncserver
Step 5. Configure Firewall.
If your firewall is enabled, you need to open ports for incoming VNC connections. For one connection, it is enough to open 5901 using the following command:
ufw allow 5901/tcp
Step 6. Connecting to Remote Desktop.
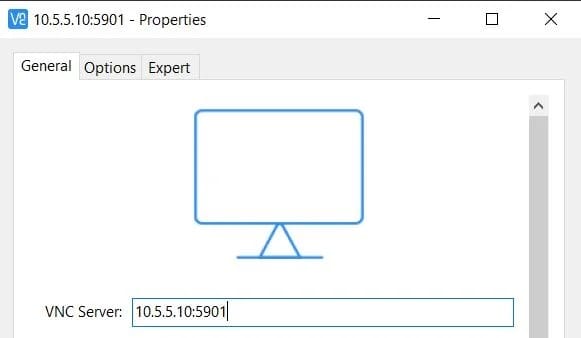
To connect to a remote desktop server. For Windows, you can use RealVNC or TightVNC Viewer. For Linux – Remmina. Use the IP address of your server with port 5901 as the VNC server.

Congratulations! You have successfully installed VNC. Thanks for using this tutorial for installing the latest version of VNC Server on Debian 11 Bullseye. For additional help or useful information, we recommend you check the official TightVNC website.