In this tutorial, we will show you how to install Wireshark on Ubuntu 18.04 LTS. For those of you who didn’t know, Wireshark, formerly known as Ethereal, is a cross-platform network packet analyzer that enables users to inspect and analyze network traffic at a granular level. It supports a wide range of protocols, including TCP/IP, Ethernet, Wi-Fi, Bluetooth, and many more. With Wireshark, you can capture live data from network interfaces, open saved capture files for offline analysis, and apply filters to focus on specific traffic patterns or protocols.
One of the key features of Wireshark is its ability to provide detailed information about each packet, such as source and destination addresses, protocol information, and packet contents. This makes it an invaluable tool for network troubleshooting, security analysis, software and protocol development, and educational purposes.
This article assumes you have at least basic knowledge of Linux, know how to use the shell, and most importantly, you host your site on your own VPS. The installation is quite simple and assumes you are running in the root account, if not you may need to add ‘sudo‘ to the commands to get root privileges. I will show you the step-by-step installation Wireshark network analyzer on an Ubuntu 18.04 (Bionic Beaver) server.
Prerequisites
- A server running one of the following operating systems: Ubuntu 18.04 (Bionic Beaver).
- It’s recommended that you use a fresh OS install to prevent any potential issues.
- You’ll need an active internet connection.
- A
non-root sudo useror access to theroot user. We recommend acting as anon-root sudo user, however, as you can harm your system if you’re not careful when acting as the root.
Install Wireshark on Ubuntu 18.04 LTS Bionic Beaver
Step 1. To ensure a smooth installation process, it’s crucial to update your Ubuntu system to the latest available packages. Open a terminal window and run the following commands:
sudo apt update
sudo apt upgrade
These commands will refresh the package list and upgrade any existing packages to their latest versions, providing a stable foundation for installing Wireshark.
Step 2. Installing Wireshark on Ubuntu 18.04.
With the system updated and the Wireshark repository added, you can now proceed with the installation. Execute the following command in the terminal:
sudo add-apt-repository ppa:wireshark-dev/stable
After adding the Wireshark repository, update the package list to include the newly available packages:
sudo apt update
Now that the system is updated and the necessary dependencies are installed, you can proceed with installing Wireshark. Run the following command in the terminal:
sudo apt install wireshark
During the installation process, you may be prompted to confirm the installation of additional dependencies. Simply accept the prompts to proceed with the installation.
Once the installation is complete, you can verify that Wireshark is successfully installed by checking its version. Run the following command:
wireshark --version
Step 3. Starting Wireshark on Ubuntu 18.04.
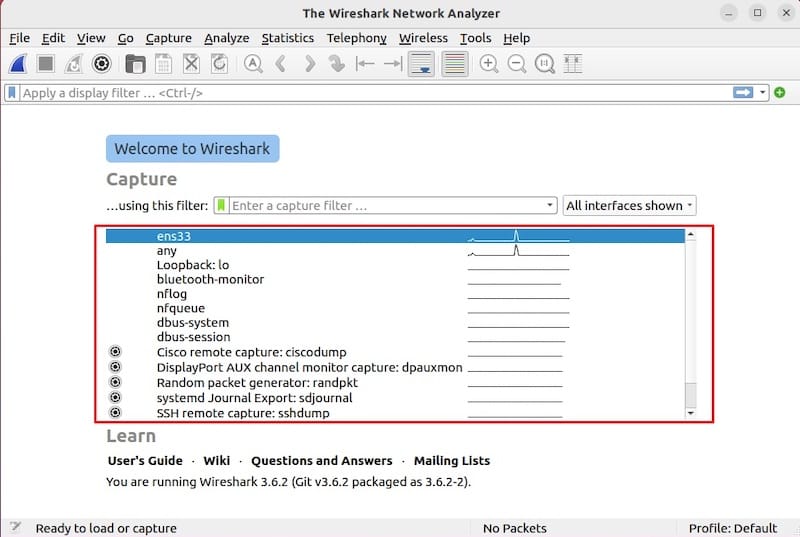
Now that Wireshark is installed, you can start Wireshark from the Application Menu of Ubuntu, To start from CLI, just type Wireshark on your console:
wireshark

Congratulations! You have successfully installed Wireshark. Thanks for using this tutorial for installing the Wireshark network analyzer on the Ubuntu 18.04 LTS system. For additional help or useful information, we recommend you check the official Wireshark website.