How To Install XAMPP on AlmaLinux 9

In this tutorial, we will show you how to install XAMPP on AlmaLinux 9. XAMPP is an open-source web server solution stack that includes Apache, MySQL, PHP, and Perl. It provides a convenient way to set up a local development environment on various operating systems, including Linux, macOS, and Windows. By using XAMPP, developers can easily test and deploy web applications without the need for a live server. The bundled components work seamlessly together, making it easier to develop and debug web applications locally before deploying them to a production environment.
This article assumes you have at least basic knowledge of Linux, know how to use the shell, and most importantly, you host your site on your own VPS. The installation is quite simple and assumes you are running in the root account, if not you may need to add ‘sudo‘ to the commands to get root privileges. I will show you the step-by-step installation of the XAMPP on AlmaLinux 9. You can follow the same instructions for CentOS and Rocky Linux or RHEL-based.
Prerequisites
- A server running one of the following operating systems: AlmaLinux 9.
- It’s recommended that you use a fresh OS install to prevent any potential issues.
- SSH access to the server (or just open Terminal if you’re on a desktop).
- A system with at least 1 GB of RAM, 20 GB of free disk space, and a dual-core processor is recommended for running XAMPP smoothly.
- An active internet connection. You’ll need an internet connection to download the necessary packages and dependencies.
- You’ll need root or sudo privileges to install XAMPP and make system-wide changes. Make sure you have the necessary permissions before starting the installation process.
Install XAMPP on AlmaLinux 9
Step 1. Update Your System.
To ensure a smooth installation process, it is recommended to update your AlmaLinux 9 system to the latest version. Open a terminal and run the following command:
sudo dnf clean all
sudo dnf update
This command will update all the installed packages to their latest versions, including any security patches and bug fixes.
Next, install the necessary packages required for XAMPP. Run the following command:
sudo dnf install wget tar
Step 2. Installing XAMPP.
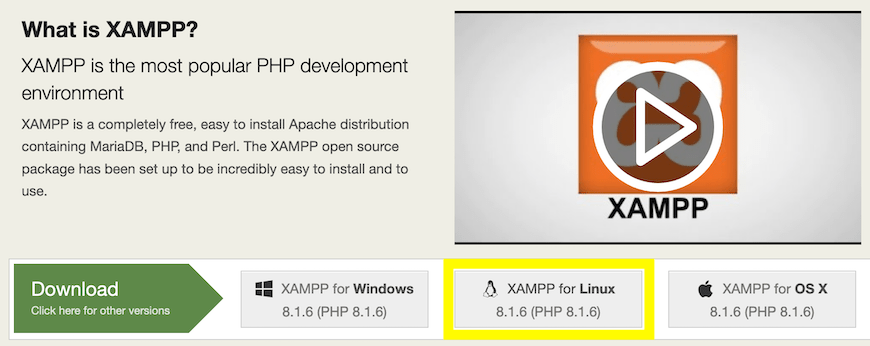
To download XAMPP for AlmaLinux 9, visit the official Apache Friends website. Navigate to the download section and select the appropriate version of XAMPP for your AlmaLinux 9 system. Make sure to choose the version that includes the desired PHP version and other components you need for your development environment.

After downloading, verify the integrity of the file using checksums. This ensures the file is not corrupted or tampered with. Run the following command to generate a checksum:
sha256sum xampp-linux-x64-VERSION-installer.run
Compare the output with the checksum provided on the XAMPP website.
Next, navigate to the directory where you downloaded the XAMPP installer. For example, if the file is in your Downloads folder, use the following command:
cd ~/Downloads
Make the installer executable by running the following command, replacing xampp-linux-x64-VERSION-installer.run with the actual filename:
chmod +x xampp-linux-x64-VERSION-installer.run
Run the installer with root privileges using the following command:
sudo ./xampp-linux-x64-VERSION-installer.run
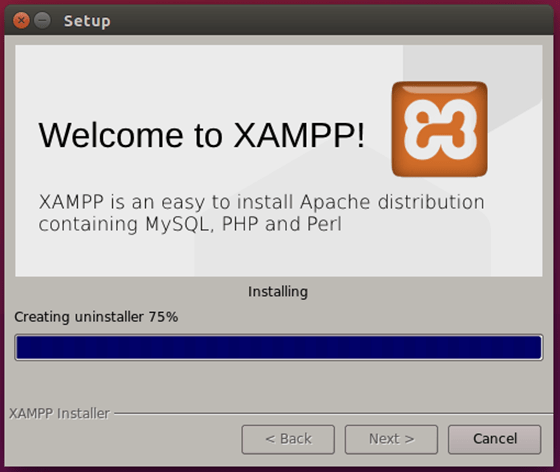
The installer will launch, and you will be guided through a series of prompts. Follow the on-screen instructions to complete the installation process.

By default, XAMPP will be installed in the /opt/lampp directory. You can choose a different location if desired, but it’s recommended to stick with the default path for simplicity.
Step 3. Configuring XAMPP.
After the installation is complete, you may need to perform some initial configuration steps to ensure that XAMPP is set up correctly.
Launch the XAMPP setup wizard by running the following command in the terminal:
sudo /opt/lampp/lampp start
Follow the prompts in the setup wizard to configure various aspects of XAMPP, such as setting passwords for the MySQL database and enabling remote access if needed.
Step 4. Verifying Apache and MySQL.
After installing XAMPP, it’s essential to test whether the installation was successful and that all the components are functioning correctly. One way to verify this is by accessing the default XAMPP web page and checking the status of Apache and MySQL.
Open a web browser and enter http://localhost in the address bar. If Apache is running correctly, you should see the XAMPP welcome page. This page provides information about your XAMPP installation, including the versions of various components and links to additional tools and documentation.
To check if MySQL is functioning properly, you can access phpMyAdmin, a web-based tool for managing MySQL databases. In your web browser, go to http://localhost/phpmyadmin. You should see the phpMyAdmin login page. Enter the default credentials (username: root, password: leave blank) to log in. If you can access phpMyAdmin and view your databases, it indicates that MySQL is running correctly.
Congratulations! You have successfully installed XAMPP. Thanks for using this tutorial for installing the XAMPP on your AlmaLinux 9 system. For additional help or useful information, we recommend you check the official XAMPP website.