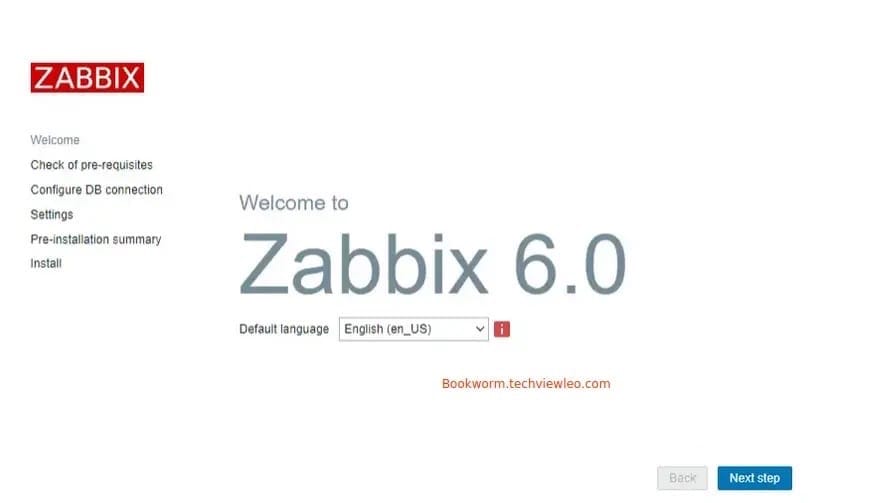
How To Install Zabbix on Debian 12

In this tutorial, we will show you how to install Zabbix on Debian 12. Monitoring and managing IT infrastructure is crucial for businesses and organizations to ensure seamless operations and optimal performance. Zabbix, an open-source monitoring solution, offers a powerful platform to monitor various components of your infrastructure.
This article assumes you have at least basic knowledge of Linux, know how to use the shell, and most importantly, you host your site on your own VPS. The installation is quite simple and assumes you are running in the root account, if not you may need to add ‘sudo‘ to the commands to get root privileges. I will show you the step-by-step installation of Zabbix on a Debian 12 (Bookworm).
Prerequisites
- A server running one of the following operating systems: Debian 12 (Bookworm).
- It’s recommended that you use a fresh OS install to prevent any potential issues.
- SSH access to the server (or just open Terminal if you’re on a desktop).
- An active internet connection. You’ll need an internet connection to download the necessary packages and dependencies for Zabbix.
- A
non-root sudo useror access to theroot user. We recommend acting as anon-root sudo user, however, as you can harm your system if you’re not careful when acting as the root.
Install Zabbix on Debian 12 Bookworm
Step 1. Before we install any software, it’s important to make sure your system is up to date by running the following apt commands in the terminal:
sudo apt update
sudo apt install build-essential libjpeg-dev libpng-dev libtiff-dev
This command will refresh the repository, allowing you to install the latest versions of software packages.
Step 2. Installing Zabbix on Debian 12.
To access the latest Zabbix packages, we need to add the official repository. Run these commands:
wget https://repo.zabbix.com/zabbix/6.5/debian/pool/main/z/zabbix-release/zabbix-release_6.5-1+debian12_all.deb
sudo dpkg -i zabbix-release_6.5-1+debian12_all.deb
sudo apt update
Now it’s time to install the Zabbix server on your Debian 12 system:
sudo apt install zabbix-server-pgsql zabbix-frontend-php zabbix-apache-conf zabbix-agent
Step 3. Configuring Zabbix Server.
Next, let’s configure the Zabbix server to ensure smooth operation. Create a PostgreSQL database and user for Zabbix:
sudo su - postgres
createuser --pwprompt zabbix
createdb -O zabbix zabbix
exit
Edit the Zabbix PHP configuration file:
sudo nano /etc/zabbix/apache.conf
Uncomment and modify the following lines:
php_value date.timezone America/New_York
Save the file and exit the editor.
Next, Edit the PHP configuration file:
sudo nano /etc/zabbix/php-fpm.conf
Change the following values:
php_value[date.timezone] = America/New_York
Step 4. Installing Zabbix Agent.
The Zabbix agent is responsible for collecting data from the monitored host and sending it to the Zabbix server. Let’s proceed with the installation and configuration.
sudo apt install zabbix-agent
Now, let’s configure the Zabbix agent to communicate with the server:
- Zabbix Server Connection
sudo nano /etc/zabbix/zabbix_agentd.conf
Set the Zabbix server IP or hostname:
Server=ZABBIX_SERVER_IP_OR_HOSTNAME
Save the file and exit the editor.
- Host Configuration
On the Zabbix server, add the monitored host by following these steps:
- Log in to the Zabbix web interface (http://your-server-ip/zabbix).
- Navigate to “Configuration” > “Hosts” > “Create host.”
- Enter the necessary details, such as hostname, IP address, and select the group.

Congratulations! You have successfully installed Zabbix. Thanks for using this tutorial for installing the latest version of Zabbix on Debian 12 Bookworm. For additional help or useful information, we recommend you check the official Zabbix website.