How To Install Zabbix on openSUSE

In today’s digital landscape, efficient monitoring of IT infrastructure is crucial for maintaining system performance and reliability. Zabbix, a powerful open-source monitoring solution, enables organizations to track the health and performance of their servers, networks, and applications. This guide will walk you through the process of installing Zabbix 7 on openSUSE 15, ensuring you have a robust monitoring system in place.
Prerequisites
System Requirements
Before starting the installation, ensure your system meets the following minimum requirements:
- CPU: 1 GHz or faster
- RAM: Minimum 2 GB (4 GB recommended)
- Disk Space: At least 10 GB free space
- Operating System: openSUSE 15 (Leap or Tumbleweed)
Software Dependencies
Zabbix requires several software packages to function correctly. These include:
- Apache: Web server for hosting the Zabbix frontend.
- PHP: Server-side scripting language.
- MySQL/MariaDB: Database management system to store monitoring data.
- Zabbix Server: The core component that collects and processes data.
- Zabbix Agent: Installed on monitored hosts to send data back to the server.
User Permissions
You will need root or sudo privileges to install software and modify system configurations. Ensure you have access to an account with these permissions before proceeding.
Step 1: Prepare Your System
Update openSUSE
The first step is to ensure your system is up-to-date. Open a terminal and run the following commands:
sudo zypper refresh && sudo zypper updateThis command refreshes your package manager and updates all installed packages to their latest versions.
Install Required Packages
Next, install the necessary packages for Apache, PHP, and MySQL/MariaDB:
sudo zypper install apache2 php php-mysql mysql-serverThis command installs Apache web server, PHP with MySQL support, and the MySQL server.
Step 2: Add the Zabbix Repository
Add Zabbix Repository
Zabbix provides its own repository for easy installation. To add it, execute the following command in your terminal:
sudo rpm -Uvh https://repo.zabbix.com/zabbix/7.0/rhel/$(rpm -E %{rhel})/x86_64/zabbix-release-7.0-4.el$(rpm -E %{rhel}).noarch.rpmRefresh Repositories
After adding the repository, refresh your package manager again to include the new Zabbix packages:
sudo zypper refreshStep 3: Install Zabbix Components
Install Zabbix Server, Frontend, and Agent
You can now install the Zabbix server, frontend, and agent using a single command:
sudo zypper install zabbix-server-mysql zabbix-web-mysql zabbix-agentThis command installs all necessary components for Zabbix to function effectively.
Database Setup
Zabbix requires a database to store its data. Follow these steps to set up MySQL/MariaDB:
Create a Database:
mysql -u root -p
CREATE DATABASE zabbix CHARACTER SET utf8mb4 COLLATE utf8mb4_bin;
Create a User:
CREATE USER 'zabbix'@'localhost' IDENTIFIED BY 'your_password';Grant Privileges:
GRANT ALL PRIVILEGES ON zabbix.* TO 'zabbix'@'localhost'; FLUSH PRIVILEGES;Exit MySQL/MariaDB:
EXIT;This setup creates a dedicated database and user for Zabbix with appropriate privileges.
Step 4: Configure Zabbix Server
Edit Configuration File
The next step involves configuring the Zabbix server. Open the configuration file using your preferred text editor:
sudo nano /etc/zabbix/zabbix_server.confYou need to set the database credentials in this file. Look for the following lines and update them accordingly:
# DBPassword=
DBPassword=your_password
Start Zabbix Services
You must start both the Zabbix server and agent services. Use these commands:
sudo systemctl start zabbix-server
sudo systemctl enable zabbix-server

sudo systemctl start zabbix-agent
sudo systemctl enable zabbix-agent
This ensures that both services start automatically at boot time.
Step 5: Configure Web Interface
Accessing the Web Interface
The Zabbix web interface is accessible via a web browser. Open your preferred browser and navigate to:
http://<your-server-ip>/zabbix
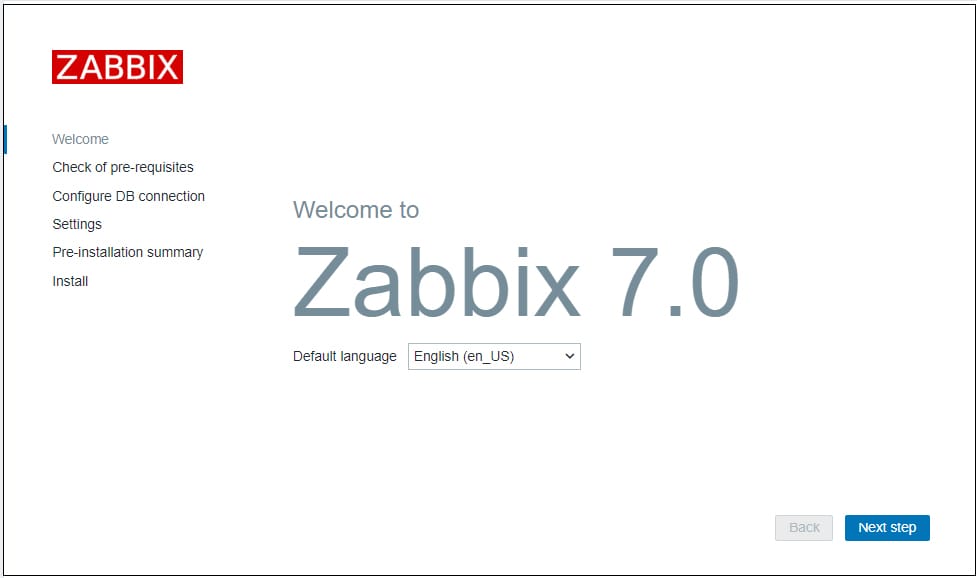
Web Installer Steps
The web installer will guide you through several configuration steps. Follow these instructions carefully:
- Select your language and click “Next.”
- The installer will check prerequisites. Ensure all checks are green before proceeding.
- Select “MySQL” as your database type and enter the database details created earlier:
- Name: zabbix
- User: zabbix
- Password:: your_password
- Select your timezone from the dropdown menu.
- The installer will provide a summary of your configuration; review it carefully before clicking “Next.”
- If everything is correct, click “Finish” to complete the installation.

Step 6: Finalizing Installation
Change Default Admin Password
The default admin password is “zabbix.” It is crucial to change this after installation for security reasons. Log into the web interface using these credentials and navigate to “Administration” > “Users,” then select “Admin” to change the password.
Verify Installation
You can verify that Zabbix is running correctly by checking its status with this command:
sudo systemctl status zabbix-server
sudo systemctl status zabbix-agent
If there are any errors, check the logs located in `/var/log/zabbix/` for troubleshooting information.
Troubleshooting Common Issues
- Error establishing a database connection: Ensure that your database credentials in `zabbix_server.conf` are correct and that MySQL/MariaDB is running.
- Zabbix frontend not accessible: Check if Apache is running with `
sudo systemctl status apache2`. If it’s not running, start it with `sudo systemctl start apache2`. - ZBXNotSupported error in frontend: This usually indicates that the Zabbix server is down or not properly configured. Verify service statuses as mentioned above.
- No data in graphs or items not updating: Ensure that agents are installed on monitored hosts and are configured correctly to communicate with the Zabbix server.
Congratulations! You have successfully installed Zabbix. Thanks for using this tutorial for installing the Zabbix open-source monitoring software on your openSUSE system. For additional or useful information, we recommend you check the official Zabbix website.