In this tutorial, we will show you how to install and configure Dropbox on CentOS 7. For those of you who didn’t know, Dropbox is a useful file-sharing and syncing service that lets you sync files between different machines over the Internet for free. It’s very useful for backing up your important documents, pictures, audio files, video files, and other data.
This article assumes you have at least basic knowledge of Linux, know how to use the shell, and most importantly, you host your site on your own VPS. The installation is quite simple and assumes you are running in the root account, if not you may need to add ‘sudo‘ to the commands to get root privileges. I will show you the step-by-step installation of Dropbox on a CentOS 7 server.
Prerequisites
- A server running one of the following operating systems: CentOS 7.
- It’s recommended that you use a fresh OS install to prevent any potential issues.
- SSH access to the server (or just open Terminal if you’re on a desktop).
- A
non-root sudo useror access to theroot user. We recommend acting as anon-root sudo user, however, as you can harm your system if you’re not careful when acting as the root.
Install Dropbox on CentOS 7
Step 1. Before diving into the installation process, it’s essential to prepare your CentOS 7 system. Ensure that your system meets the minimum requirements for running Dropbox, which primarily includes having a 64-bit version of CentOS since Dropbox discontinued support for the 32-bit version. Additionally, update your system to the latest packages by running:
yum clean all
yum -y update
Step 2. Installing Dropbox on CentOS 7.
Download the latest Linux Dropbox client from the below link:
### 32-Bit ###
curl -Lo dropbox-linux-x86.tar.gz https://www.dropbox.com/download?plat=lnx.x86

### 64-Bit ###
curl -Lo dropbox-linux-x86_64.tar.gz https://www.dropbox.com/download?plat=lnx.x86_64
After downloading, we need to create a folder for client software and extract the compressed file:
mkdir -p /opt/dropbox-client
tar xzfv dropbox-linux-x86_64.tar.gz --strip 1 -C /opt/dropbox-client
Step 3. Linking Dropbox client.
We needed to run the below command on the server in the folder where we want to store the Dropbox files:
cd /usr/share/dropbox
/opt/dropbox-client/dropboxd
/opt/dropbox-client/dropboxd
The first time you run the client, you should see an output that looks like this:
This computer isn't linked to any Dropbox account...
Please visit https://www.dropbox.com/cli_link_nonce?nonce=9c4d26a095e82e2abmwe468029d66236f to link this device.
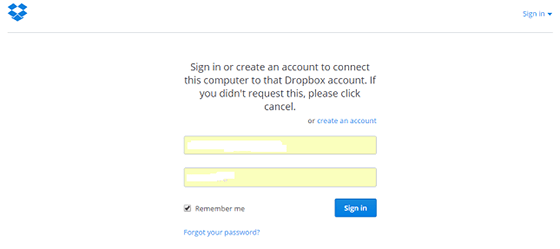
We needed to copy the above link code and paste it on any browser enter the credentials of your Dropbox account and save it when we click on continue.

The next step is to set up some scripts so that Dropbox will run as a service so that you don’t need to be logged in for the client to keep running:
curl -o /etc/init.d/dropbox https://gist.githubusercontent.com/thisismitch/6293d3f7f5fa37ca6eab/raw/2b326bf77368cbe5d01af21c623cd4dd75528c3d/dropbox
curl -o /etc/systemd/system/dropbox.service https://gist.githubusercontent.com/thisismitch/6293d3f7f5fa37ca6eab/raw/99947e2ef986492fecbe1b7bfbaa303fefc42a62/dropbox.service
Make the scripts executable with this command:
chmod +x /etc/systemd/system/dropbox.service /etc/init.d/dropbox
The script expects the /etc/systemd/dropbox file to contain a list of system users that will run Dropbox. Create the file and open it for editing with this command:
nano /etc/sysconfig/dropbox
Next, add a line that specifies that DROPBOX_USERS is equal to your system username. For example, if your username is “idroot”, it should look like this, and don’t forget Save and exit:
DROPBOX_USERS="idroot"
Finally, We needed to start and enable them to start at boot time with the below commands:
systemctl daemon-reload
systemctl start dropbox
systemctl enable dropbox
Congratulations! You have successfully installed Dropbox. Thanks for using this tutorial for installing Dropbox on CentOS 7 system. For additional help or useful information, we recommend you check the official Dropbox website.