In this tutorial, we will show you how to install and configuration of Ruby on Rails on your CentOS 7. For those of you who didn’t know, Ruby on Rails (RoR) is a framework written in the Ruby programming language that allows you to use Ruby in combination with HTML, CSS, and similar programming languages. It is used by many developers since it makes application development very simple.
This article assumes you have at least basic knowledge of Linux, know how to use the shell, and most importantly, you host your site on your own VPS. The installation is quite simple and assumes you are running in the root account, if not you may need to add ‘sudo‘ to the commands to get root privileges. I will show you the step-by-step installation of Ruby on Rails on a CentOS 7 server.
Prerequisites
- A server running one of the following operating systems: CentOS 7.
- It’s recommended that you use a fresh OS install to prevent any potential issues.
- SSH access to the server (or just open Terminal if you’re on a desktop).
- A
non-root sudo useror access to theroot user. We recommend acting as anon-root sudo user, however, as you can harm your system if you’re not careful when acting as the root.
Install Ruby on Rails on CentOS 7
Step 1. First, let’s start by ensuring your system is up-to-date.
yum clean all
yum -y update
Step 2. Installing Rbenv.
Rbenv is a ruby version management tool. We will use this to install and manage our Ruby installation. So let’s start the installation of rbenv:
yum install -y git-core zlib zlib-devel gcc-c++ patch readline readline-devel libyaml-devel libffi-devel openssl-devel make bzip2 autoconf automake libtool bison curl sqlite-devel
Now we are ready to install rbenv. The easiest way to do that is to run these commands:
cd
git clone git://github.com/sstephenson/rbenv.git .rbenv
echo 'export PATH="$HOME/.rbenv/bin:$PATH"' >> ~/.bash_profile
echo 'eval "$(rbenv init -)"' >> ~/.bash_profile
source ~/.bash_profile
git clone git://github.com/sstephenson/ruby-build.git ~/.rbenv/plugins/ruby-build
echo 'export PATH="$HOME/.rbenv/plugins/ruby-build/bin:$PATH"' >> ~/.bash_profile
source ~/.bash_profile
This installs rbenv into your home directory and sets the appropriate environment variables that will allow rbenv to the active version of Ruby.
Step 3. Installing Ruby.
You need to determine the version of Ruby that you need. You can list available Ruby versions for installation with the following command:
rbenv install -l
As we can see on the list that the latest stable version is 2.3.1, you can install Ruby using the following command:
rbenv install -v 2.2.1
rbenv global 2.2.1
You can verify the installation using the command below. It will show you the version and details of the installation:
ruby -v
If you do not want rubygems to install the documentation for each package locally, run the below command:
echo "gem: --no-ri --no-rdoc" > ~/.gemrc
Now, Install the bundler gem which is used to manage your application dependencies using the following commands:
gem install bundler
Step 4. Installing Rails.
To install Rails on your system you can run the following command:
gem install rails
After installing any package through gems it is important to run the following command so that it can install shims for all Ruby executables known to rbenv, which will allow you to use the executables:
rbenv rehash
To check the version of Rails, you can execute the command below:
[root@idroot.us ~]# rails -v
Rails 5.0.0
Step 5. Installing JavaScript Runtime.
A few Rails features, such as the asset pipeline, depend on a Javascript runtime. We will install Node.js to provide this functionality:
yum -y install epel-release
yum -y install nodejs
Step 6. Create a test application.
To make sure that the Ruby on Rails installation completed successfully, We can create a test application by following the steps below:
cd ~
rails new testapp
cd testapp
rake db:create
Now start your Rails server using the following command:
rails server --binding=Your-Server-IP
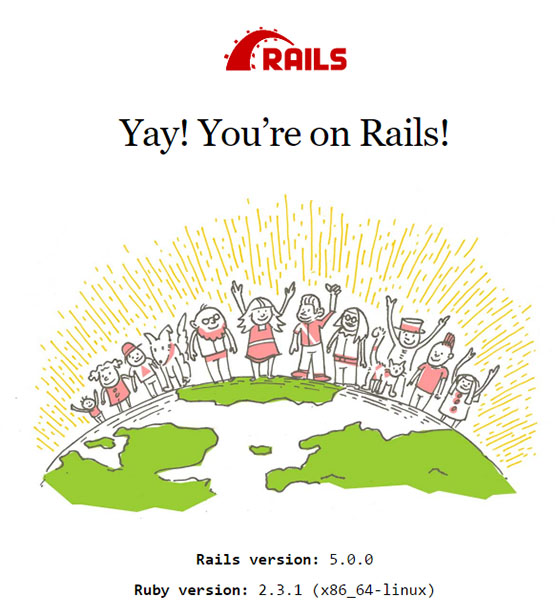
Visit http://Your-Server-IP:3000 from your browser. If you see the “Welcome aboard” message, your Ruby on Rails installation is successful.

Congratulations! You have successfully installed Ruby on Rails. Thanks for using this tutorial for installing Ruby on Rails in CentOS 7 systems. For additional help or useful information, we recommend you to check the official Ruby on Rails website.