How To Setup UFW Firewall on Ubuntu 24.04 LTS

In this tutorial, we will show you how to setup UFW Firewall on Ubuntu 24.04 LTS. UFW, short for Uncomplicated Firewall, is a powerful yet straightforward tool designed to manage your Ubuntu server’s network security. As a frontend for the more complex iptables, UFW simplifies the process of creating and managing firewall rules, making it an ideal choice for both novice and experienced system administrators.
Ubuntu 24.04 LTS users need a robust firewall solution to protect their systems from unauthorized access and potential security breaches. UFW provides an essential layer of defense by controlling incoming and outgoing network traffic based on predetermined security rules.
Prerequisites
Before diving into the UFW setup process, ensure you have the following:
- An Ubuntu 24.04 LTS system (server or desktop)
- Sudo access or root privileges
- A stable internet connection
- Basic familiarity with terminal commands
Understanding UFW
UFW is designed to be an uncomplicated solution for managing your firewall. It acts as a user-friendly layer on top of iptables, simplifying the process of configuring network security rules. By default, UFW denies all incoming connections and allows all outgoing connections, providing a secure starting point for your firewall configuration.
One of UFW’s strengths is its support for both IPv4 and IPv6 protocols, ensuring comprehensive network protection. Ubuntu 24.04 LTS integrates seamlessly with UFW, making it an ideal choice for securing your system.
Installation Process
UFW often comes pre-installed on Ubuntu systems. To check if it’s already on your system, run:
sudo ufw versionIf UFW is not installed, you can easily add it to your system. First, update your package lists:
sudo apt updateThen, install UFW using the following command:
sudo apt install ufwAfter installation, verify that UFW is properly installed by checking its version again:
sudo ufw versionBasic UFW Configuration
Now that UFW is installed, let’s configure it to protect your Ubuntu 24.04 LTS system.
Checking Initial Status
First, check the current status of UFW:
sudo ufw status verboseIf UFW is inactive, you’ll see a message indicating that it’s not enabled.
Enabling IPv6 Support
To ensure UFW protects both IPv4 and IPv6 connections, edit the UFW configuration file:
sudo nano /etc/default/ufwFind the line containing IPV6=no and change it to IPV6=yes. Save and exit the file.
Setting Default Policies
Before enabling UFW, set the default policies:
sudo ufw default deny incoming
sudo ufw default allow outgoing
These commands set UFW to deny all incoming connections and allow all outgoing connections by default.
Enabling UFW
Now, enable UFW with the following command:
sudo ufw enableYou’ll be prompted to confirm. Type ‘y’ and press Enter. UFW is now active and enforcing your default policies.
Managing Firewall Rules
With UFW enabled, it’s time to configure specific rules to allow necessary traffic while maintaining security.
Basic Syntax for Rules
The basic syntax for adding a rule is:
sudo ufw allow|deny port/protocolCommon Port Management
Here are some common ports you might want to open:
SSH (Port 22)
To allow SSH connections:
sudo ufw allow 22/tcpHTTP (Port 80)
For web servers, allow HTTP traffic:
sudo ufw allow 80/tcpHTTPS (Port 443)
For secure web traffic:
sudo ufw allow 443/tcpWorking with Specific Protocols
You can specify rules for TCP or UDP protocols:
sudo ufw allow 53/udp  # Allow DNS over UDP
sudo ufw allow 53/tcp  # Allow DNS over TCP
Service-based Rules
UFW also supports service names. For example, to allow SSH:
sudo ufw allow sshIP Address Rules
You can create rules for specific IP addresses or ranges:
sudo ufw allow from 192.168.1.0/24 to any port 22 # Allow SSH from local networkApplication Profiles
UFW includes predefined application profiles that simplify rule creation for common services.
Listing Available Profiles
To see available profiles:
sudo ufw app listViewing Profile Details
To view details of a specific profile:
sudo ufw app info 'Apache Full'Implementing Profile Rules
To allow traffic based on a profile:
sudo ufw allow 'Apache Full'Advanced Configuration
For more fine-grained control, UFW offers advanced configuration options.
Rate Limiting
To protect against brute-force attacks, implement rate limiting:
sudo ufw limit sshThis allows SSH connections but limits them to 6 or fewer connections per 30 seconds.
Port Ranges
You can specify port ranges:
sudo ufw allow 6000:6007/tcp # Allow TCP ports 6000 to 6007Custom Rules
For complex scenarios, you can create custom rules by editing the rules file:
sudo nano /etc/ufw/before.rulesLogging Options
Enable logging for better monitoring:
sudo ufw logging onYou can set logging levels to low, medium, high, or full.
Security Best Practices
To maintain a secure system, follow these best practices:
- Only open ports that are absolutely necessary
- Use SSH key authentication instead of password authentication
- Regularly update your system and UFW
- Monitor UFW logs for suspicious activity
- Use rate limiting for sensitive services
Troubleshooting
If you encounter issues with UFW, try these troubleshooting steps:
Check UFW Status
sudo ufw status verboseVerify Rules
sudo ufw show addedReset UFW
If you need to start over:
sudo ufw resetCommon Issues
If you’re locked out of SSH, you may need to access your server directly or through your hosting provider’s console to disable UFW:
sudo ufw disableGUI Alternatives
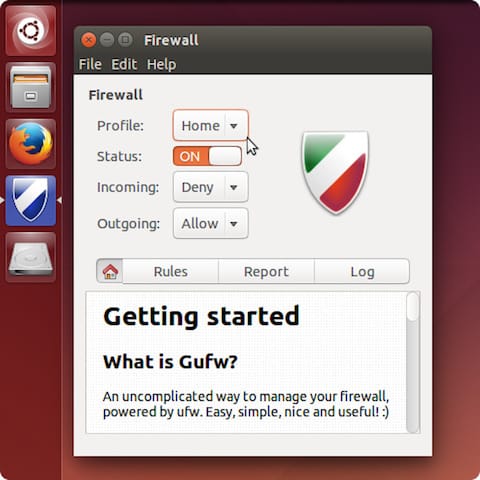
For those who prefer a graphical interface, GUFW (Graphical Uncomplicated Firewall) provides a user-friendly frontend to UFW. Install it with:
sudo apt install gufwGUFW allows you to manage firewall rules through a graphical interface, which can be particularly useful for desktop users or those less comfortable with command-line operations.

While the GUI offers convenience, the command-line interface provides more granular control and is generally preferred for server environments. Choose the method that best suits your needs and comfort level.
Congratulations! You have successfully installed and set up UFW. Thanks for using this tutorial for installing UFW Firewall on your Ubuntu 24.04 LTS system. For additional help or useful information, we recommend you check the official UFW Firewall website.