In this tutorial, we will show you how to install and configuration of Odoo on your CentOS 7. For those of you who didn’t know, Odoo is one of the most popular and most powerful Open Source ERP business software based on the Python programming language. It is a web-based fully-featured application and comes with Open Source CRM, Point of Sales, Human Resource Management, Point of Sales, Billing and Accounting, Event Management, Email Marketing, Order Tracking, etc. This application is helpful to maintain ERP in any business.
This article assumes you have at least basic knowledge of Linux, know how to use the shell, and most importantly, you host your site on your own VPS. The installation is quite simple and assumes you are running in the root account, if not you may need to add ‘sudo‘ to the commands to get root privileges. I will show you the step-by-step installation of Odoo on a CentOS 7 server.
Odoo Features
- Odoo comes with a Website Builder, which supports WYSIWYG editor, version control, form builder, and Multi Website with an option to add blogs, forums, and slide shows.
- Odoo comes with multiple themes and inbuilt e-commerce software.
- Odoo has contract management as well as subscription management features.
- Odoo comes with customizable project management and timesheets options, it has inbuilt Invoicing and Project management features.
- Odoo comes with full-featured Accounting software which includes VoIP integration including an option to send mass mailings and link tracking.
- Odoo comes with an inbuilt CRM which does accurate forecasting and shows a real-time overview.
Install Odoo on CentOS 7
Step 1. First, let’s start by ensuring your system is up-to-date.
yum clean all
yum -y update
Step 2. Next, you can add the EPEL repository before you can install Odoo using YUM:
Run the following command to do so:
yum install -y epel-release
Step 3. Installing the PostgreSQL database.
Install and configure PostgreSQL using the following commands:
yum install -y postgresql-server
Once it is installed and started for the first time, we have to initialize the PostgreSQL database:
postgresql-setup initdb
Now finally start the PostgreSQL database by issuing the below command:
systemctl start postgresql
systemctl enable postgresql
Step 4. Installing Odoo.
Add the Odoo YUM repository to the system:
nano /etc/yum.repos.d/odoo.repo
With the following content:
[odoo-nightly]
name=Odoo Nightly repository
baseurl=http://nightly.odoo.com/9.0/nightly/rpm/
enabled=1
gpgcheck=1
gpgkey=https://nightly.odoo.com/odoo.key
Now you can install Odoo using the following command:
yum install -y odoo
After the installation is completed, start Odoo and enable it to start at boot times:
systemctl start odoo
systemctl enable odoo
Open Odoo’s configuration file and uncomment the ‘admin_passwd’ line to set the admin master password:
nano /etc/odoo/openerp-server.conf
admin_passwd = YourPassword
Step 5. Configure Firewall for Odoo.
Modify the firewall rules to allow visitors to access Odoo using PostgreSQL’s default communicating port 8069:
firewall-cmd --zone=public --permanent --add-service=http
firewall-cmd --zone=public --permanent --add-port=8069/tcp
firewall-cmd --reload
Step 6. Accessing Odoo.
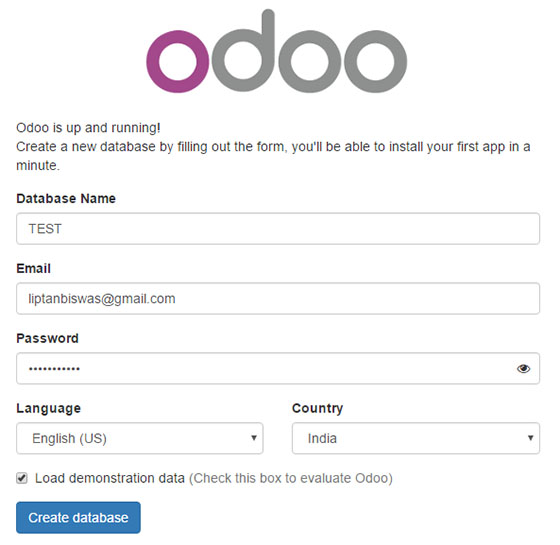
Odoo will be available on HTTP port 8069 by default. Open your favorite browser and navigate to http://your-domain.com:8069 or http://server-ip:8069.

Congratulations! You have successfully installed Odoo. Thanks for using this tutorial for installing Odoo on your CentOS 7 system. For additional help or useful information, we recommend you check the official Odoo website.