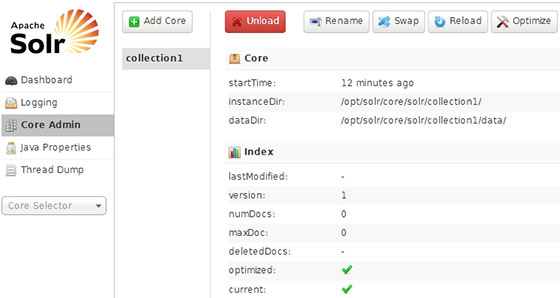
In this tutorial, we will show you how to install and configuration of Apache Solr on your CentOS 7 server. For those of you who didn’t know, Apache Solr is an open-source search platform written on Java. It is based on Apache Lucene and is written in Java. Just like Elasticsearch, it supports database queries through REST APIs. Solr aims at providing distributed indexing, replication, and load-balanced querying with automated failover and recovery.
This article assumes you have at least basic knowledge of Linux, know how to use the shell, and most importantly, you host your site on your own VPS. The installation is quite simple. I will show you the step-by-step installation of Apache Solr in CentOS 7.
Prerequisites
- A server running one of the following operating systems: CentOS 7.
- It’s recommended that you use a fresh OS install to prevent any potential issues.
- SSH access to the server (or just open Terminal if you’re on a desktop).
- A
non-root sudo useror access to theroot user. We recommend acting as anon-root sudo user, however, as you can harm your system if you’re not careful when acting as the root.
Install Apache Solr on CentOS 7
Step 1. First, let’s start by ensuring your system is up-to-date.
yum -y update
Step 2. Install the latest available version of Java on your server.
yum list available java*
yum install java-1.8.0-openjdk.x86_64
Checking Installed java version:
which java
java -version
Step 3. Installing Apache Solr.
The first thing to do is to go to Apache Solr’s download page and download the latest stable version of Apache Solr, At the moment of writing this article it is version 5.4.0:
wget http://apache.org/dist/lucene/solr/5.4.0/solr-5.4.0.tgz
Unpack the Apache Solr archive to the document root directory on your server:
tar -xvf solr-5.4.0.tgz
mv /opt/solr-5.4.0 /opt/solr
mv /opt/solr/example /opt/solr/core
Step 4. Create a script for handling the Solr server service.
Create a systemd service for Solr or if you are used to the old init scripts, you can keep using them. Create an init script for the Solr service:
nano /etc/init.d/solr
#!/bin/bash
#
# chkconfig: 2345 20 20
# short-description: Solr
# description: Startup script for Apache Solr Server

SOLR_DIR="/opt/solr/core"
LOG_FILE="/var/log/solr.log"
JAVA="/usr/bin/java -DSTOP.PORT=8079 -DSTOP.KEY=stopkey -jar start.jar"

start() {
echo -n "Starting Solr... "
cd $SOLR_DIR
$JAVA > $LOG_FILE 2>&1 &
sleep 2
RETVAL=$?

    if [ $RETVAL = 0 ]
    then
        echo "done."
    else
        echo "failed. See error code for more information."
    fi
    return $RETVAL
}

stop() {
echo -n "Stopping Solr... "
pkill -f start.jar > /dev/null
RETVAL=$?

    if [ $RETVAL = 0 ]
    then
        echo "done."
    else
        echo "failed. See error code for more information."
    fi
    return $RETVAL
}

case "$1" in
start)
start
;;
stop)
stop
;;
restart)
stop
start
;;
*)
echo $"Usage: solr {start|stop|restart}"
exit 3
esac
exit $RETVAL
Save the file and make it executable:
chmod +x /etc/init.d/solr
chkconfig --add solr
You can now start Solr using the following command:
/etc/init.d/solr start
You should also be able to use the ‘service’ command to start, stop, and restart Solr:
service solr start
service solr stop
service solr restart
Step 5. Configure Iptables or Firewall.
If you use Iptables add a rule to allow access to Solr’s admin section and query Solr data:
sudo firewall-cmd --zone = public --add-port = 8983 / tcp --permanent
sudo firewall-cmd --reload
Step 6. Accessing Apache Solr.
Apache Solr will be available on HTTP port 8983 by default. Open your favorite browser and navigate to http://your-domain.com:8983/solr/ or http://your-server-ip:8983/solr/.

Congratulations! You have successfully installed Apache Solr. Thanks for using this tutorial for installing Apache Solr on your CentOS 7 system. For additional help or useful information, we recommend you check the official Apache Solr website.