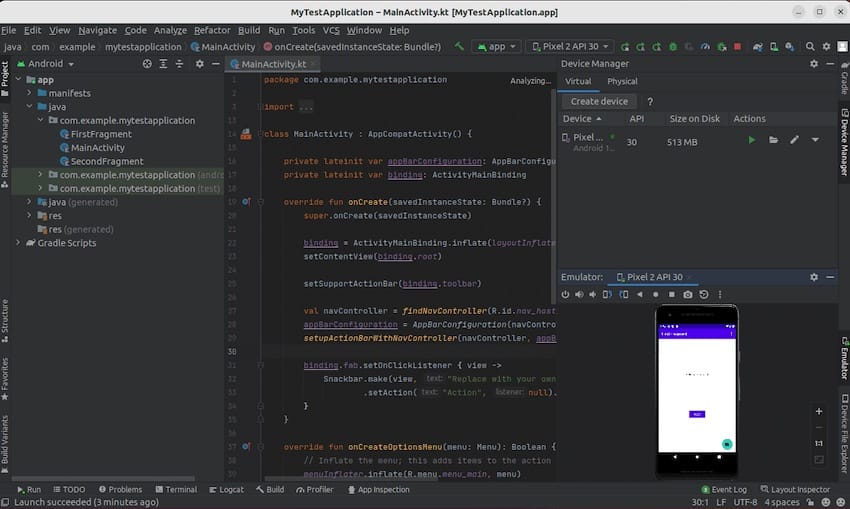
How To Install Android Studio on Ubuntu 24.04 LTS

Android Studio offers a robust set of tools for building apps across various Android devices. With its intuitive interface, advanced code editing capabilities, and performance optimization features, it has become the go-to choice for developers worldwide. Whether you’re a seasoned professional or just starting out, installing Android Studio on your Ubuntu system is the first step towards creating cutting-edge Android applications.
This article assumes you have at least basic knowledge of Linux, know how to use the shell, and most importantly, you host your site on your own VPS. The installation is quite simple and assumes you are running in the root account, if not you may need to add ‘sudo‘ to the commands to get root privileges. I will show you the step-by-step installation of the Android Studio on Ubuntu 24.04 (Noble Numbat). You can follow the same instructions for Ubuntu 22.04 and any other Debian-based distribution like Linux Mint, Elementary OS, Pop!_OS, and more as well.
Prerequisites
Before diving into the installation process, it’s crucial to ensure your system meets the minimum requirements for running Android Studio smoothly. Here are the essential prerequisites:
- A server running one of the following operating systems: Ubuntu and any other Debian-based distribution like Linux Mint.
- It’s recommended that you use a fresh OS install to prevent any potential issues.
- SSH access to the server (or just open Terminal if you’re on a desktop).
- 8 GB RAM or more (16 GB recommended).
- 8 GB of available disk space (SSD recommended).
- An active internet connection. You’ll need an internet connection to download the necessary packages and dependencies.
- An Ubuntu 24.04 system with root access or a user with sudo privileges.
Install Android Studio on Ubuntu 24.04 LTS
Step 1. Update System Packages.
Before proceeding with the installation, ensure your system packages are up to date:
sudo apt update
sudo apt upgrade
This command will refresh the package lists and upgrade any outdated packages to their latest versions. Keeping your system up-to-date is a good practice for maintaining stability and security.
Step 2. Installing Java Development Kit (JDK).
Android Studio requires the Java Development Kit to function properly. To install the latest version of OpenJDK, open a terminal and run the following commands:
sudo apt update
sudo apt install openjdk-17-jdk
Verify the installation by checking the Java version:
java -version
Step 2. Installing Android Studio.
- Install Android Studio via Snap
Snap is a package management system developed by Canonical, the company behind Ubuntu. It simplifies the installation process and ensures automatic updates for Android Studio. Here’s how to install Android Studio using Snap:
sudo snap install android-studio --classic
The --classic flag is necessary because Android Studio requires full system access to function correctly.
Once the installation is complete, verify that Android Studio has been installed successfully:
snap list android-studio
This command will display information about the installed Android Studio package.
- Method 2: Installing Android Studio using Flatpak
Flatpak is another popular package management system that offers sandboxed applications. Here’s how to install Android Studio using Flatpak:
sudo apt install flatpak
Add the Flathub repository, which hosts a wide range of Flatpak applications:
flatpak remote-add --if-not-exists flathub https://flathub.org/repo/flathub.flatpakrepo
Install Android Studio using Flatpak with the following command:
flatpak install flathub com.google.AndroidStudio
Follow the on-screen prompts to complete the installation.
- Method 3: Manual Installation using Official Tarball
For users who prefer more control over the installation process, manually installing Android Studio using the official tarball is an excellent option.
Visit the official Android Studio download page and download the latest version for Linux.
Open a terminal, navigate to the directory containing the downloaded tarball, and extract it:
tar -xzf android-studio-*.tar.gz
Move the extracted folder to a suitable location, such as /opt/:
sudo mv android-studio /opt/
To launch Android Studio from the application menu, create a desktop entry file:
sudo nano /usr/share/applications/android-studio.desktop
Add the following content to the file:
[Desktop Entry]
Version=1.0
Type=Application
Name=Android Studio
Comment=Integrated Android developer tools for development and debugging.
Exec=/opt/android-studio/bin/studio.sh
Icon=/opt/android-studio/bin/studio.png
Categories=Development;IDE;
Terminal=false
StartupNotify=true
StartupWMClass=android-studio
Save the file and exit the text editor.
Step 3. Accessing Android Studio on Ubuntu.
Launch Android Studio from the application menu or by running android-studio in the terminal.

Congratulations! You have successfully installed Android Studio. Thanks for using this tutorial for installing the Android Studio on the Ubuntu 24.04 LTS system. For additional help or useful information, we recommend you check the official Android Studio website.