How To Install Angie on Rocky Linux 9

In this tutorial, we will show you how to install Angie on Rocky Linux 9. Angie Web Server is a powerful, high-performance web server software that has been gaining popularity for its robust features and user-friendly interface. It’s designed to handle a high volume of simultaneous requests, making it an excellent choice for busy websites. Angie Web Server is also known for its security features, including built-in protection against common web attacks.
This article assumes you have at least basic knowledge of Linux, know how to use the shell, and most importantly, you host your site on your own VPS. The installation is quite simple and assumes you are running in the root account, if not you may need to add ‘sudo‘ to the commands to get root privileges. I will show you the step-by-step installation of the Angie web server on Rocky Linux 9 or RHEL-based.
Prerequisites
- A server running one of the following operating systems: Rocky Linux 9.
- It’s recommended that you use a fresh OS install to prevent any potential issues.
- SSH access to the server (or just open Terminal if you’re on a desktop).
- An active internet connection. You’ll need an internet connection to download the necessary packages and dependencies for Angie.
- A
non-root sudo useror access to theroot user. We recommend acting as anon-root sudo user, however, as you can harm your system if you’re not careful when acting as the root.
Install Angie on Rocky Linux 9
Step 1. The first step in any software installation process on a Linux system is to update the system packages. This is a crucial step as it ensures that you have the latest security patches and software updates, providing a secure environment for your new software. To update your system packages on Rocky Linux 9, you can use the following command:
sudo dnf update
sudo dnf install dnf-plugins-core
Step 2. Installing Angie Web Server on Rocky Linux.
In the Linux world, a repository is a storage location from where software packages can be retrieved and installed. To install Angie Web Server, you need to add the Angie repository to your system. This can be done using the following command:
[angie]
name=Angie repo
baseurl=https://download.angie.software/angie/rocky/$releasever/
gpgcheck=1
enabled=1
gpgkey=https://angie.software/keys/angie-signing.gpg.asc
With the Angie repository added to your system, you’re now ready to install Angie Web Server. This can be done using the following command:
sudo dnf install angie
Once the installation process is complete, it’s important to verify that Angie Web Server has been installed correctly. This can be done using the following command:
angie --version
Step 3. Configure Angie Web Server.
After verifying the installation, the next step is to configure Angie Web Server to suit your needs. This involves editing the Angie configuration file, which can be done using the following commands:
# To edit the configuration file
sudo nano /etc/angie/angie.conf

# To restart Angie Web Server after making changes
sudo systemctl restart angie
The final step in the installation process is to start Angie Web Server and enable it to start on boot. This ensures that the web server is always running, even after a system reboot. This can be done using the following commands:
sudo systemctl start angie
sudo systemctl enable angie
Step 4. Test Angie Web Server.
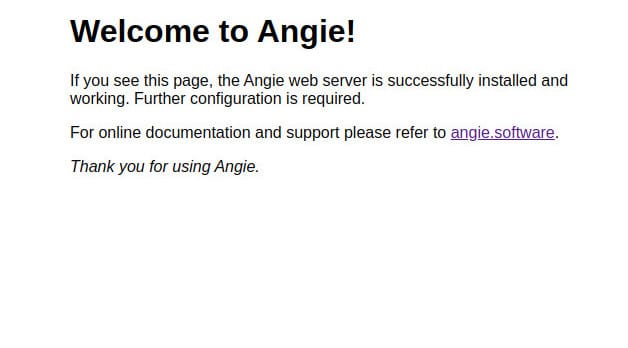
Next, test the Angie Web Server by accessing it through a web browser. You can do this by entering your server’s IP address or domain name into the address bar of your web browser. If the Angie Web Server is running correctly, you should see a welcome page.

Congratulations! You have successfully installed Angie. Thanks for using this tutorial for installing the Angie web server on your Rocky Linux 9 system. For additional help or useful information, we recommend you check the official Angie website.