In this tutorial, we will show you how to install Apache on AlmaLinux 8. For those of you who didn’t know, Apache is one of the most popular and widely used web servers in the world, powering millions of websites and web applications. As an open-source software, Apache offers a reliable, secure, and flexible platform for hosting websites.
This article assumes you have at least basic knowledge of Linux, know how to use the shell, and most importantly, you host your site on your own VPS. The installation is quite simple and assumes you are running in the root account, if not you may need to add ‘sudo‘ to the commands to get root privileges. I will show you the step-by-step installation of the Apache webserver on an AlmaLinux 8.
Prerequisites
- A server running one of the following operating systems: AlmaLinux 8.
- It’s recommended that you use a fresh OS install to prevent any potential issues.
- SSH access to the server (or just open Terminal if you’re on a desktop).
- A
non-root sudo useror access to theroot user. We recommend acting as anon-root sudo user, however, as you can harm your system if you’re not careful when acting as the root.
Install Apache on AlmaLinux 8
Step 1. It’s always a good practice to keep your system up-to-date with the latest security patches and bug fixes. To update AlmaLinux 8 packages, run the following command:
sudo dnf update
sudo dnf install epel-release
This command will update all installed packages on your system without prompting for confirmation.
Step 2. Installing Apache on AlmaLinux 8.
Now we run the following command to install the Apache webserver:
sudo dnf install httpd
After the installation is complete, you can verify the Apache version by running:
httpd -v
When that installation completes, start and enable the web server with the commands:
sudo systemctl enable httpd
sudo systemctl start httpd
sudo systemctl status httpd
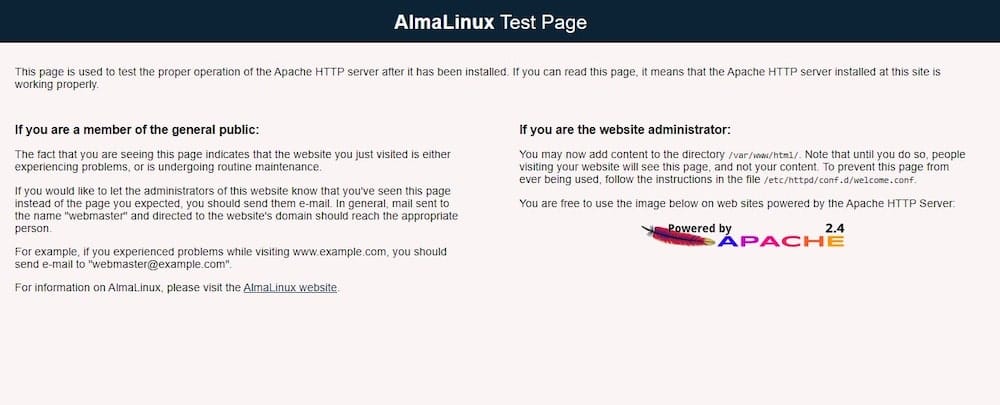
You can test to make sure everything is working correctly by navigating to http://your-ip-address your system. You should be greeted by the default Apache page, as seen below:

With Apache up and running, we’re ready to configure our website. The default directory for our website’s files is /var/www/html.
Step 3. Configure Firewall.
If you also plan to configure Apache to serve content over HTTPS, you will also want to open up port 443 by enabling the HTTPS service:
sudo firewall-cmd --permanent --zone=public --add-service=http
sudo firewall-cmd --permanent --zone=public --add-service=https
sudo firewall-cmd --reload
Step 4. Securing Apache with Let’s Encrypt SSL/TLS.
To secure your website with SSL/TLS encryption, you can use Let’s Encrypt, a free, automated, and open-source Certificate Authority. Follow these steps to obtain and configure SSL/TLS certificates for your Apache virtual host:
sudo dnf install certbot python3-certbot-apache
Obtain SSL/TLS certificates for your virtual host:
sudo certbot --apache -d your_domain.com -d www.your_domain.com
Follow the prompts to provide your email address and agree to the terms of service.
Verify that your website is accessible over HTTPS by accessing https://your_domain.com in a web browser.
Congratulations! You have successfully installed Apache. Thanks for using this tutorial for installing the Apache webserver on your AlmaLinux 8 system. For additional help or useful information, we recommend you check the official Apache website.