How To Install Apache Solr on Fedora 39

In this tutorial, we will show you how to install Apache Solr on Fedora 39. Apache Solr is a powerful, open-source search platform built on Apache Lucene. It’s widely recognized for its full-text search, hit highlighting, faceted search, real-time indexing, and rich document-handling capabilities. Solr is a popular choice for enterprise search and analytics use cases. Installing the latest version of Apache Solr on Fedora ensures you have access to the newest features and security updates.
This article assumes you have at least basic knowledge of Linux, know how to use the shell, and most importantly, you host your site on your own VPS. The installation is quite simple and assumes you are running in the root account, if not you may need to add ‘sudo‘ to the commands to get root privileges. I will show you the step-by-step installation of the Apache Solr on a Fedora 39.
Prerequisites
Before diving into the installation process, let’s ensure that you have everything you need:
- A server running one of the following operating systems: Fedora 39.
- It’s recommended that you use a fresh OS install to prevent any potential issues.
- You will need access to the terminal to execute commands. Fedora 39 provides the Terminal application for this purpose. It can be found in your Applications menu.
- A network connection or internet access to download the Apache Solr package.
- A
non-root sudo useror access to theroot user. We recommend acting as anon-root sudo user, however, as you can harm your system if you’re not careful when acting as the root.
Install Apache Solr on Fedora 39
Step 1. Before diving into the installation process, it’s essential to ensure that your Fedora 39 system is up-to-date and has all the necessary prerequisites. Start by updating your system packages to the latest versions:
sudo dnf clean all
sudo dnf update
Step 2. Installing Java.
Apache Solr requires Java Runtime Environment (JRE) version 11 or higher. Verify your Java installation by executing:
java -version
If Java is not installed or your version is outdated, install or update Java using dnf:
sudo dnf install java-11-openjdk
Additionally, the lsof command is essential for Solr’s installation process. Install it by running:
sudo dnf install lsof
Step 3. Installing Apache Solr on Fedora 39.
The first step is to download the latest version of Apache Solr. Navigate to the official Apache Solr download page to identify the most recent release. Use the wget command to download the Solr distribution archive. Replace the version number with the latest version available:
wget https://archive.apache.org/dist/lucene/solr/9.5.0/solr-9.5.0.tgz
Once downloaded, extract the package and run the installation script:
tar xzf solr-9.5.0.tgz solr-9.5.0/bin/install_solr_service.sh --strip-components=2
sudo bash ./install_solr_service.sh solr-9.5.0.tgz
The script will take care of setting up Solr as a service, which means it will start automatically on system boot. You can check the status of the Solr service with:
sudo systemctl status solr
Step 4. Configuring Apache Solr.
Configuring Solr for optimal performance is a critical step. This involves adjusting the Java heap size, setting up garbage collection parameters, and optimizing index caching. For a production environment, a Java heap size of at least 16 GB is recommended. You can set this in the Solr configuration file, typically located at /etc/default/solr.in.sh or /etc/default/solr.in.cmd for Windows users.
Garbage collection is another area where tuning can have a significant impact on performance. Enable GC logging and monitor the logs to identify any potential issues. Adjust the GC settings based on your specific workload and environment.
Index caching is crucial for quick search results, especially when dealing with large datasets. Solr provides several cache types that can be configured to improve performance, such as the filter cache, query result cache, and document cache.
Step 5. Start and Enable Solr Service.
Start the Solr service and enable it to start on boot:
sudo systemctl start solr
sudo systemctl enable solr
To check the status of the Solr service:
sudo systemctl status solr
Step 6. Configure Firewall.
Configure the firewall to allow traffic on the default Solr port (8983):
sudo firewall-cmd --permanent --add-port=8983/tcp
sudo firewall-cmd --reload
Step 7. Accessing Apache Solr Web Interface.
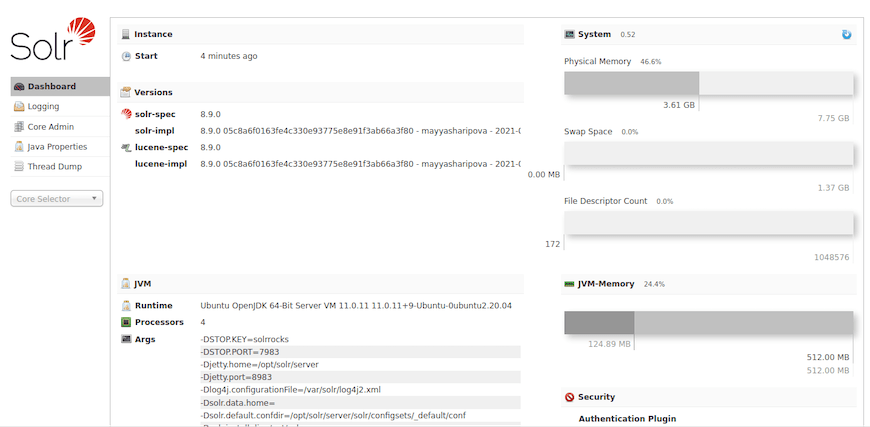
Once successfully installed, access the Solr web interface by navigating to http://<your-server-ip>:8983/solr in your web browser. Replace <your-server-ip> with the IP address of your openSUSE server.

Congratulations! You have successfully installed Apache Solr. Thanks for using this tutorial for installing the Apache Solr on your Fedora 39 system. For additional or useful information, we recommend you check the official Apache website.