How To Install Avidemux on Fedora 39

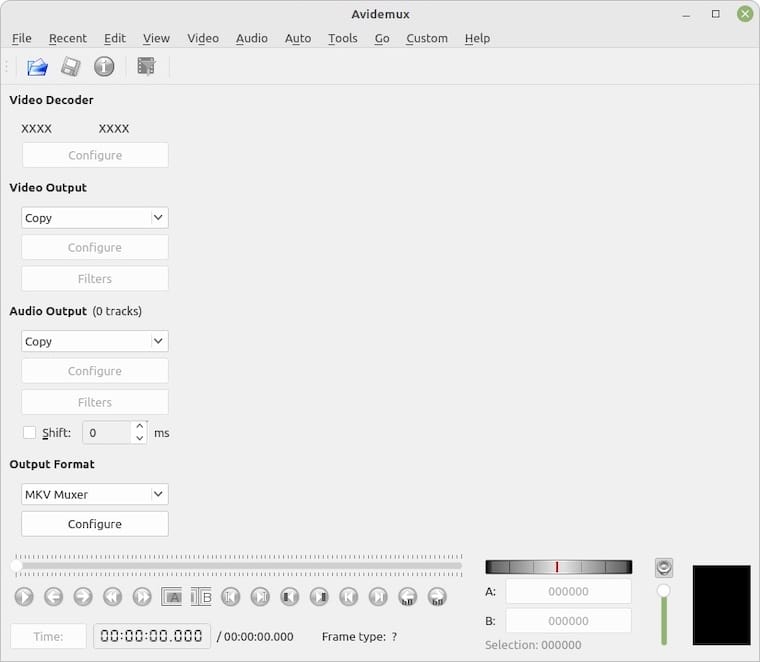
In this tutorial, we will show you how to install Avidemux on Fedora 39. Avidemux is a cross-platform video editing software that supports a wide range of video formats and codecs, including AVI, MP4, MOV, and MKV. It provides a user-friendly interface for performing basic video editing tasks, such as cutting, filtering, and encoding. Compared to other popular video editors like Adobe Premiere Pro or Final Cut Pro, Avidemux focuses on simplicity and efficiency, making it an ideal choice for users who need to perform quick and straightforward editing tasks without the complexity of advanced features.
This article assumes you have at least basic knowledge of Linux, know how to use the shell, and most importantly, you host your site on your own VPS. The installation is quite simple and assumes you are running in the root account, if not you may need to add ‘sudo‘ to the commands to get root privileges. I will show you the step-by-step installation of the Avidemux video editor on a Fedora 39.
Prerequisites
Before diving into the installation process, let’s ensure that you have everything you need:
- A server running one of the following operating systems: Fedora 39.
- It’s recommended that you use a fresh OS install to prevent any potential issues.
- You will need access to the terminal to execute commands. Fedora 39 provides the Terminal application for this purpose. It can be found in your Applications menu.
- A network connection or internet access to download the Avidemux package.
- A non-root sudo user or access to the root user. We recommend acting as a non-root sudo user, however, as you can harm your system if you’re not careful when acting as the root.
Install Avidemux on Fedora 39
Step 1. Before installing Avidemux, it’s also recommended to update your system to ensure that you have the latest packages and security patches. Open a terminal and run the following command:
sudo dnf clean all
sudo dnf update
This command will update all the installed packages on your Fedora 39 system, providing a stable and secure foundation for installing Avidemux.
Step 2. Enable the RPM Fusion repositories.
Enable the RPM Fusion repositories by running the following commands in a terminal:
sudo dnf install https://download1.rpmfusion.org/free/fedora/rpmfusion-free-release-$(rpm -E %fedora).noarch.rpm
sudo dnf install https://download1.rpmfusion.org/nonfree/fedora/rpmfusion-nonfree-release-$(rpm -E %fedora).noarch.rpm
These commands will download and install the necessary repository files for both the free and non-free RPM Fusion repositories.
Step 3. Installing Avidemux on Fedora 39.
Once the repositories are enabled, Install Avidemux using the DNF package manager by running the following command:
sudo dnf install avidemux
Step 4. Accessing Avidemux on Fedora.
After the installation is complete, verify that Avidemux is installed correctly by launching it from the application menu or by running the following command in a terminal:
avidemux

Step 5. Troubleshooting Installation Issues.
- If you encounter any errors during the installation process, ensure that you have enabled the RPM Fusion repositories correctly and that your system is up to date.
- If Avidemux fails to launch, try running it from the terminal to see if any error messages are displayed. Common issues include missing dependencies or conflicts with existing packages.
- Consult the Avidemux documentation or seek support from the Avidemux community forums if you encounter persistent problems.
Congratulations! You have successfully installed Avidemux. Thanks for using this tutorial for installing the Avidemux video editor on your Fedora 39 system. For additional or useful information, we recommend you check the official Avidemux website.