How To Install BleachBit on Ubuntu 20.04 LTS

In this tutorial, we will show you how to install BleachBit on Ubuntu 20.04 LTS. For those of you who didn’t know, BleachBit is software that can be used to optimize your PC’s performance and free up disk space. With BleachBit you can free cache, delete cookies, clear Internet history, shred temporary files, delete logs, and discard junk you didn’t know was there.
This article assumes you have at least basic knowledge of Linux, know how to use the shell, and most importantly, you host your site on your own VPS. The installation is quite simple and assumes you are running in the root account, if not you may need to add ‘sudo‘ to the commands to get root privileges. I will show you the step-by-step installation of BleachBit to clean your system and free disk space on Ubuntu 20.04 (Focal Fossa). You can follow the same instructions for Ubuntu 18.04, 16.04, and any other Debian-based distribution like Linux Mint.
Prerequisites
- A server running one of the following operating systems: Ubuntu 20.04, 18.04, 16.04, and any other Debian-based distribution like Linux Mint.
- It’s recommended that you use a fresh OS install to prevent any potential issues.
- SSH access to the server (or just open Terminal if you’re on a desktop).
- An active internet connection.
- A
non-root sudo useror access to theroot user. We recommend acting as anon-root sudo user, however, as you can harm your system if you’re not careful when acting as the root.
Install BleachBit on Ubuntu 20.04 LTS Focal Fossa
Step 1. To ensure a successful installation, it’s recommended to update your system packages before proceeding. Open your Terminal and run the following commands:
sudo apt update
sudo apt upgrade
These commands will update your system’s package lists and upgrade any outdated packages, minimizing potential conflicts during the BleachBit installation.
Step 2. Installing BleachBit on Ubuntu 20.04.
By default, BleachBit is not available on the Ubuntu 20.04 base repository. Now run the following command below to download the latest .deb package of BleachBit from the official page:
wget https://download.bleachbit.org/bleachbit_4.6.0-0_all_ubuntu2004.deb
Then, run the following commands to install the BleachBit package:
sudo dpkg -i bleachbit_4.6.0-0_all_ubuntu2004.deb
If you get a dependency error while installing the .deb packages, you can run the following command to fix it:
sudo apt install -f
You can verify that BleachBit was installed correctly by running the following command:
bleachbit --version
Step 3. Accessing BleachBit on Ubuntu Linux.
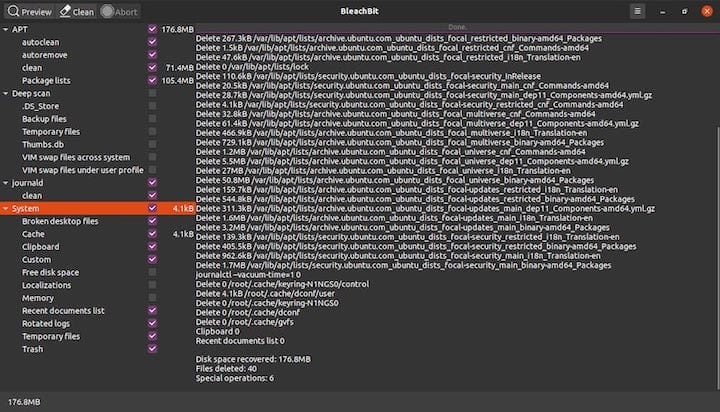
Once successfully installed, You can access BleachBit through the desktop interface by navigating to Activities -> Show Applications -> BleachBit. Alternatively, you can launch BleachBit directly from the Terminal using the following command:
bleachbit

When using BleachBit, it’s crucial to carefully select the options you want to clean to avoid potential issues. BleachBit provides a wide range of cleaning options, from system files to user-specific data. Take your time to explore the available options and select only those that are safe to clean for your specific needs.
Congratulations! You have successfully installed BleachBit. Thanks for using this tutorial for installing the BleachBit on Ubuntu 20.04 LTS Focal Fossa system. For additional help or useful information, we recommend you check the official BleachBit website.