How To Install Cockpit on Fedora 38

In this tutorial, we will show you how to install Cockpit on Fedora 38. Cockpit, a powerful web-based server management tool, revolutionizes the way administrators handle Fedora servers. Its intuitive interface simplifies complex tasks, making server administration accessible even to novices.
This article assumes you have at least basic knowledge of Linux, know how to use the shell, and most importantly, you host your site on your own VPS. The installation is quite simple and assumes you are running in the root account, if not you may need to add ‘sudo‘ to the commands to get root privileges. I will show you the step-by-step installation of the Cockpit web-based graphical interface for managing Linux servers on a Fedora 38.
Prerequisites
- A server running one of the following operating systems: Fedora 38.
- It’s recommended that you use a fresh OS install to prevent any potential issues.
- SSH access to the server (or just open Terminal if you’re on a desktop).
- An active internet connection. You’ll need an internet connection to download the necessary packages and dependencies for Cockpit.
- A
non-root sudo useror access to theroot user. We recommend acting as anon-root sudo user, however, as you can harm your system if you’re not careful when acting as the root.
Install Cockpit on Fedora 38
Step 1. Before we can install Cockpit on Fedora 38, it’s important to ensure that our system is up-to-date with the latest packages. This will ensure that we have access to the latest features and bug fixes and that we can install Cockpit without any issues:
sudo dnf upgrade --refresh
sudo dnf install dnf-plugins-core
Step 2. Installing Cockpit on Fedora 38.
Open the terminal and run the following command to install Cockpit:
sudo dnf install cockpit
Once the installation is complete, start the Cockpit service by running the following command:
sudo systemctl start cockpit
To enable Cockpit to start automatically at boot time, run the following command:
sudo systemctl enable cockpit
Step 3. Firewall Configuration.
Configure the firewall to permit Cockpit connections by executing the following command:
sudo firewall-cmd --add-service=cockpit --permanent
sudo firewall-cmd --reload
Step 4. Accessing Cockpit Web Interface.
Once Cockpit is installed and running, you can access it using a web browser. Open your web browser and enter the following URL:
https://localhost:9090

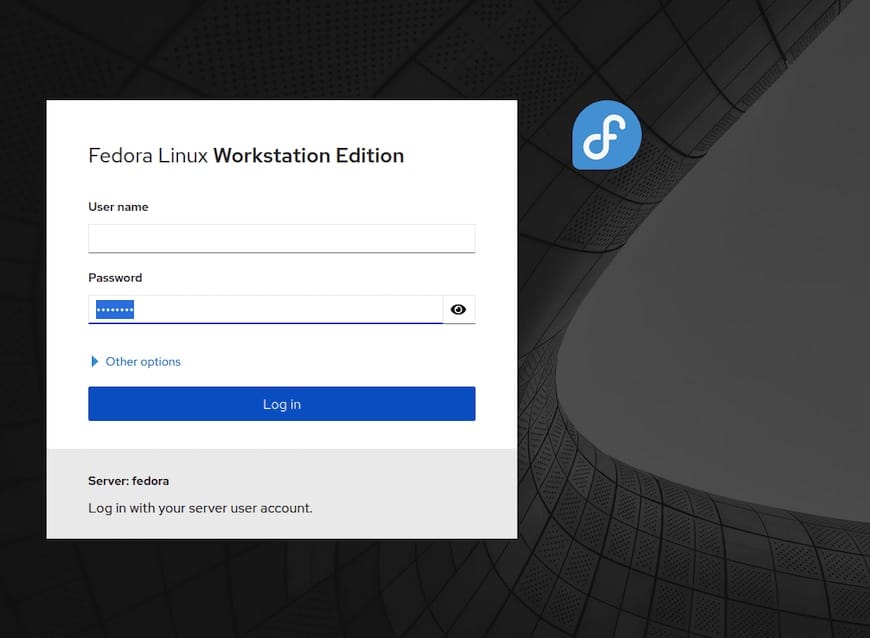
You will be prompted to enter your system username and password to log in to Cockpit. After logging in, you will be presented with the Cockpit dashboard, where you can manage your system.
Step 5. Troubleshooting and Tips.
- A. Common Issues and Solutions:
-
Unable to Access Cockpit:
- Ensure the firewall settings are correctly configured to allow connections to port 9090.
- Double-check the URL entered in the web browser for accuracy.
- Cockpit Installation Fails:
- Confirm that the Cockpit repository is properly configured, and the server has an active internet connection.
- If installation issues persist, try updating your Fedora system and retry the installation.
- B. Tips for Efficient Server Management with Cockpit:
- Regularly Monitor System Performance:
- Keep a close eye on system metrics to detect and address performance bottlenecks promptly.
- Implement Regular Backups:
- Regularly back up critical data to ensure data integrity and facilitate disaster recovery.
-
Utilize the Terminal for Advanced Configurations:
- While Cockpit streamlines most server management tasks, familiarize yourself with the terminal for intricate configurations.
Congratulations! You have successfully installed Cockpit. Thanks for using this tutorial for installing Cockpit web-based graphical interface for managing Linux servers on your Fedora 38 system. For additional help or useful information, we recommend you check the official Cockpit website.