![]()
In this tutorial, we will show you how to install Cockpit on Rocky Linux 9. For those of you who didn’t know, Cockpit is a versatile server management tool that provides a sleek web-based user interface for managing Linux servers. It offers real-time monitoring of system performance metrics such as CPU usage, memory utilization, disk space, and network activity. Cockpit also simplifies common administrative tasks, including user management, service control, and log inspection.
One of the key advantages of using Cockpit is its ease of use compared to traditional command-line tools. With Cockpit, you can perform complex server management tasks through a user-friendly web interface, making it accessible to users with varying levels of Linux expertise. Additionally, Cockpit’s remote management capabilities allow you to administer your Rocky Linux 9 servers from any device with a web browser, providing flexibility and convenience.
This article assumes you have at least basic knowledge of Linux, know how to use the shell, and most importantly, you host your site on your own VPS. The installation is quite simple and assumes you are running in the root account, if not you may need to add ‘sudo‘ to the commands to get root privileges. I will show you the step-by-step installation of the Cockpit on Rocky Linux. 9.
Prerequisites
- A server running one of the following operating systems: Rocky Linux 9.
- It’s recommended that you use a fresh OS install to prevent any potential issues.
- SSH access to the server (or just open Terminal if you’re on a desktop).
- An active internet connection to download necessary packages.
- A
non-root sudo useror access to theroot user. We recommend acting as anon-root sudo user, however, as you can harm your system if you’re not careful when acting as the root.
Install Cockpit on Rocky Linux 9
Step 1. Update Your System.
Keeping your system up-to-date is crucial for security and stability. Begin by updating your system packages to the latest versions.
sudo dnf check-update
sudo dnf install dnf-utils
This command will update all installed packages to their latest versions, ensuring your system is secure and running smoothly.
Step 2. Installing Cockpit on Rocky Linux 9.
With your system updated, you can now proceed to install Cockpit. Rocky Linux 9 includes Cockpit in its default AppStream repository, making the installation process straightforward. Run the following command to install Cockpit:
sudo dnf install cockpit
Once the installation is complete, you can verify it by checking the version of Cockpit installed:
cockpit --version
This command will display the installed version of Cockpit, confirming that the installation was successful.
After installed, start the Cockpit service using the systemctl start command:
sudo systemctl enable --now cockpit.socket
To ensure Cockpit starts automatically at boot, enable the service with the following command:
sudo systemctl enable cockpit
To verify that the Cockpit service is running correctly, use the following command:
sudo systemctl status cockpit
Step 3. Configure Firewall.
If any firewall is installed and configured on your server, then you will need to allow ports via firewalld. You can allow them with the following command:
sudo firewall-cmd --permanent --zone=public --add-service=cockpit
sudo firewall-cmd --reload
These commands will add the Cockpit service to the firewall and reload the firewall configuration to apply the changes.
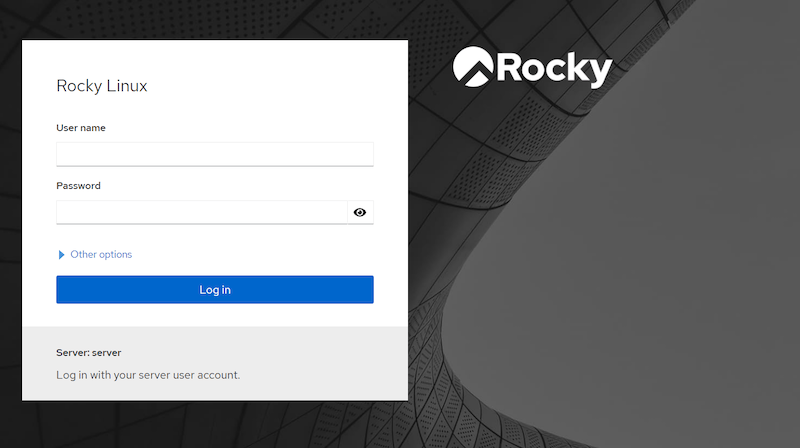
Step 4. Accessing Cockpit Web Interface.
Once successfully installed, open your web browser and access the Cockpit admin interface using the URL https://your-IP-address:9090.
Replace your-IP-address with the IP address or hostname of your Rocky Linux 9 server. If you encounter an SSL certificate warning, you can safely bypass it since Cockpit uses a self-signed certificate by default.
Note: You may encounter a security warning about an untrusted SSL certificate. This is normal for the default self-signed certificate used by Cockpit. You can safely proceed by accepting the risk and continuing to the website.
Congratulations! You have successfully installed Cockpit. Thanks for using this tutorial for installing Cockpit server manager on your Rocky Linux 9 system. For additional help or useful information, we recommend you check the official Cockpit website.
[su_box title=”VPS Manage Service Offer” style=”bubbles” box_color=”#000000″ radius=”10″]If you don’t have time to do all of this stuff, or if this is not your area of expertise, we offer a service to do “VPS Manage Service Offer”, starting from $10 (Paypal payment). Please contact us to get the best deal![/su_box]