![]()
In this tutorial, we will show you how to install Django on AlmaLinux 9. Django, a robust web framework powered by Python, stands as a pillar in web application development. AlmaLinux 9, renowned for its security and stability, forms an excellent foundation for hosting Django applications.
This article assumes you have at least basic knowledge of Linux, know how to use the shell, and most importantly, you host your site on your own VPS. The installation is quite simple and assumes you are running in the root account, if not you may need to add ‘sudo‘ to the commands to get root privileges. I will show you the step-by-step installation of the Django on AlmaLinux 9. You can follow the same instructions for CentOS and Rocky Linux or RHEL-based.
Prerequisites
- A server running one of the following operating systems: AlmaLinux 9.
- It’s recommended that you use a fresh OS install to prevent any potential issues.
- SSH access to the server (or just open Terminal if you’re on a desktop).
- An active internet connection. You’ll need an internet connection to download the necessary packages and dependencies for Django.
- Django requires certain permissions that can only be granted to a superuser or a user with
sudoprivileges. Ensure that you have the necessary administrative access.
Install Django on AlmaLinux 9
Step 1. Begin your journey by navigating to the terminal in AlmaLinux 9. Ensure your system is updated and fortified by executing the following commands:
sudo dnf clean all
sudo dnf update
Step 2. Installing the Required Dependencies.
Django relies on Python, pip, and virtual environments. Install these prerequisites to pave the way for a smooth Django installation:
sudo dnf install python3 python3-pip python3-virtualenv
The Python 3 package and its associated pip (Python’s package installer) will be at your disposal. The virtual environment (venv) package, a crucial tool for isolating your project’s dependencies, is also a part of the package.
To ensure a clean and isolated environment for your Django project, you’ll create a virtual environment. This step is essential for managing dependencies efficiently:
python3 -m venv my_django_env
This command establishes a dedicated environment for your Django project, where you can install project-specific packages without interfering with your system’s Python packages.
To activate your newly created virtual environment, run the following command:
source my_django_env/bin/activate
You’ll know your virtual environment is active when you see its name in your terminal prompt. This ensures that any packages you install will be confined to this environment.
Step 3. Installing Django on Fedora 39.
With the environment set, you’re now ready to install Django. The Python package installer (pip) makes Django installation a breeze. Within your activated virtual environment, run:
pip install django
This command downloads and installs Django along with its dependencies. The magic of pip lies in its ability to fetch packages from the Python Package Index (PyPI) and install them with a single command.
To ensure a successful installation, you can check the installed Django version:
python -m django --version
You should see the installed Django version displayed in your terminal. This version number confirms that Django is ready to be put to work.
Step 4. Creating a Sample Django Project.
Start by initializing a new Django project. The following command sets up a project named ‘mysite‘:
django-admin startproject mysite
Django takes care of creating the necessary project files and directories, including the project’s settings and initial configuration.
Django projects have a well-organized structure to keep your code clean and maintainable. Take a moment to familiarize yourself with the key directories and files. Some of the most important ones include:
mysite/: The project’s root directory.manage.py: A command-line tool for managing various aspects of your Django project.mysite/settings.py: The main project settings, where you can configure database settings, security measures, and more.mysite/urls.py: The URL configuration for your project, defining how URLs map to views.mysite/wsgi.pyandmysite/asgi.py: Entry points for your web server, enabling you to serve your Django application.
To see your Django project in action, navigate to your project directory and start the development server with this command:
cd mysite
python manage.py runserver
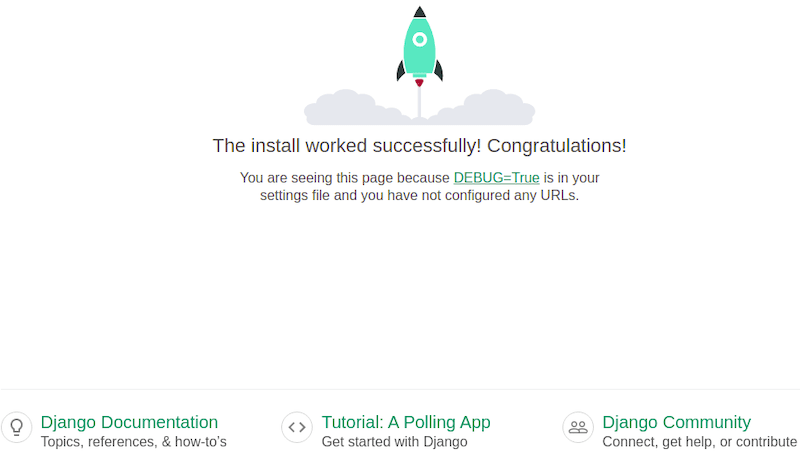
Your development server is now running and serving your Django project at http://localhost:8000/. Open your web browser and visit this address to see the default Django “Welcome” page.
Congratulations! You have successfully installed Django. Thanks for using this tutorial for installing Django on your AlmaLinux 9 system. For additional help or useful information, we recommend you check the official Django website.
[su_box title=”VPS Manage Service Offer” style=”bubbles” box_color=”#000000″ radius=”10″]If you don’t have time to do all of this stuff, or if this is not your area of expertise, we offer a service to do “VPS Manage Service Offer”, starting from $10 (Paypal payment). Please contact us to get the best deal![/su_box]