How To Install FileZilla on Debian 12

In this tutorial, we will show you how to install FileZilla on Debian 12. File transfers are an integral part of modern computing, and when it comes to managing your files efficiently, FileZilla is a go-to choice for many users. Whether you need to upload files to a web server, download files from an FTP server, or simply organize your local files, FileZilla’s user-friendly interface and robust features make it a reliable choice.
This article assumes you have at least basic knowledge of Linux, know how to use the shell, and most importantly, you host your site on your own VPS. The installation is quite simple and assumes you are running in the root account, if not you may need to add ‘sudo‘ to the commands to get root privileges. I will show you the step-by-step installation of the MongoDB on a Debian 12 (Bookworm).
Prerequisites
- A server running one of the following operating systems: Debian 12 (Bookworm).
- It’s recommended that you use a fresh OS install to prevent any potential issues.
- SSH access to the server (or just open Terminal if you’re on a desktop).
- An active internet connection. You’ll need an internet connection to download the necessary packages and dependencies for FileZilla.
- A
non-root sudo useror access to theroot user. We recommend acting as anon-root sudo user, however, as you can harm your system if you’re not careful when acting as the root.
Install FileZilla on Debian 12 Bookworm
Step 1. Before we install any software, it’s important to make sure your system is up to date by running the following apt commands in the terminal:
sudo apt update && sudo apt upgrade
This command will refresh the repository, allowing you to install the latest versions of software packages.
Step 2. Installing FileZilla on Debian 12.
Now, let’s download the FileZilla Client. You can choose either the 32-bit or 64-bit version, depending on your system architecture. We recommend using the 64-bit version for better performance and compatibility. Make sure to replace [version] and [architecture] with the specific version and architecture you identified in the previous step:
wget https://download.filezilla-project.org/client/FileZilla_[version]_[architecture].tar.bz2
For instance, if you’re using a 64-bit system and want to download FileZilla version 3.65.0, the command would look like this:
wget https://dl1.cdn.filezilla-project.org/client/FileZilla_3.65.0_x86_64-linux-gnu.tar.xz
The downloaded FileZilla package is in the form of a tarball (a compressed archive). To extract it, use the following command:
tar xjf FileZilla_3.65.0_x86_64-linux-gnu.tar.xz
To make FileZilla easily accessible system-wide, it’s a good practice to move it to the /opt directory:
sudo mv FileZilla3 /opt/
Create a symbolic link to the FileZilla binary to run it conveniently from the terminal:
sudo ln -s /opt/FileZilla3/bin/filezilla /usr/local/bin/filezilla
Step 3. Creating a Desktop Entry.
To create a desktop entry for FileZilla, allowing you to launch it from your application menu, use the following command:
echo -e '[Desktop Entry]\nName=FileZilla\nExec=filezilla\nIcon=/opt/FileZilla3/share/icons/hicolor/48x48/apps/filezilla.png\nType=Application\nCategories=Network;FileTransfer;\nTerminal=false' | sudo tee /usr/share/applications/filezilla.desktop
You may want to verify that FileZilla has been correctly installed and check its version. To do this, run the following command:
filezilla --version
Step 4. Accessing FileZilla on Debian.
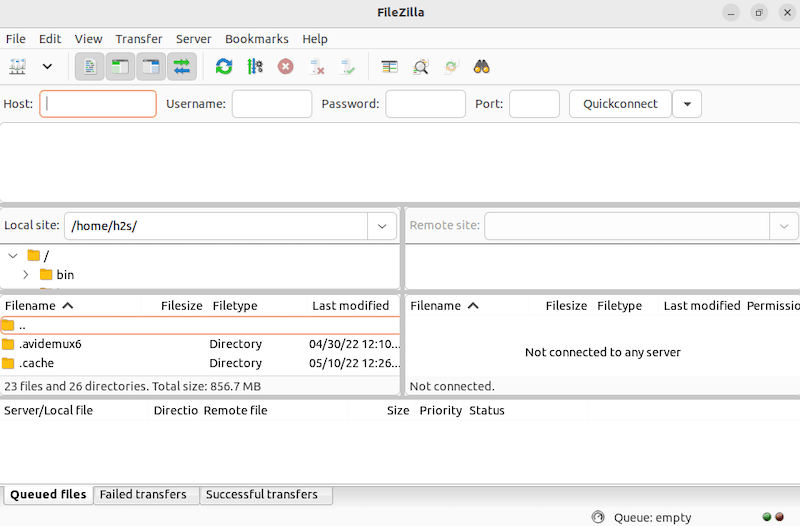
Launch FileZilla by typing filezilla in the terminal or by searching for it in the applications menu.

Congratulations! You have successfully installed FileZilla. Thanks for using this tutorial for installing the latest version of FileZilla on Debian 12 Bookworm. For additional help or useful information, we recommend you check the official FileZilla website.