How To Install Fish Shell on Debian 12

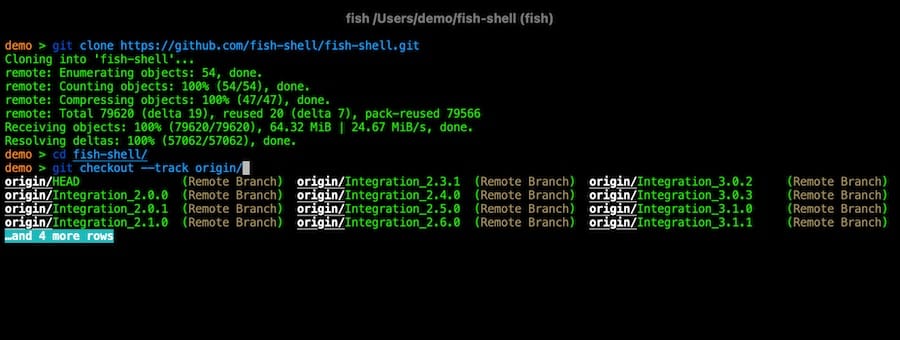
In this tutorial, we will show you how to install Fish Shell on Debian 12. Fish Shell, also known as “fish,” is a modern command-line interface that is designed to be user-friendly and interactive. It offers features like syntax highlighting, autosuggestions, and tab completions, which enhance the user experience and productivity on the command line. Fish is not just a shell but also a scripting language, allowing users to write and execute scripts with ease.
Fish is designed to be feature-rich by default rather than highly configurable, and intentionally does not adhere to POSIX shell standards. The shell emphasizes user experience and interactivity, with the creator preferring to add new features as commands rather than syntax, making features more discoverable through built-in help and documentation.
This article assumes you have at least basic knowledge of Linux, know how to use the shell, and most importantly, you host your site on your own VPS. The installation is quite simple and assumes you are running in the root account, if not you may need to add ‘sudo‘ to the commands to get root privileges. I will show you the step-by-step installation of Fish Shell on a Debian 12 (Bookworm).
Prerequisites
- A server running one of the following operating systems: Debian 12 (Bookworm).
- It’s recommended that you use a fresh OS install to prevent any potential issues.
- SSH access to the server (or just open Terminal if you’re on a desktop).
- An active internet connection. You’ll need an internet connection to download the necessary packages and dependencies for Fish Shell.
- A user account with sudo privileges to execute administrative commands.
Install Fish Shell on Debian 12 Bookworm
Step 1. Update Your Debian system.
Update the package lists to get the latest versions of packages and their dependencies:
sudo apt update
sudo apt upgrade
Step 2. Installing Fish Shell on Debian 12.
Install Fish Shell from the official Debian repositories:
sudo apt install fish
Verify the installation by checking the version of Fish Shell:
fish --version
Step 3. Configuring Fish Shell.
- Setting Fish as the Default Shell
To fully integrate Fish into your daily workflow, set it as your default shell:
chsh -s /usr/bin/fish
This command changes your default shell to Fish, enhancing your command-line experience every time you log in.
- Customizing the Fish Environment
Fish is highly customizable. Start by editing the Fish configuration file located at ~/.config/fish/config.fish. This file is the heart of Fish customization, allowing you to add custom functions, variables, and startup commands.
For more dynamic customization, Fish offers a web-based configuration tool accessible via:
fish_config
This tool provides a user-friendly interface for customizing prompts, functions, and color schemes.
Step 4. Accessing Fish Shell on Debian.
Use your preferred method to open a terminal window on your Debian system. Type fish and press Enter. This command switches your current session to Fish Shell. You’ll notice the prompt change, indicating that Fish is now running.

Step 5. Uninstall Fish Shell.
To uninstall Fish, you’ll need to use the package management commands to remove the Fish package, the repository, and any residual configuration files. This will clean up your system and remove all traces of Fish:
sudo apt remove fish
After uninstalling Fish, you may want to switch back to your previous shell, such as Bash. This can be done using the chsh command, which will restore your original shell as the default:
chsh -s /bin/bash
Congratulations! You have successfully installed Fish Shell. Thanks for using this tutorial to install the latest version of the Fish Shell on Debian 12 Bookworm. For additional help or useful information, we recommend you check the official Fish Shell website.