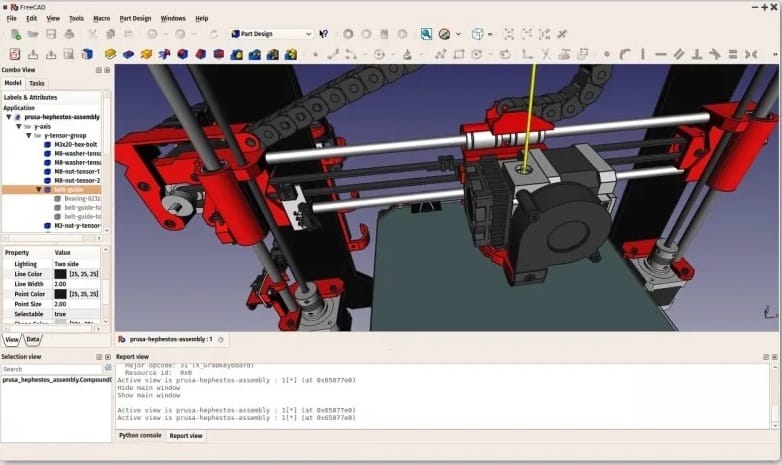
How To Install FreeCAD on AlmaLinux 9

In this tutorial, we will show you how to install FreeCAD on AlmaLinux 9. FreeCAD is a powerful, open-source parametric 3D modeling software that has gained popularity among designers, engineers, and hobbyists alike. Its versatility and robustness make it an excellent choice for a wide range of applications, including product design, mechanical engineering, and architecture. With its user-friendly interface and extensive feature set, FreeCAD enables users to create complex 3D models, perform simulations, and generate technical drawings with ease.
This article assumes you have at least basic knowledge of Linux, know how to use the shell, and most importantly, you host your site on your own VPS. The installation is quite simple and assumes you are running in the root account, if not you may need to add ‘sudo‘ to the commands to get root privileges. I will show you the step-by-step installation of the FreeCAD on AlmaLinux 9. You can follow the same instructions for CentOS and Rocky Linux or RHEL-based.
Prerequisites
- A server running one of the following operating systems: AlmaLinux 9.
- It’s recommended that you use a fresh OS install to prevent any potential issues.
- SSH access to the server (or just open Terminal if you’re on a desktop).
- An active internet connection. You’ll need an internet connection to download the necessary packages and dependencies.
- You’ll need root or sudo privileges to install OpenVAS and make system-wide changes. Make sure you have the necessary permissions before starting the installation process.
Install FreeCAD on AlmaLinux 9
Step 1. Update Your System.
Before installing FreeCAD, it’s always a good practice to update your system packages to ensure you have the latest versions and security patches. Open a terminal and run the following command:
sudo dnf clean all
sudo dnf update
This command will update all the installed packages on your AlmaLinux 9 system to their latest versions.
Step 2. Enable EPEL Repository.
The Extra Packages for Enterprise Linux (EPEL) repository provides additional software packages that are not included in the default AlmaLinux repositories. FreeCAD is available in the EPEL repository, so we need to enable it. Run the following command to enable EPEL:
sudo dnf install epel-release
This command will install the EPEL repository on your AlmaLinux 9 system, making additional packages, including FreeCAD, available for installation.
Step 3. Installing FreeCAD.
- Installing FreeCAD using DNF Package Manager
With the EPEL repository enabled, we can now proceed with installing FreeCAD. Run the following command:
sudo dnf install freecad
Once the installation process is complete, you can verify that FreeCAD is successfully installed by running the following command:
freecad --version
- Installing FreeCAD using AppImage
AppImage is a portable package format that allows you to run applications without the need for installation. It provides a convenient way to use FreeCAD without affecting your system’s package manager. Here’s how you can use FreeCAD with AppImage:
Visit the official FreeCAD releases page and download the AppImage file for the desired version of FreeCAD. Choose the AppImage file that matches your system architecture (64-bit).
By default, the downloaded AppImage file may not have execute permissions. To make it executable, open a terminal, navigate to the directory where the AppImage file is located, and run the following command:
chmod +x FreeCAD.AppImage
With the AppImage file made executable, you can now run FreeCAD by simply double-clicking on the AppImage file or running the following command in the terminal:
./FreeCAD.AppImage
FreeCAD will launch, and you can start using it without any further installation steps.

Step 4. Troubleshooting and FAQs.
Despite following the installation steps carefully, you may encounter issues or have questions related to FreeCAD on AlmaLinux 9. In this section, we’ll address common errors and provide answers to frequently asked questions.
-
- Dependency Issues: If you encounter dependency-related errors during the installation process, ensure that you have enabled the EPEL repository and run
sudo dnf updateto update your system packages. If the issue persists, try installing the missing dependencies manually using DNF. - Startup Crashes: If FreeCAD crashes or fails to start, try launching it from the terminal using the command
freecadto see if any error messages are displayed. Common causes include missing libraries or incompatible graphics drivers. Ensure that your system meets the minimum requirements and that you have the latest graphics drivers installed. - Performance Issues: If FreeCAD feels sluggish or unresponsive, consider upgrading your system’s hardware, especially the RAM and graphics card. Additionally, close any unnecessary applications running in the background to free up system resources.
- Dependency Issues: If you encounter dependency-related errors during the installation process, ensure that you have enabled the EPEL repository and run
Congratulations! You have successfully installed FreeCAD. Thanks for using this tutorial for installing the FreeCAD on your AlmaLinux 9 system. For additional help or useful information, we recommend you check the official FreeCAD website.