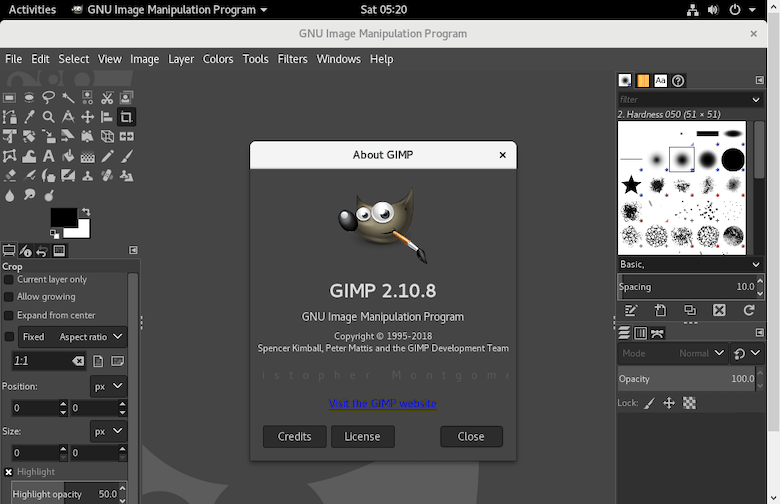
How To Install GIMP on Ubuntu 24.04 LTS

In this tutorial, we will show you how to install GIMP on Ubuntu 24.04 LTS. GIMP (GNU Image Manipulation Program) is a powerful open-source image editing software that has been a go-to choice for Linux users for decades. With the release of Ubuntu 24.04 LTS (Long-Term Support), many users are eager to install GIMP on their systems to take advantage of its extensive features and capabilities.
This article assumes you have at least basic knowledge of Linux, know how to use the shell, and most importantly, you host your site on your own VPS. The installation is quite simple and assumes you are running in the root account, if not you may need to add ‘sudo‘ to the commands to get root privileges. I will show you the step-by-step installation of the GIMP powerful image editor on Ubuntu 24.04 (Noble Numbat). You can follow the same instructions for Ubuntu 22.04 and any other Debian-based distribution like Linux Mint, Elementary OS, Pop!_OS, and more as well.
Prerequisites
- A server running one of the following operating systems: Ubuntu and any other Debian-based distribution like Linux Mint.
- It’s recommended that you use a fresh OS install to prevent any potential issues.
- SSH access to the server (or just open Terminal if you’re on a desktop).
- An active internet connection. You’ll need an internet connection to download the necessary packages and dependencies.
- An Ubuntu 24.04 system with root access or a user with sudo privileges.
Install GIMP on Ubuntu 24.04 LTS Noble Numbat
Step 1. Updating the Package Repository.
Before installing any package, it’s a good practice to update the package lists to ensure you have access to the latest available versions. Open a terminal and run the following command:
sudo apt update
This command will fetch the latest package information from the Ubuntu repositories, allowing you to install the most recent version of GIMP and its dependencies. Updating the package repository is crucial to maintaining the security and stability of your system.
Step 2. Installing GIMP on Ubuntu 24.04.
- Method 1: Installing GIMP Using Terminal (APT)
For users who are comfortable with the command line, installing GIMP using the APT command in the Terminal is a quick and efficient method. Follow these steps:
sudo apt install gimp
Wait for the installation process to complete. You can launch GIMP by typing gimp in the Terminal or by searching for it in the Ubuntu search bar.
- Method 2: Installing GIMP Using Snap
Snap is a package manager developed by Canonical, the company behind Ubuntu. Snap packages are self-contained, meaning they come with all the necessary dependencies and libraries, making the installation process more straightforward and less prone to conflicts. To install GIMP using Snap, follow these steps:
sudo snap install gimp
Wait for the installation process to complete. You can launch GIMP by typing gimp in the Terminal or by searching for it in the Ubuntu search bar.
Method 3: Installing GIMP Using Flatpak
Flatpak is another popular package manager that allows users to install applications in a sandbox environment, isolating them from the rest of the system. This approach enhances security and reduces the risk of conflicts between different applications. To install GIMP using Flatpak on Ubuntu 24.04 LTS, follow these steps:
sudo apt install flatpak
Once Flatpak is installed, add the Flathub repository by running the following command:
flatpak remote-add --if-not-exists flathub https://flathub.org/repo/flathub.flatpakrepo
Install GIMP using Flatpak with the following command:
flatpak install flathub org.gimp.GIMP
Wait for the installation process to complete. You can launch GIMP by typing flatpak run org.gimp.GIMP in the Terminal or by searching for it in the Ubuntu search bar.

Congratulations! You have successfully installed GIMP. Thanks for using this tutorial for installing the GIMP powerful image editor on the Ubuntu 24.04 LTS system. For additional help or useful information, we recommend you check the GIMP website.