How To Install GlassFish on Rocky Linux 9

In this tutorial, we will show you how to install GlassFish on Rocky Linux 9. For those of you who didn’t know, GlassFish is a free and open-source implementation of the Java EE Platform developed by Eclipse. It’s the world’s leading implementation of the Java EE platform. GlassFish provides a lightweight application server and allows you to deploy multiple Java-based applications. The GlasshFish project was originally started by Sun Microsystem. It comes with two different free Licenses – The Common Development and Distribution License and the GNU General Public License.
This article assumes you have at least basic knowledge of Linux, know how to use the shell, and most importantly, you host your site on your own VPS. The installation is quite simple and assumes you are running in the root account, if not you may need to add ‘sudo‘ to the commands to get root privileges. I will show you the step-by-step installation of the GlassFish on Rocky Linux. 9.
Prerequisites
- A server running one of the following operating systems: Rocky Linux 9.
- It’s recommended that you use a fresh OS install to prevent any potential issues.
- SSH access to the server (or just open Terminal if you’re on a desktop).
- A
non-root sudo useror access to theroot user. We recommend acting as anon-root sudo user, however, as you can harm your system if you’re not careful when acting as the root.
Install GlassFish on Rocky Linux 9
Step 1. The first step is to update your system to the latest version of the package list. To do so, run the following commands:
sudo dnf check-update
sudo dnf install dnf-utils
Step 2. Installing Java.
The default Java OpenJDK is available on the Rocky Linux AppStream repository. Install it via the following dnf command:
sudo dnf install java-11-openjdk
If all installation is completed, verify your Java OpenJDK version using the following command:
java -version
For additional resources on installing Java, read the post below:
Step 3. Installing GlassFish on Rocky Linux 9.
Before starting the GlassFish installation, run the following command to create a new dedicated user for GlassFish:
sudo useradd -m -d /opt/glassfish6 -U -s /bin/false glassfish
By default, GlassFish is not available on the Rocky Linux 9 base repository. Simply install the GlassFish package by using the following command below:
cd /tmp
wget https://download.eclipse.org/ee4j/glassfish/glassfish-6.2.5.zip
Next, extract the GlassFish package ‘glassfish-6.2.5.zip‘ to the ‘/opt‘ directory:
unzip /tmp/glassfish-6.2.5.zip -d /opt
Now change the ownership of the GlassFish installation directory:
sudo chown -R glassfish:glassfish /opt/glassfish6
Step 4. Create GlassFish Systemd Service.
Now we create a new systemd service file ‘/lib/systemd/system/glassfish.service‘ using the following command below:
sudo nano /lib/systemd/system/glassfish.service
Add the following file:
[Unit]
Description = GlassFish Server v6
After = syslog.target network.target

[Service]
User=glassfish
ExecStart=/opt/glassfish6/bin/asadmin start-domain
ExecReload=/opt/glassfish6/bin/asadmin restart-domain
ExecStop=/opt/glassfish6/bin/asadmin stop-domain
Type = forking

[Install]
WantedBy = multi-user.target
Save the file then run the following systemctl command to reload the systemd manager and apply the new service:
sudo systemctl daemon-reload
sudo systemctl start glassfish
sudo systemctl enable glassfish
Step 5. Configure GlassFish Administration.
By default, GlassFish has no password, so we need to set a password for the GlassFish admin users and enable secure login:
sudo -u glassfish /opt/glassfish6/bin/asadmin --port 4848 change-admin-strong-password
Next, run the following command to start securing the GlassFish:
sudo -u glassfish /opt/glassfish6/bin/asadmin --port 4848 enable-secure-admin
For the changes to apply, restart the GlassFish service:
sudo systemctl restart glassfish
Step 6. Configure Firewall.
Rocky Linux 9 comes with firewalld enabled by default, and it will block other connections from other computers that are trying to access our GlassFish service. We must open the appropriate ports so that the GlassFish resources can be accessed from other machines:
sudo firewall-cmd --add-port=8080/tcp --zone=public
sudo firewall-cmd --add-port=4848/tcp --zone=public
sudo firewall-cmd --reload
Step 7. Accessing GlassFish Web Interface.
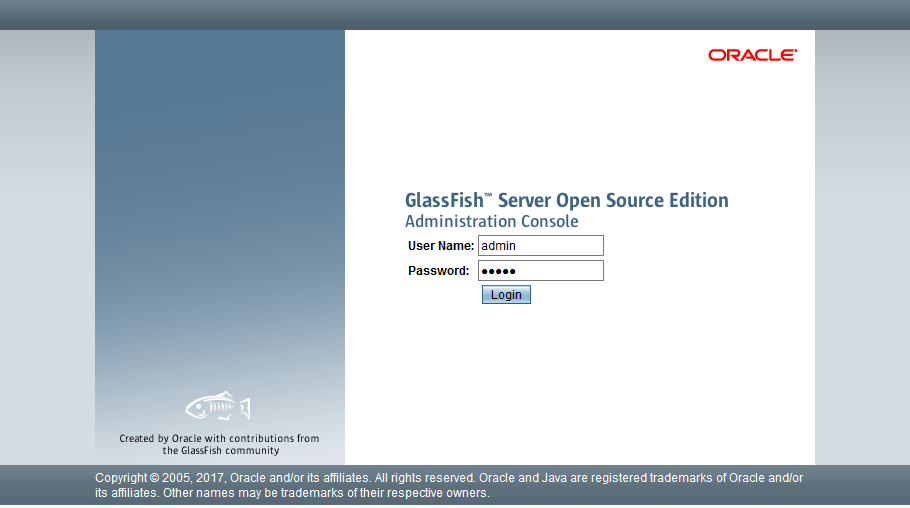
Once successfully installed, open your web browser and access the GlassFish Web UI using the URL http://your-IP-address:4848and you should see the GlassFish administration login page:

Step 8. Configure Nginx as Reverse Proxy.
Now we will be installing Nginx and setting up it as a reverse proxy for GlassFish. Run the following dnf command to install the Nginx web server:
sudo dnf install nginx
Next, create a new Nginx server blocks configuration:
sudo nano /etc/nginx/conf.d/glassfish.conf
Add the following file:
upstream glassfish6 {
  server 127.0.0.1:8080 weight=100 max_fails=5 fail_timeout=5;
}

server {
  listen          80;
  server_name     glassfish.your-domain.com;

  location / {
        proxy_set_header X-Forwarded-Host $host;
        proxy_set_header X-Forwarded-Server $host;
        proxy_set_header X-Forwarded-For $proxy_add_x_forwarded_for;
        proxy_pass http://glassfish6/;
  }
}
Save and close the file, then start and enable the Nginx service using the following commands:
sudo systemctl start nginx
sudo systemctl enable nginx
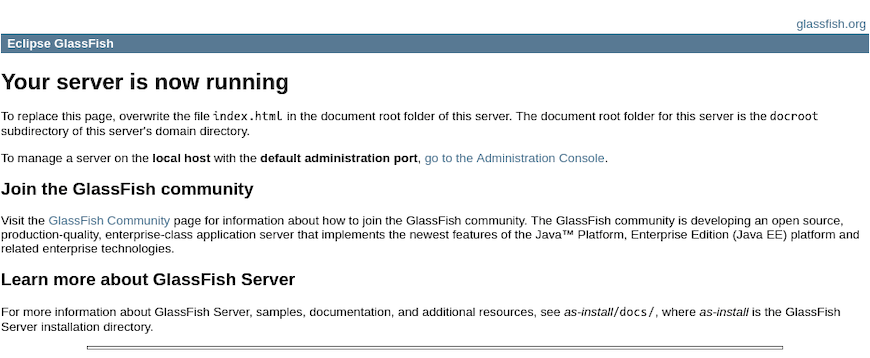
Once is done, open your web browser and visit the domain name of your GlassFish installation (i.e: http://glassfish.your-domain.com/). You should now get the default index.html page of the GlassFish:

For additional resources on installing Nginx, read the post below:
Congratulations! You have successfully installed GlassFish. Thanks for using this tutorial for installing the GlassFish on your Rocky Linux 9 system. For additional help or useful information, we recommend you check the official GlassFish website.