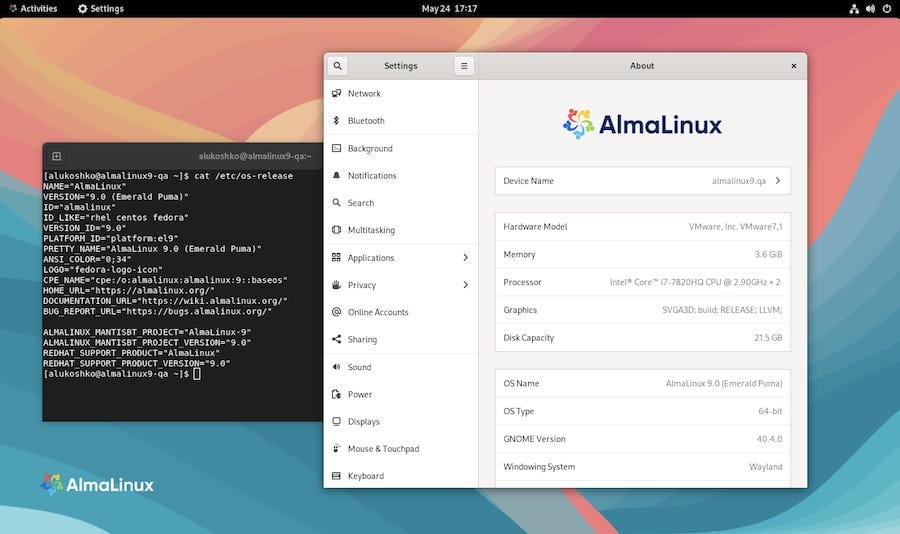
How To Install Gnome on AlmaLinux 9

In this tutorial, we will show you how to install Gnome on AlmaLinux 9. GNOME, which stands for GNU Network Object Model Environment, is a popular desktop environment that offers a user-friendly and visually appealing interface for Linux systems. With its intuitive design, customizable features, and extensive library of applications, GNOME provides an excellent user experience for both novice and advanced Linux users. When compared to other desktop environments available for Linux, such as KDE, Xfce, or MATE, GNOME stands out for its modern aesthetics, smooth performance, and active development community, making it a top choice for AlmaLinux 9 users seeking a polished and efficient desktop environment.
This article assumes you have at least basic knowledge of Linux, know how to use the shell, and most importantly, you host your site on your own VPS. The installation is quite simple and assumes you are running in the root account, if not you may need to add ‘sudo‘ to the commands to get root privileges. I will show you the step-by-step installation of the Gnome on AlmaLinux 9. You can follow the same instructions for CentOS and Rocky Linux or RHEL-based.
Prerequisites
- A server running one of the following operating systems: AlmaLinux 9.
- It’s recommended that you use a fresh OS install to prevent any potential issues.
- SSH access to the server (or just open Terminal if you’re on a desktop).
- An active internet connection. You’ll need an internet connection to download the necessary packages and dependencies.
- You’ll need root or sudo privileges to install Kitty Terminal and make system-wide changes. Make sure you have the necessary permissions before starting the installation process.
Install Gnome on AlmaLinux 9
Step 1. Update Your System.
Before installing GNOME, it is essential to update your AlmaLinux 9 system to ensure that you have access to the latest packages and security patches. Open a terminal and run the following command:
sudo dnf clean all
sudo dnf update
This command will update all the installed packages on your AlmaLinux 9 system to their latest versions. Keeping your system updated is crucial for maintaining stability, security, and compatibility with new software.
Step 2. Installing Gnome.
To install the GNOME desktop environment on AlmaLinux 9, use the following command in the terminal:
sudo dnf groupinstall "Server with GUI"
This command will install the GNOME desktop environment along with its associated packages and dependencies. The installation process may take some time, depending on your internet connection speed and system specifications.
After the installation is complete, you need to set GNOME as the default desktop environment. To do this, run the following command:
sudo systemctl set-default graphical.target
This command sets the default target to the graphical mode, which ensures that GNOME will start automatically on system boot.
To verify that GNOME has been successfully installed and set as the default desktop environment, reboot your system using the following command:
reboot
Upon reboot, you should be greeted by the GNOME login screen, indicating that the installation was successful.
Once you have installed GNOME and logged in to your new desktop environment, you can customize various settings to suit your preferences. GNOME provides a user-friendly Settings application that allows you to modify appearance, behavior, and functionality options. To access the Settings application, click on the Applications menu and search for “Settings.”
In the Settings application, you can change the wallpaper, adjust the theme, configure power management settings, and much more. Take some time to explore the various options and personalize your GNOME experience.

Step 3. Troubleshooting Common Issues
While the installation process of GNOME on AlmaLinux 9 is generally straightforward, you may encounter some common issues. Here are a few potential problems and their solutions:
-
- Black Screen After Login: If you encounter a black screen after logging in, try pressing Ctrl+Alt+F2 to switch to a virtual terminal. Log in using your credentials and run the following command to restart the GNOME Display Manager:
sudo systemctl restart gdm
-
- Missing Icons or Themes: If you notice missing icons or themes after installing GNOME, ensure that you have installed the necessary icon and theme packages. Run the following command to install the default GNOME icon and theme packages:
sudo dnf install gnome-icon-theme gnome-themes-standard
After installation, log out and log back in to apply the changes.
Congratulations! You have successfully installed Gnome. Thanks for using this tutorial for installing the Gnome on your AlmaLinux 9 system. For additional help or useful information, we recommend you check the official Gnome website.