How To Install Inkscape on CentOS Stream 10

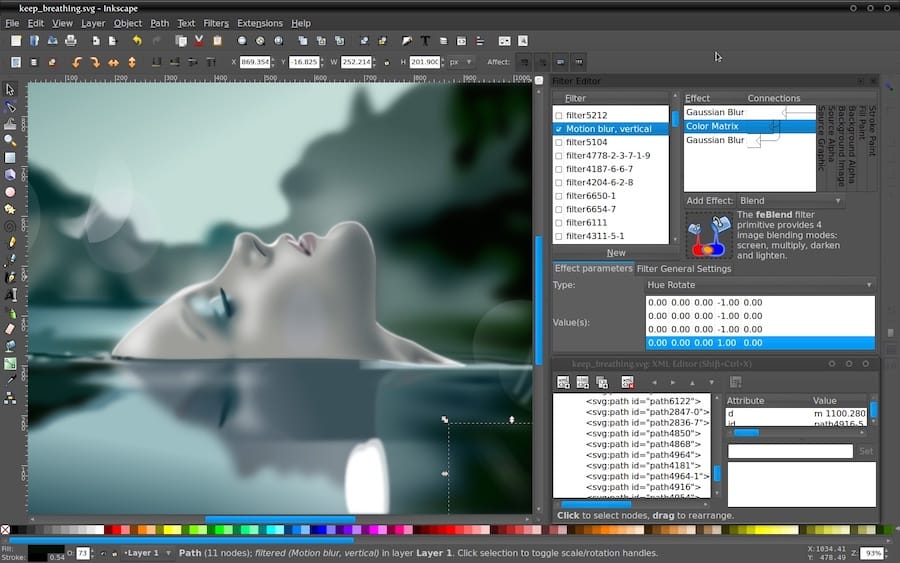
In this tutorial, we will show you how to install Inkscape on CentOS Stream 10. Inkscape stands as one of the most powerful open-source vector graphics editors available for Linux systems. For designers, illustrators, and content creators working on CentOS Stream 10, installing Inkscape provides access to professional-grade design capabilities without the price tag of commercial alternatives. This comprehensive guide walks you through multiple installation methods tailored specifically for CentOS Stream 10, ensuring you can choose the approach that best fits your needs and technical comfort level.
Understanding Inkscape
Inkscape is a feature-rich, cross-platform vector graphics editor that serves as an excellent free alternative to commercial software like Adobe Illustrator. At its core, Inkscape uses SVG (Scalable Vector Graphics) as its native file format, making it perfect for creating illustrations, icons, logos, diagrams, and complex artworks that can scale to any size without losing quality.
Key Features of Inkscape:
- Advanced path manipulation tools
- Extensive text handling capabilities
- Broad file format compatibility
- Node editing and shape creation tools
- Support for layers and object grouping
- Extensive filter effects and extensions
- Cross-platform availability (Linux, Windows, macOS)
For CentOS Stream 10 users, there’s an important consideration: Inkscape is no longer included in the default repositories. According to the CentOS Stream 10 release notes, several desktop applications including Inkscape have been removed as RHEL transitions to providing desktop applications via Flatpak. This change necessitates alternative installation approaches, which we’ll explore thoroughly in this guide.
Preparing Your CentOS Stream 10 System
Before attempting to install Inkscape, it’s essential to prepare your CentOS Stream 10 environment properly. These preparatory steps ensure a smooth installation process regardless of which method you choose.
Update Your System
First, ensure your system is fully updated with the latest packages and security patches:
sudo dnf update -yThis command refreshes your package lists and upgrades all installed packages to their latest versions, potentially resolving dependency issues before they arise.
Install Development Tools (If Needed)
If you plan to compile from source or need to build dependencies, install the development tools package group:
sudo dnf groupinstall "Development Tools" -yCheck for Existing Installations
Before proceeding with a new installation, check if any version of Inkscape is already installed:
dnf list installed inkscapeIf an older version exists, you might want to remove it to prevent conflicts:
sudo dnf remove inkscape -yNow that your system is prepared, let’s explore the different methods available for installing Inkscape on CentOS Stream 10.
Method 1: Installing Inkscape Using DNF Package Manager
Traditionally, the simplest way to install software on CentOS is through the DNF package manager. However, as mentioned earlier, Inkscape has been removed from the default repositories in CentOS Stream 10. Nevertheless, there’s still a possibility to install it through additional repositories.
Adding EPEL Repository
The Extra Packages for Enterprise Linux (EPEL) repository might offer Inkscape packages compatible with CentOS Stream 10:
sudo dnf install epel-release -yAttempting Installation from EPEL
After adding EPEL, attempt to install Inkscape:
sudo dnf install inkscape -yIf this command succeeds, you’ll have Inkscape installed via the package manager. However, if the package isn’t available or if you encounter dependency issues, you’ll need to try alternative methods.
Limitations of the DNF Method
While installing via DNF is traditionally the most straightforward approach, it comes with certain limitations for Inkscape on CentOS Stream 10:
- Packages may not be available in default or even third-party repositories
- Version might be older than what’s available via other methods
- Dependency conflicts can be challenging to resolve on CentOS/RHEL systems
Given these potential challenges, the following alternative methods are often more reliable for installing Inkscape on CentOS Stream 10.
Method 2: Installing Inkscape via Flatpak
Flatpak is the recommended method for installing desktop applications on CentOS Stream 10, as RHEL is transitioning to providing desktop applications via this container system. Flatpak packages include all necessary dependencies bundled within the application, eliminating dependency conflicts.
Installing Flatpak
First, install Flatpak if it’s not already available on your system:
sudo dnf install flatpak -yAdding the Flathub Repository
Flathub is the central repository for Flatpak applications. Add it to your system:
sudo flatpak remote-add --if-not-exists flathub https://flathub.org/repo/flathub.flatpakrepoThis command adds the Flathub repository if it doesn’t already exist.
Installing Inkscape via Flatpak
Now you can install Inkscape:
sudo flatpak install flathub org.inkscape.InkscapeThe system will prompt you to confirm the installation and download all necessary components. This might take several minutes depending on your internet connection speed.
Running Inkscape
Once installed, you can launch Inkscape either through your desktop environment’s application menu or using the command:
flatpak run org.inkscape.InkscapeBenefits of Using Flatpak
The Flatpak method offers several advantages:
- Access to the latest Inkscape versions
- Self-contained package with all dependencies included
- Sandboxed environment for better security
- Consistent experience across different Linux distributions
For most CentOS Stream 10 users, this method strikes an excellent balance between ease of installation and access to current versions.
Method 3: Installing Inkscape Using Snap
Snap is another container-based packaging system similar to Flatpak that provides self-contained software packages. While not as deeply integrated with RHEL/CentOS as Flatpak, Snap offers a viable alternative for installing Inkscape.
Installing Snap on CentOS Stream 10
First, install the Snap daemon:
sudo dnf install snapd -y
sudo systemctl enable --now snapd.socket
sudo ln -s /var/lib/snapd/snap /snap
You might need to log out and log back in, or restart your system to ensure snap’s paths are updated correctly.
Installing Inkscape via Snap
After setting up Snap, install Inkscape with:
sudo snap install inkscapeRunning Inkscape from Snap
You can launch Inkscape through your application menu or using:
snap run inkscapeBenefits and Drawbacks of Snap Installation
Benefits:
- Easy installation and updates
- Consistent application behavior across distributions
- Access to recent versions
Drawbacks:
- Slightly slower startup times compared to native installations
- Potentially larger disk space usage
- Less integrated with CentOS Stream’s default software management approach
Snap provides a reliable alternative when Flatpak isn’t desirable for your workflow.
Method 4: Using AppImage to Run Inkscape
AppImage offers perhaps the simplest way to run Inkscape without installation. It’s a self-contained package format that includes all dependencies within a single executable file.
Downloading the AppImage
Visit the official Inkscape website or GitHub releases page to download the latest Inkscape AppImage. Save it to a convenient location such as your Downloads folder.
Making the AppImage Executable
Navigate to the directory containing the downloaded AppImage and make it executable:
cd ~/Downloads
chmod +x Inkscape-*.AppImage
Running Inkscape via AppImage
Simply execute the AppImage file:
./Inkscape-*.AppImageInkscape will launch immediately without requiring installation.
Creating a Desktop Shortcut
To make launching more convenient, create a desktop entry:
mkdir -p ~/.local/share/applications
cat > ~/.local/share/applications/inkscape-appimage.desktop << EOF
[Desktop Entry]
Name=Inkscape (AppImage)
Comment=Vector Graphics Editor
Exec=~/Downloads/Inkscape-*.AppImage
Icon=inkscape
Type=Application
Categories=Graphics;VectorGraphics;
EOF
Advantages of AppImage
- No installation required
- Extremely portable (can be carried on USB drives)
- No dependency issues
- Easy to maintain multiple versions side by side
- No root privileges required
AppImage is ideal for users who need a quick, no-commitment way to run Inkscape or those who need to use multiple versions.
Method 5: Compiling Inkscape From Source
For users who need the absolute latest features or specific customizations, compiling Inkscape from source provides the most control. However, this method is more complex and best suited for advanced users.
Installing Build Dependencies
First, install the necessary build dependencies:
sudo dnf install git cmake boost-devel cairomm-devel gc-devel gsl-devel gtkmm30-devel libsoup-devel libxslt-devel poppler-glib-devel popt-devel potrace-devel glibmm24-devel gdl-devel libsigc++20-devel lcms2-devel gspell-devel -yNote that you might need additional dependencies depending on the specific Inkscape version.
Obtaining the Source Code
Clone the Inkscape repository:
git clone --recurse-submodules https://gitlab.com/inkscape/inkscape.git
cd inkscape
Building Inkscape
Create a build directory and compile:
mkdir build
cd build
cmake -DCMAKE_BUILD_TYPE=Release ..
make -j$(nproc)
This compilation process can take significant time depending on your system’s processing power.
Installing the Compiled Application
Install the compiled application:
sudo make installResolving Common Build Issues
When compiling on CentOS Stream, you might encounter missing dependencies not available in the standard repositories. Solutions include:
- Building the missing dependencies from source
- Adding repositories that provide the needed packages
- Using the PowerTools repository for development packages:
sudo dnf config-manager --set-enabled powertools
sudo dnf update
This approach requires patience and problem-solving skills but offers the most customization options.
Post-Installation Setup
After installing Inkscape using any of the above methods, consider these steps to optimize your experience.
First-Time Launch Configuration
When first launching Inkscape, you’ll be presented with initial setup options. These include:
- Interface preferences (theme, icon size, etc.)
- Default document properties
- Canvas behavior settings
Take time to configure these settings according to your workflow needs.

Setting Up File Associations
To associate SVG files with Inkscape:
- Right-click on an SVG file
- Select “Open with” → “Other Application”
- Choose Inkscape from the list of applications
- Check “Remember this application for SVG files”
For Flatpak or Snap installations, the path to the executable might differ from traditional installations.
Installing Extension and Plugins
Enhance Inkscape’s capabilities by installing extensions:
- Download extensions from the Inkscape website or third-party sources
- Place them in the appropriate extensions directory:
- For user-installed Inkscape:
~/.config/inkscape/extensions/ - For Flatpak:
~/.var/app/org.inkscape.Inkscape/config/inkscape/extensions/ - For Snap:
~/snap/inkscape/current/.config/inkscape/extensions/
- For user-installed Inkscape:
Troubleshooting Common Installation Issues
Despite careful preparation, you might encounter issues during installation. Here are solutions for common problems.
Missing Dependencies
Problem: Installation fails due to missing dependencies.
Solution: For DNF installations, try:
sudo dnf install --skip-broken inkscapeFor source compilation, install the specific missing dependency:
sudo dnf provides */missing-file.soGraphics Driver Issues
Problem: Inkscape launches but displays graphical glitches.
Solution: Ensure your graphics drivers are up to date:
sudo dnf update mesa* -yFor NVIDIA GPUs, consider using the proprietary drivers from RPM Fusion.
Permission Problems
Problem: “Permission denied” errors during installation.
Solution: Ensure you’re using sudo for operations requiring elevated privileges and check file permissions:
sudo chmod +x filenameAppImage Not Launching
Problem: AppImage fails to launch.
Solution: Verify execution permissions and dependencies:
chmod +x Inkscape-*.AppImage
./Inkscape-*.AppImage --appimage-extract-and-run
Flatpak/Snap Connectivity Issues
Problem: Flatpak or Snap can’t connect to repositories.
Solution: Check your internet connection and proxy settings, or try using a different DNS server.
Comparing Installation Methods
Each installation method has its strengths and weaknesses. Here’s a comparison to help you choose the best approach for your needs:
| Method | Ease of Installation | Version Availability | Performance | Maintenance | Best For |
|---|---|---|---|---|---|
| DNF | Easy (if available) | Potentially older | Best | Automatic via system updates | System integration |
| Flatpak | Easy | Latest stable | Good | Simple update process | Most users |
| Snap | Easy | Latest stable | Good | Automatic updates | Ubuntu migrants |
| AppImage | Very easy | Latest stable | Good | Manual downloads | Portability, no-install needs |
| Source | Complex | Latest development | Optimized | Manual recompilation | Advanced users, customization |
For most CentOS Stream 10 users, Flatpak offers the best balance of ease, up-to-date versions, and stability. It’s also the method officially recommended as RHEL transitions away from including desktop applications in base repositories.
Keeping Inkscape Updated
Maintaining an up-to-date installation ensures you have the latest features and security patches.
Updating Flatpak Installations
To update Inkscape installed via Flatpak:
flatpak update org.inkscape.InkscapeOr update all Flatpak applications at once:
flatpak updateUpdating Snap Installations
Snap packages update automatically by default. To manually trigger an update:
snap refresh inkscapeUpdating AppImage Installations
AppImage updates require downloading a new version manually and replacing the existing file.
Updating Source Compilations
For source installations, update by pulling the latest code and recompiling:
cd inkscape
git pull
cd build
cmake ..
make -j$(nproc)
sudo make install
Setting a regular update schedule helps ensure you have the latest features and security fixes.
Congratulations! You have successfully installed Inkscape. Thanks for using this tutorial for installing the Inkscape on CentOS Stream 10 system. For additional help or useful information, we recommend you check the Inkscape website.