How To Install Jellyfin Media Server on Debian 12

In this tutorial, we will show you how to install Jellyfin Media Server on Debian 12. Jellyfin is a free and open-source media server that allows you to manage and stream your digital media files across a variety of devices. As a volunteer-built solution, Jellyfin offers a level of control and privacy not typically found in proprietary media servers like Plex or Emby.
This article assumes you have at least basic knowledge of Linux, know how to use the shell, and most importantly, you host your site on your own VPS. The installation is quite simple and assumes you are running in the root account, if not you may need to add ‘sudo‘ to the commands to get root privileges. I will show you the step-by-step installation of the Jellyfin Media Server on a Debian 12 (Bookworm).
Prerequisites
- A server running one of the following operating systems: Debian 12 (Bookworm).
- It’s recommended that you use a fresh OS install to prevent any potential issues.
- SSH access to the server (or just open Terminal if you’re on a desktop).
- An active internet connection. You’ll need an internet connection to download the necessary packages and dependencies for Jellyfin Media Server.
- A
non-root sudo useror access to theroot user. We recommend acting as anon-root sudo user, however, as you can harm your system if you’re not careful when acting as the root.
Install Jellyfin Media Server on Debian 12 Bookworm
Step 1. First, update your system packages to the latest versions. Open your terminal and run the following commands:
sudo apt update
sudo apt upgrade
These commands will fetch the latest package lists from the repositories and upgrade your system to the latest package versions.
Step 2. Installing Necessary Dependencies.
Jellyfin requires some dependencies to function correctly. Install them using the following command:
sudo apt install curl gnupg2 apt-transport-https
Step 3. Installing Jellyfin Media Server on Debian 12.
Now add the Jellyfin GPG Key and Repository. To ensure the authenticity of the Jellyfin package, add the Jellyfin GPG key:
wget -O - https://repo.jellyfin.org/jellyfin_team.gpg.key | sudo apt-key add -
Next, add the Jellyfin repository to your system:
echo "deb [arch=$( dpkg --print-architecture )] https://repo.jellyfin.org/$( awk -F'=' '/^ID=/{ print $NF }' /etc/os-release ) $( awk -F'=' '/^VERSION_CODENAME=/{ print $NF }' /etc/os-release ) main" | sudo tee /etc/apt/sources.list.d/jellyfin.list
Now, install Jellyfin using the apt command:
sudo apt update
sudo apt install jellyfin
To verify that Jellyfin has been installed correctly, check its status:
sudo systemctl status jellyfin
Then start it for the current session:
sudo systemctl enable jellyfin
sudo systemctl start jellyfin
Step 4. Configure UFW for Jellyfin.
If you have UFW enabled, you need to allow Jellyfin through the firewall:
sudo ufw allow 8096
Next, run the command below to start and enable UFW:
sudo ufw enable
Lastly, verify the list of ports and services on UFW using the command below:
sudo ufw status
Step 5. Access the Jellyfin Web User Interface.
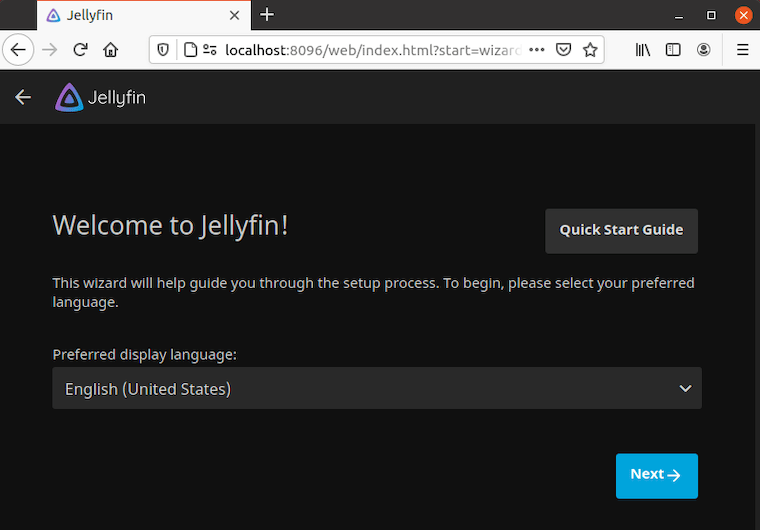
You can access the Jellyfin Web UI by opening a web browser and navigating to http://your-server-ip:8096

Congratulations! You have successfully installed Jellyfin. Thanks for using this tutorial to install the latest version of the Jellyfin open-source media server on Debian 12 Bookworm. For additional help or useful information, we recommend you check the official Jellyfin website.