How To Install Joplin on Debian 12

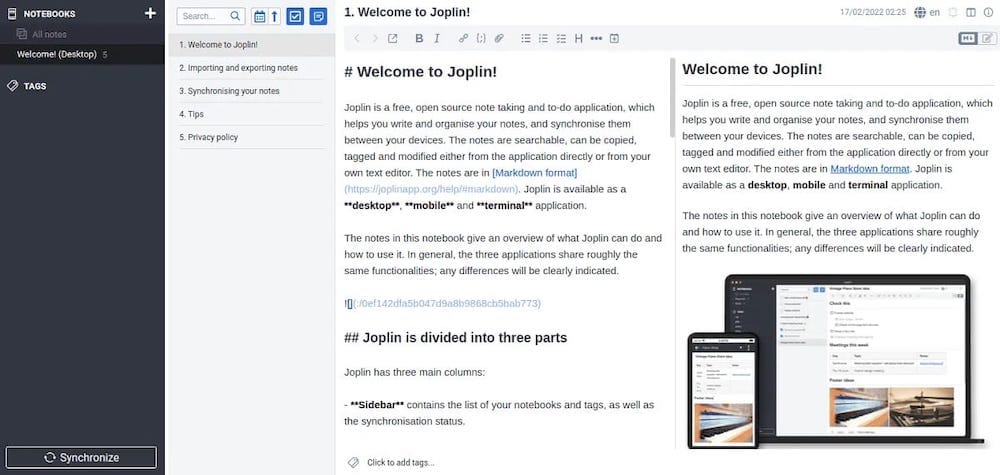
In this tutorial, we will show you how to install Joplin on Debian 12. Joplin is a renowned open-source application that serves as a comprehensive note-taking and to-do list platform. It’s a versatile tool that supports a wide range of platforms, including Windows, macOS, Linux, Android, and iOS. Joplin’s unique selling points include markdown support, end-to-end encryption, and synchronization capabilities across multiple devices.
This article assumes you have at least basic knowledge of Linux, know how to use the shell, and most importantly, you host your site on your own VPS. The installation is quite simple and assumes you are running in the root account, if not you may need to add ‘sudo‘ to the commands to get root privileges. I will show you the step-by-step installation of the Joplin on a Debian 12 (Bookworm).
Prerequisites
- A server running one of the following operating systems: Debian 12 (Bookworm).
- It’s recommended that you use a fresh OS install to prevent any potential issues.
- SSH access to the server (or just open Terminal if you’re on a desktop).
- You will need an active internet connection to download the Joplin package.
- A
non-root sudo useror access to theroot user. We recommend acting as anon-root sudo user, however, as you can harm your system if you’re not careful when acting as the root.
Install Joplin on Debian 12 Bookworm
Step 1. Keeping your system up-to-date is a fundamental practice in maintaining a secure and efficient operating environment. It ensures that you have the latest features, security patches, and software compatibility. To update your Debian 12 system, execute the following command in your terminal:
sudo apt update
sudo apt upgrade
This command first updates the list of available packages and their versions then upgrades the installed packages to their latest versions.
Step 2. Installing Dependencies.
Joplin’s installation process requires certain dependencies, including wget and curl. These are vital tools for fetching data from servers, necessary for downloading Joplin’s installation script. To install these dependencies, use the following command:
sudo apt install wget curl
Step 3. Installing Joplin on Debian 12.
Joplin simplifies the installation process on Linux by providing a handy installation script. This script automates the process, downloading the latest version of Joplin, installing it, and creating a desktop entry for easy access. To download and run the installation script, execute the following command:
wget -O - https://raw.githubusercontent.com/laurent22/joplin/dev/Joplin_install_and_update.sh | bash
This command fetches the script and pipes it to bash for execution. The installation process may take a few minutes, depending on your internet speed.
Step 4. Launch Joplin on Debian.
Once the installation process is complete, you can launch Joplin directly from the command line by typing joplin. Alternatively, you can find Joplin in your application menu, depending on your desktop environment:
joplin

Congratulations! You have successfully installed Joplin. Thanks for using this tutorial to install the latest version of the Joplin on Debian 12 Bookworm. For additional help or useful information, we recommend you check the official Joplin website.