How To Install Kdenlive on CentOS Stream 10

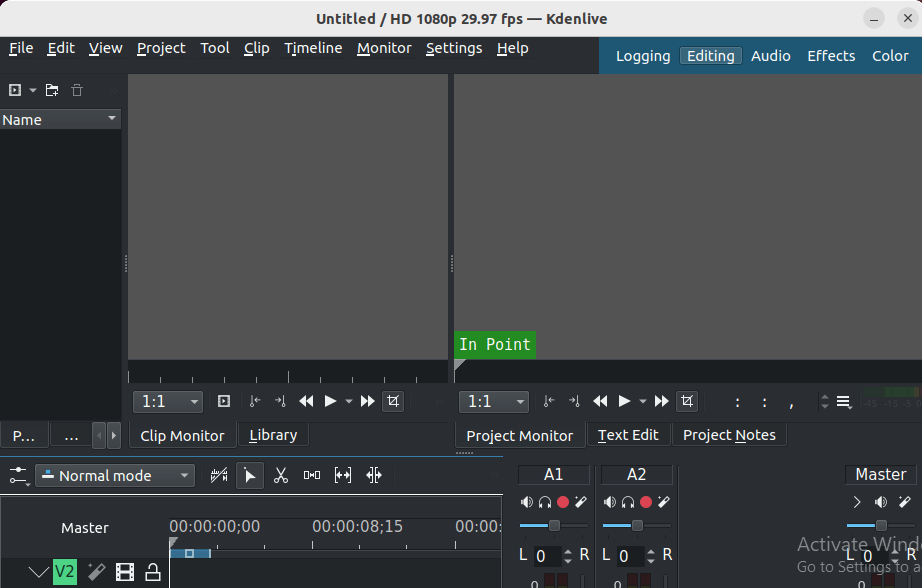
In this tutorial, we will show you how to install Kdenlive on CentOS Stream 10. Kdenlive is a powerful open-source video editing software that provides a robust platform for video editing enthusiasts and professionals alike. With its extensive features and user-friendly interface, Kdenlive has gained popularity among Linux users. This article will guide you through the process of installing Kdenlive on CentOS Stream 10, ensuring you can start creating stunning videos in no time.
Understanding CentOS Stream 10
CentOS Stream is a rolling-release distribution that serves as a preview of the next minor release of Red Hat Enterprise Linux (RHEL). Unlike traditional CentOS, which provided stable releases, CentOS Stream allows developers and users to access the latest features and updates before they are included in RHEL. This makes it an excellent choice for developers who want to stay ahead of the curve while maintaining a stable environment.
Prerequisites for Installation
System Requirements
- Processor: 64-bit CPU (Intel or AMD)
- RAM: Minimum 4 GB (8 GB recommended)
- Disk Space: At least 500 MB free for installation
- Graphics: OpenGL 2.0 compatible graphics card
Software Dependencies
Before installing Kdenlive, ensure that your system has the necessary dependencies:
- MLT Framework: A multimedia framework used by Kdenlive.
- FFmpeg: A multimedia processing tool for handling video files.
- KDE Frameworks: Required libraries for running KDE applications.
You can check if these dependencies are installed by running the following command in your terminal:
dnf list installed mlt ffmpeg kf5-*Methods to Install Kdenlive on CentOS Stream 10
Installing via Flatpak
What is Flatpak?
Flatpak is a software utility for software virtualization on Linux that allows developers to distribute their applications in a sandboxed environment. This method ensures that applications can run independently of the underlying system libraries, making it easier to install and manage software across different Linux distributions.
Setting Up Flatpak on CentOS Stream 10
If Flatpak is not already installed on your system, you can do so by executing the following commands:
sudo dnf install flatpakNext, add the Flathub repository, which hosts Kdenlive and other applications:
flatpak remote-add --if-not-exists flathub https://flathub.org/repo/flathub.flatpakrepoInstalling Kdenlive Using Flatpak
You can now install Kdenlive with the following command:
flatpak install flathub org.kde.kdenliveThis command will download and install Kdenlive along with its dependencies. Once the installation is complete, you can run Kdenlive using:
flatpak run org.kde.kdenliveInstalling via AppImage
What is AppImage?
An AppImage is a portable application format for Linux that allows developers to package applications with all their dependencies into a single executable file. This makes it easy to run applications without needing to install them through traditional package managers.
Downloading the AppImage
You can download the latest version of Kdenlive as an AppImage from its official website. Look for the AppImage file under the Linux section.
Making the AppImage Executable
Once downloaded, navigate to your Downloads folder and make the AppImage executable by running:
chmod +x ~/Downloads/kdenlive-*.AppImageRunning Kdenlive from AppImage
You can now run Kdenlive by executing the following command:
~/Downloads/kdenlive-*.AppImageInstalling from Source
When to Compile from Source
If you want to use the latest features or customize your installation, compiling from source may be necessary. This method requires more technical knowledge but offers flexibility.
Prerequisites for Building from Source
You will need several development tools and libraries installed on your system. Use this command to install them:
sudo dnf groupinstall "Development Tools"You should also ensure that MLT and FFmpeg are installed:
sudo dnf install mlt ffmpeg-devel libmlt libmlt++-develStep-by-Step Compilation Instructions
-
- Clone the Kdenlive Repository:
git clone https://invent.kde.org/multimedia/kdenlive.git-
- Navigating into the Directory:
cd kdenlive-
- Create a Build Directory:
mkdir build && cd build-
- Configure with CMake:
cmake .. -DCMAKE_BUILD_TYPE=Release-
- Compile and Install:
make -j$(nproc) && sudo make installUsing DNF Package Manager
Installing from Official Repositories
This method is straightforward but may not provide the latest version of Kdenlive. You can install it using DNF with this command:
sudo dnf install kdenliveThis command will fetch Kdenlive from the official repositories along with its dependencies. However, keep in mind that this version may not be as up-to-date as those available via Flatpak or AppImage.
Post-Installation Configuration
After successfully installing Kdenlive, you may want to configure some initial settings to optimize your editing experience. Launch Kdenlive and navigate to Edit > Configure Kdenlive…. Here you can adjust settings related to project management, rendering options, and user interface preferences.

Troubleshooting Common Issues
- Kdenlive Won’t Start: If you encounter issues starting Kdenlive, ensure all dependencies are correctly installed. Check terminal output for error messages indicating missing libraries or permissions.
- Error Messages Related to MLT or FFmpeg: If you see errors regarding MLT or FFmpeg during startup, verify their installation using DNF or check if they are included in your PATH.
- Poor Performance or Crashes: If Kdenlive runs slowly or crashes frequently, consider adjusting project settings such as proxy clips or reducing playback resolution in settings under Edit > Configure > Project > Playback.
- No Audio Output: If there’s no audio during playback, check your audio settings in both your system and within Kdenlive. Ensure that audio tracks are not muted in the timeline.
- Kdenlive Not Updating via Flatpak: If you find that updates are not being applied automatically, run this command periodically:
flatpak update org.kde.kdenlive
Congratulations! You have successfully installed Kdenlive. Thanks for using this tutorial for installing the Kdenlive video editing on your CentOS Stream 10 system. For additional or useful information, we recommend you check the official Kdenlive website.