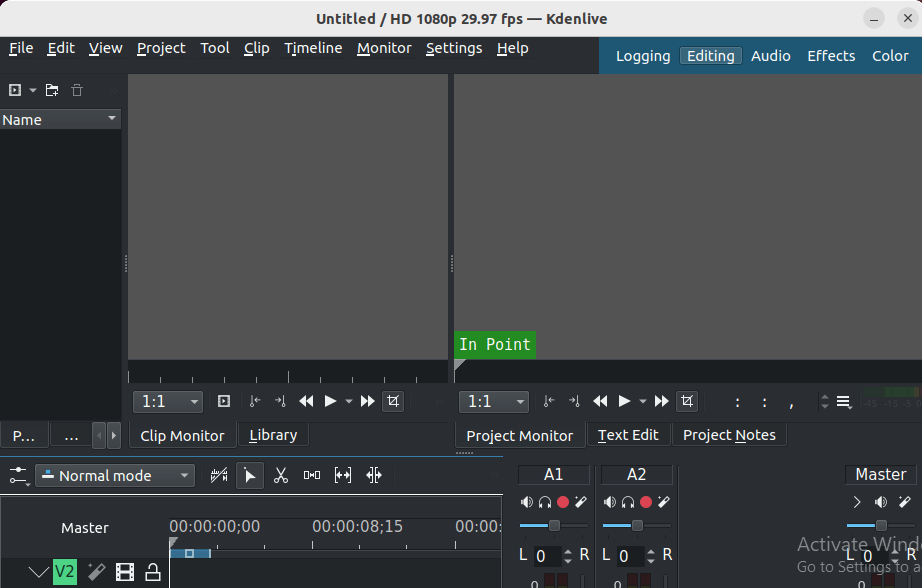
How To Install Kdenlive on openSUSE

Kdenlive is a powerful and versatile open-source video editing tool that has gained significant popularity within the Linux community. Its user-friendly interface, extensive features, and compatibility with a wide range of formats make it an excellent choice for both beginners and advanced users. openSUSE, a robust and flexible Linux distribution, provides a stable platform for running Kdenlive. In this article, we will guide you through the process of installing Kdenlive on openSUSE, ensuring that you can start creating stunning video projects in no time.
Understanding openSUSE Versions
Before we dive into the installation process, it’s crucial to understand the different versions of openSUSE available. openSUSE offers two main editions: Leap and Tumbleweed. Leap is known for its stability and long-term support, making it suitable for users who prioritize a reliable and consistent experience. On the other hand, Tumbleweed is a rolling release distribution that provides the latest software updates and features as soon as they become available. Knowing which version of openSUSE you are running is essential for selecting the appropriate installation method and ensuring compatibility with Kdenlive.
Preparing Your System for Installation
To ensure a smooth installation process, it’s important to prepare your openSUSE system beforehand. Start by checking the system requirements for Kdenlive, which include a minimum of 2 GB of RAM and a modern processor. Next, make sure your system is up to date by running the following command in the terminal:
sudo zypper refresh && sudo zypper updateThis command will refresh the repository information and install any available updates. Additionally, install the necessary dependencies and tools required for Kdenlive by executing:
sudo zypper install -t pattern devel_basisMethod 1: Installing Kdenlive via Zypper
Adding the Repository
The first method to install Kdenlive on openSUSE is by using the Zypper package manager. To begin, you need to add the appropriate repository based on your openSUSE version. Follow these steps:
For openSUSE Leap 15.5:
sudo zypper addrepo -f https://download.opensuse.org/repositories/openSUSE:Leap:15.5:Update/standard/openSUSE:Leap:15.5:Update.repoFor openSUSE Leap 15.6:
sudo zypper addrepo -f https://download.opensuse.org/repositories/openSUSE:Leap:15.6:Update/standard/openSUSE:Leap:15.6:Update.repoFor openSUSE Tumbleweed:
sudo zypper addrepo -f https://download.opensuse.org/repositories/openSUSE:Factory/standard/openSUSE:Factory.repoInstalling Kdenlive
Once the repository is added, refresh the repository information and install Kdenlive using the following commands:
sudo zypper refresh
sudo zypper install kdenlive
Zypper will resolve any dependencies and install Kdenlive along with the necessary packages. If you encounter any errors during the installation process, double-check that you have added the correct repository for your openSUSE version and try running the commands again.
Method 2: Installing Kdenlive via Snap
Setting Up Snap on openSUSE
An alternative method to install Kdenlive on openSUSE is by using the Snap package manager. Snap provides a containerized approach to software installation, ensuring that applications run in an isolated environment with their dependencies. To set up Snap on openSUSE, follow these steps:
1. Add the Snap repository by executing:
sudo zypper addrepo --refresh https://download.opensuse.org/repositories/system:/snappy/openSUSE_Leap_15.5 snappy2. Install the Snap package manager:
sudo zypper install snapd3. Enable the Snap service:
sudo systemctl enable --now snapdInstalling Kdenlive Using Snap
With Snap set up on your openSUSE system, you can now install Kdenlive using a single command:
sudo snap install kdenliveSnap will handle the installation process, including downloading the necessary dependencies. One of the benefits of using Snap is that it automatically updates Kdenlive to the latest version whenever a new release is available. Additionally, Snap provides rollback features, allowing you to revert to a previous version if needed.
Alternative Installation Methods
While Zypper and Snap are the most common methods for installing Kdenlive on openSUSE, there are alternative approaches worth mentioning. AppImage and Flatpak are two popular package formats that provide a portable and self-contained way to distribute applications.
AppImage allows you to download a single executable file that includes all the necessary dependencies, making it easy to run Kdenlive without the need for installation. However, AppImages may not integrate as seamlessly with the system and may require manual updates.
Flatpak, similar to Snap, offers a containerized approach to application distribution. It provides a sandboxed environment, ensuring that applications run isolated from the host system. Flatpak packages can be installed from various repositories, such as Flathub, and offer automatic updates.
Consider using AppImage or Flatpak if you prefer a portable or sandboxed installation method, or if you encounter compatibility issues with Zypper or Snap.
Post-installation Configuration
After successfully installing Kdenlive on your openSUSE system, you can launch the application and start exploring its features. Upon first launch, Kdenlive will present you with an initial setup and configuration wizard. This wizard allows you to set default video profiles, choose your preferred project folder location, and configure other basic settings.

Take some time to familiarize yourself with Kdenlive’s interface and explore the various configuration options available. You can customize keyboard shortcuts, adjust performance settings, and configure additional features like capture devices and proxy editing.
Common Issues and Troubleshooting
While the installation process for Kdenlive on openSUSE is generally straightforward, you may encounter some common issues. If you experience dependency problems or conflicts during installation, try running the following command to resolve them:
sudo zypper dup --from repo-nameReplace “repo-name” with the name of the repository causing the issue. This command will perform a distribution upgrade and attempt to resolve any conflicts.
Congratulations! You have successfully installed Kdenlive. Thanks for using this tutorial for installing the Kdenlive on your openSUSE system. For additional help or useful information, we recommend you check the official Kdenlive website.