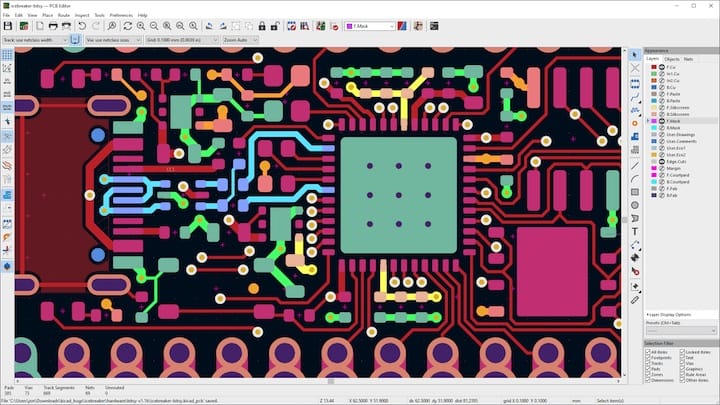
How To Install KiCad on Linux Mint 21

In this tutorial, we will show you how to install KiCad on Linux Mint 21. For those of you who didn’t know, KiCad is an open-source software used to capture and design printed electronic circuit boards. It has an integrated environment for schematic capture, PCB layout (including 3D rendering), manufacturing file viewing, and SPICE simulation, all in one place.
This article assumes you have at least basic knowledge of Linux, know how to use the shell, and most importantly, you host your site on your own VPS. The installation is quite simple and assumes you are running in the root account, if not you may need to add ‘sudo‘ to the commands to get root privileges. I will show you the step-by-step installation of a KiCad open-source electronic design automation (EDA) on Linux Mint 21 (Vanessa).
Prerequisites
- A server running one of the following operating systems: Linux Mint 21 (Vanessa).
- It’s recommended that you use a fresh OS install to prevent any potential issues.
- SSH access to the server (or just open Terminal if you’re on a desktop).
- A
non-root sudo useror access to theroot user. We recommend acting as anon-root sudo user, however, as you can harm your system if you’re not careful when acting as the root.
Install KiCad on Linux Mint 21 Vanessa
Step 1. Before running the tutorial below, it’s important to make sure your system is up to date by running the following apt commands in the terminal:
sudo apt update
sudo apt install software-properties-common apt-transport-https wget ca-certificates gnupg2
Step 2. Installing KiCad on Linux Mint 21.
By default, KiCad is not available on the Linux Mint 21 base repository. Now run the following command below to KiCad to your Linux Mint system:
echo 'deb [signed-by=/usr/share/keyrings/kicad.gpg] https://ppa.launchpadcontent.net/kicad/kicad-6.0-releases/ubuntu jammy main' | sudo tee -a /etc/apt/sources.list.d/kicad.list
Next, import the GPG key using the following command:
sudo gpg --no-default-keyring --keyring /usr/share/keyrings/kicad.gpg --keyserver keyserver.ubuntu.com --recv-keys FDA854F61C4D0D9572BB95E5245D5502FAD7A805
After that, update your system and you can install KiCad on it with the help of the command shown below:
sudo apt update
sudo apt install kicad
Step 3. Configuring KiCad.
- Setting Up Component Libraries
KiCad relies on component libraries to provide schematic symbols for various electronic components. You can download and install libraries from the official KiCad library repository or create your own. To configure component libraries in KiCad:
- Open KiCad.
- Go to Preferences > Manage Symbol Libraries.
- Click on the “+” button to add a new library.
- Select the desired library file (usually ending with .lib extension) and click “Open.”
- Repeat the process for each additional library you want to add.
- Close the library manager.
- Configuring Footprint Libraries
Similar to component libraries, KiCad utilizes footprint libraries to provide physical layouts for components. To configure footprint libraries in KiCad:
- Open KiCad.
- Go to Preferences > Manage Footprint Libraries.
- Click on the “+” button to add a new library.
- Select the desired library file (usually ending with .pretty extension) and click “Open.”
- Repeat the process for each additional library you want to add.
- Close the library manager.
Step 3. Accessing KiCad on Linux Mint 21.
Once we finish with the installation, we will find KiCad in the Mint menu, in the Other section.

Congratulations! You have successfully installed KiCad. Thanks for using this tutorial for installing the latest version of the KiCad open-source electronic design automation (EDA) on the Linux Mint system. For additional help or useful information, we recommend you check the official KiCad website.