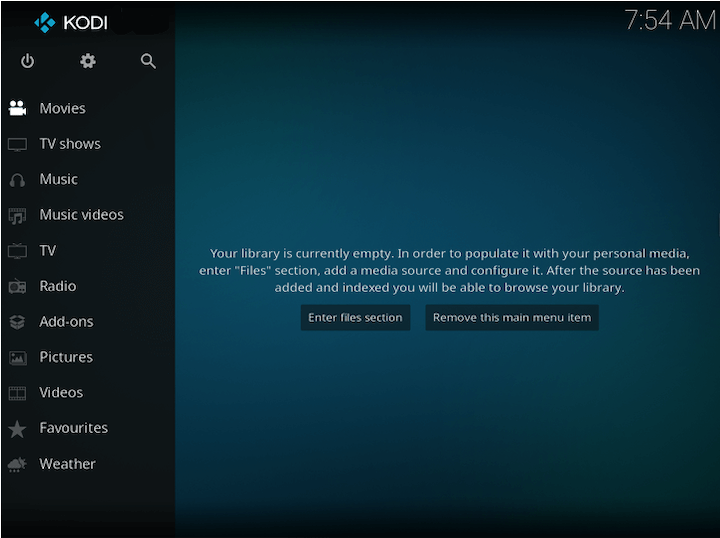
How To Install Kodi on openSUSE

In this tutorial, we will show you how to install Kodi on openSUSE. Kodi, formerly known as XBMC, is a renowned open-source media player that has revolutionized the way we consume digital media. With its highly customizable interface and a vast array of add-ons, Kodi provides a seamless experience for accessing and organizing all forms of media, from videos and music to podcasts and photos. Its compatibility with various operating systems makes it a versatile choice for users worldwide.
This article assumes you have at least basic knowledge of Linux, know how to use the shell, and most importantly, you host your site on your own VPS. The installation is quite simple and assumes you are running in the root account, if not you may need to add ‘sudo‘ to the commands to get root privileges. I will show you the step-by-step installation of Kodi on openSUSE.
Prerequisites
- A server running one of the following operating systems: openSUSE.
- It’s recommended that you use a fresh OS install to prevent any potential issues.
- You will need access to the terminal to execute commands. openSUSE provides the Terminal application for this purpose. It can be found in your Applications menu.
- You’ll need an active internet connection to download Kodi and its dependencies.
- You’ll need administrative (root) access or a user account with sudo privileges.
Install Kodi on openSUSE
Step 1. Before proceeding with the installation of Kodi on openSUSE, ensure that your system is up to date. This is crucial for maintaining a secure and stable operating environment and ensuring compatibility with the Kodi installation. Open your terminal and execute the following commands:
sudo zypper refresh
sudo zypper update
This command updates the package list and ensures that your system is ready for the new software installation.
Step 2. Installing Kodi on openSUSE.
The first step in installing Kodi on openSUSE is to add the Snappy repository to your system. Snappy is a software deployment and package management system developed by Canonical, the company behind Ubuntu. It allows you to install software packages and their dependencies in a secure and isolated manner. Open a terminal window and enter the following command:
sudo zypper addrepo --refresh https://download.opensuse.org/repositories/system:/snappy/openSUSE_Leap_15.2 snappy
With the Snappy repository added, you can now install Snap. In the terminal window, enter the following command:
sudo zypper install snapd
Next, enable the snapd service by entering the following command:
sudo systemctl enable --now snapd
Now, you’re ready to install Kodi. Enter the following command:
sudo snap install kodi
Step 3. Setting Kodi to Start Automatically
If you want Kodi to start automatically when you boot your system, you can set it up as a systemd service. To do this, create a new service file by entering the following command:
sudo nano /etc/systemd/system/kodi.service
In the nano editor, add the following lines:
[Unit]
Description=Kodi Media Center

[Service]
User=yourusername
Group=yourusername
Type=simple
ExecStart=/usr/bin/snap run kodi
Restart=on-abort
RestartSec=5

[Install]
WantedBy=multi-user.target
Replace ‘yourusername‘ with your actual username. Save and close the file by pressing Ctrl+X, then Y, then Enter.
Enable the service by entering the following command:
sudo systemctl enable kodi
Step 4. Accessing Kodi on openSUSE.
Once the installation is complete, you can start Kodi by entering the following command:
snap run kodi

Step 5. Troubleshooting Common Issues.
While the installation process is generally straightforward, you may encounter some issues along the way. Here are some common problems and their solutions:
- Problem: Kodi fails to start.
Solution: Check thesystemdservice status by enteringsystemctl status kodi.servicein the terminal. The output should provide clues about what’s causing the problem. - Problem: Kodi is running, but there’s no sound.
Solution: Navigate to the ‘Settings’ menu in Kodi, select ‘System’, then ‘Audio’. Make sure the correct audio output device is selected. - Problem: Kodi is running slowly.
Solution: This could be due to insufficient system resources. Close any unnecessary applications to free up resources. If the problem persists, consider upgrading your hardware.
Congratulations! You have successfully installed Kodi. Thanks for using this tutorial for installing Kodi on your openSUSE system. For additional or useful information, we recommend you check the official Kodi website.