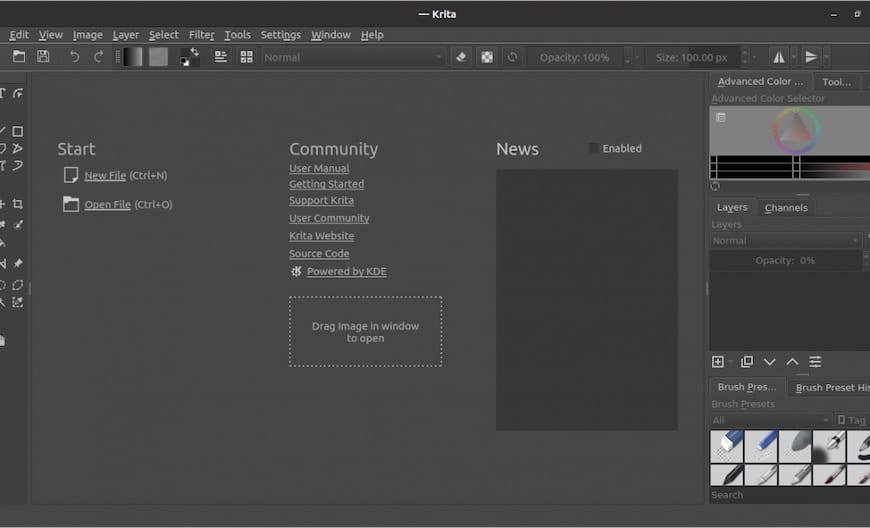
How To Install Krita on Debian 12

In this tutorial, we will show you how to install Krita on Debian 12. Krita is a powerful, professional-grade digital painting and illustration software that is free and open source. It provides artists with a feature-rich and intuitive interface for creating stunning digital artwork. Krita supports a wide range of artistic workflows, from concept art and texture painting to illustrations and comics.
This article assumes you have at least basic knowledge of Linux, know how to use the shell, and most importantly, you host your site on your own VPS. The installation is quite simple and assumes you are running in the root account, if not you may need to add ‘sudo’ to the commands to get root privileges. I will show you the step-by-step installation of the Krita digital painting on a Debian 12 (Bookworm).
Prerequisites
Before proceeding with the installation of Krita on Debian 12, ensure you meet the following requirements:
-
- A server running one of the following operating systems: Debian 12 (Bookworm).
- It’s recommended that you use a fresh OS install to prevent any potential issues.
- SSH access to the server (or just open Terminal if you’re on a desktop).
- An active internet connection. You’ll need an internet connection to download the necessary packages and dependencies for the Krita.
- A user account with sudo privileges to execute administrative commands.
Install Krita on Debian 12 Bookworm
Step 1. To check if your Debian 12 system is up to date, open a terminal and run the following commands:
sudo apt update
sudo apt upgrade
These commands will update the package list and upgrade any outdated packages to their latest versions, ensuring that your system is ready for the Krita installation.
Step 2. Installing Krita on Debian 12.
- Installing Krita using Debian Package Manager
The most straightforward way to install Krita on Debian 12 is by using the Debian package manager, apt. Follow these steps to install Krita using apt:
First, install the required dependencies for Krita by executing the following command:
sudo apt install libqt5multimedia5 libqt5svg5 libqt5x11extras5 libqt5xmlpatterns5 libkf5archive5 libkf5completion5 libkf5config-bin libkf5configcore5 libkf5configgui5 libkf5coreaddons5 libkf5guiaddons5 libkf5i18n5 libkf5itemviews5 libkf5widgetsaddons5 libkf5windowsystem5 libqt5concurrent5 libqt5printsupport5 libqt5quick5 libqt5quickwidgets5 libqt5widgets5 libqt5x11extras5 libboost-system1.74.0
Add the Krita repository to your system by running the following command:
sudo add-apt-repository ppa:kritalime/ppa
Now install Krita by executing the following command:
sudo apt update
sudo apt install krita
Once the installation is complete, you can launch Krita from the application menu or by typing krita in the terminal.
- Installing Krita using Flatpak
Flatpak is a universal packaging system that allows you to install and run applications in a sandboxed environment, providing better isolation and security. Follow these steps to install Krita using Flatpak on Debian 12:
sudo apt install flatpak
Add the Flathub repository, which hosts a wide range of Flatpak applications, including Krita:
flatpak remote-add --if-not-exists flathub https://flathub.org/repo/flathub.flatpakrepo
Now install Krita using Flatpak with the following command:
flatpak install flathub org.kde.krita
Once the installation is complete, you can launch Krita from the application menu or by running the following command in the terminal:
flatpak run org.kde.krita
To manage Krita’s Flatpak installation, such as removing it or accessing its files, use the Flatpak command followed by the appropriate subcommand. For example, to remove Krita installed via Flatpak, run:
flatpak uninstall org.kde.krita
- Installing Krita using AppImage
AppImage is a format for distributing portable applications on Linux. AppImages are self-contained executable files that can be run without installation, making them easy to use and share. Follow these steps to use Krita’s AppImage on Debian 12:
First, download the Krita AppImage from the official Krita website:
wget https://download.kde.org/stable/krita/5.2.2/krita-5.2.2-x86_64.appimage
Once the download is complete, open a terminal and navigate to the directory where the AppImage file was saved. For example, if the file was saved in the “Downloads” directory, use the following command:
cd ~/Downloads
Make the AppImage file executable by running the following command:
chmod +x krita-5.2.2-x86_64.appimage
Krita will now launch, and you can start using it without any further installation.

To integrate the Krita AppImage with your system, you can create a desktop entry for it. Create a new file named krita.desktop in the ~/.local/share/applications/ directory and add the following content:
[Desktop Entry]
Name=Krita
Exec=/path/to/krita-*-x86_64.appimage
Icon=/path/to/krita-*-x86_64.appimage
Type=Application
Categories=Graphics;
Replace /path/to/ with the actual path to the Krita AppImage file.
Congratulations! You have successfully installed Krita. Thanks for using this tutorial to install the latest version of the Krita digital painting on Debian 12 Bookworm. For additional help or useful information, we recommend you check the official Krita website.