In this tutorial, we will show you how to install KVM on CentOS 8. For those of you who didn’t know, KVM (Kernel-based Virtual Machine) is the virtualization solution for Linux. It consists of a loadable kernel module that allows the Linux Kernel to work as a Hypervisor. KVM provides hardware-assisted virtualization for a wide variety of guest operating systems.
This article assumes you have at least basic knowledge of Linux, know how to use the shell, and most importantly, you host your site on your own VPS. The installation is quite simple and assumes you are running in the root account, if not you may need to add ‘sudo‘ to the commands to get root privileges. I will show you the step-by-step installation of KVM on a CentOS 8 server.
Prerequisites
- A server running one of the following operating systems: CentOS 8.
- It’s recommended that you use a fresh OS install to prevent any potential issues.
- A
non-root sudo useror access to theroot user. We recommend acting as anon-root sudo user, however, as you can harm your system if you’re not careful when acting as the root.
Install KVM on CentOS 8
Step 1. First, let’s start by ensuring your system is up-to-date.
sudo dnf update
Step 2. Installing KVM on CentOS 8.
Now we check if your system supports hardware virtualization. To do so, run the following command:
[root@idroot.us ~]# lscpu | grep Virtualization
Virtualization:      VT-x
Virtualization type: full
In CentOS 8, virtualization components including KVM and QEMU hypervisors are bundled in virt the module. Therefore, it is really simple now to configure a KVM virtualization host in CentOS 8:
sudo dnf install virt-top libguestfs-tools
Enable and start the service as per below:
sudo systemctl enable --now libvirtd
If you are using the desktop GUI of your centos you can install virtual manager. To install follow the command below:
sudo dnf install virt-manager
Step 3. Create Virtual Machines.
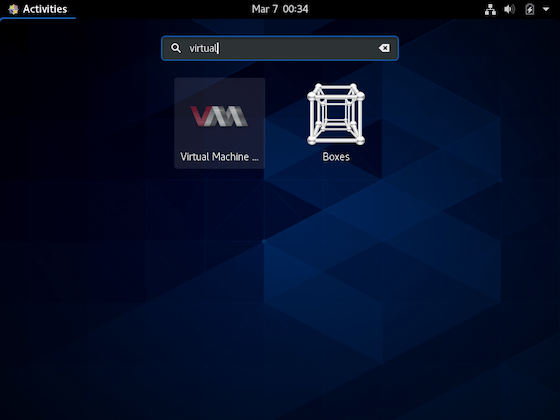
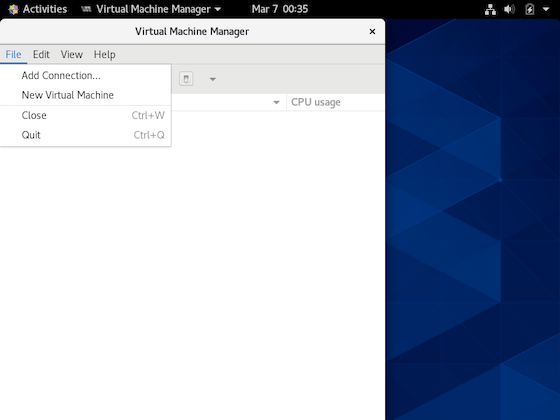
You can open the Virtual Machine Manager by typing the same in Dash Home. Click the icon, it will open the application.


Congratulations! You have successfully installed KVM. Thanks for using this tutorial for installing KVM in CentOS 8 system. For additional help or useful information, we recommend you check the official KVM website.