![]()
In this tutorial, we will show you how to install the LAMP stack on Windows 10 WSL. For those of you who didn’t know, LAMP is an acronym for Linux, Apache2 HTTP Server, MariaDB or MySQL Database Server, and PHP Scripting Language. It is a group of open-source software and building blocks of many of the web applications and the majority of the content management systems (CMS).
This article assumes you have at least basic knowledge of Linux, know how to use the shell, and most importantly, you host your site on your own VPS. The installation is quite simple and assumes you are running in the root account, if not you may need to add ‘sudo‘ to the commands to get root privileges. I will show you the step-by-step installation of the LAMP stack under Windows. You can follow the same instructions for Ubuntu 18.04, 16.04, and any other Debian-based distribution like Linux Mint on the Subsystem for Linux 2 (WSL2).
Requirements
- Windows 10 May 2020 (2004), Windows 10 May 2019 (1903), or Windows 10 November 2019 (1909) or later.
- A computer with Hyper-V Virtualization support.
Install LAMP Stack on Windows 10 WSL
Step 1. Enable the Windows Subsystem for Linux 2.
You must first enable the “Windows Subsystem for Linux” optional feature before installing any Linux distributions on Windows. Now run the following command below to enable it:
Open PowerShell as Administrator and run:
dism.exe /online /enable-feature /featurename:Microsoft-Windows-Subsystem-Linux /all /norestart
Step 2. Enable Virtual Machine Feature.
Before installing WSL 2, you must enable the Virtual Machine Platform optional feature. Your machine will require virtualization capabilities to use this feature.
To enable Virtual Machine Platform on Windows 10 (2004) open PowerShell as Administrator and run:
dism.exe /online /enable-feature /featurename:VirtualMachinePlatform /all /norestart
Step 3. Set WSL 2 as your default version.
We set WSL 2 as default. Now open PowerShell as Administrator and run this command to set WSL 2 as the default version of WSL:
wsl --set-default-version 2
Step 4. Installing Ubuntu Linux Distribution.
With WSL and the necessary virtualization tech all in place, all that is left for you to do is pick and install a Linux distro from the Microsoft Store. Several different distros are available, including OpenSUSE, Pengwin, Fedora Remix, and Alpine Linux.
To install Ubuntu on Windows 10 open the Microsoft Store app, search for “Ubuntu 20.04”, and hit the “Get” button:

Step 5. Installing Apache on Windows WSL.
To install Nginx HTTP on your Ubuntu server, run the commands below:
sudo apt update
sudo apt install nginx
After successfully installed, run the commands below to stop and start Apache services:
sudo service apache2 stop
sudo service apache2 start
sudo service apache2 restart
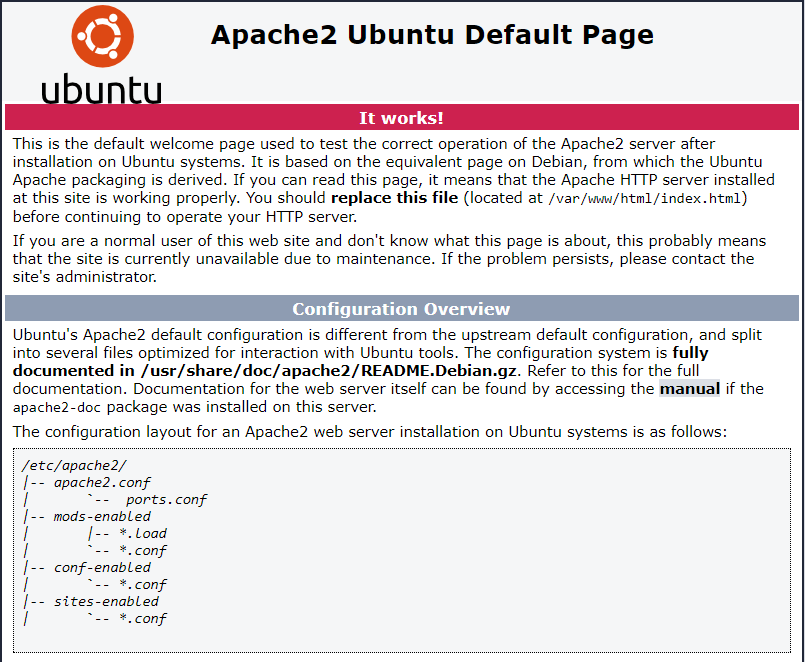
Next, verify that the webserver is running and accessible by accessing your server’s IP address:
http://localhost
Step 6. Installing MariaDB on Windows WSL.
Run the following command to install MariaDB:
sudo apt install mariadb-server mariadb-client
Once is done, run the commands below to stop, start and enable the MariaDB service to always start up with the server boots:
sudo service mysql stop
sudo service mysql start
By default, MariaDB is not hardened. You can secure MariaDB using the mysql_secure_installation script. You should read and below each step carefully which will set a root password, remove anonymous users, disallow remote root login, and remove the test database and access to secure MariaDB.
mysql_secure_installation
Configure it like this:
- Set root password? [Y/n] y
- Remove anonymous users? [Y/n] y
- Disallow root login remotely? [Y/n] y
- Remove test database and access to it? [Y/n] y
- Reload privilege tables now? [Y/n] y
Log in to the database console using the commands below:
mysql -u root -p
Step 7. Installing PHP on Windows 10 WSL.
Now run the commands below to install PHP and related modules:
sudo apt install php libapache2-mod-php php-common php-mysql php-gmp php-curl php-intl php7.4-mbstring php-xmlrpc php-gd php-xml php-cli php-zip
To validate that PHP is installed, run the commands below:
php -v
Step 8. Test PHP.
Create the below file (info.php) and place it in /var/www/html:
sudo nano /var/www/html/phpinfo.php
Add the following line:
<?php
phpinfo();
?>
The information about the installed PHP should be displayed here:
http://127.0.0.1/phpinfo.php
or
http://localhost/phpinfo.php
Congratulations! You have successfully installed LAMP. Thanks for using this tutorial for installing the latest stable version of the LAMP Stack on Windows Subsystem for Linux 2 (WSL 2) on the Ubuntu 20.04 LTS (Focal Fossa) system. For additional help or useful information, we recommend you check the official Ubuntu website.
[su_box title=”VPS Manage Service Offer” style=”bubbles” box_color=”#000000″ radius=”10″]If you don’t have time to do all of this stuff, or if this is not your area of expertise, we offer a service to do “VPS Manage Service Offer”, starting from $10 (Paypal payment). Please contact us to get the best deal![/su_box]