In this tutorial, we will show you how to install and configuration of Lighttpd on your CentOS server. For those of you who didn’t know, Lighttpd is a fast and secure web server that has been optimized for high-performance environments. With a small memory footprint compared to other web servers, effective management of the CPU load, and an advanced feature set (FastCGI, SCGI, Auth, Output-Compression, URL-Rewriting, and many more) Lighttpd is the perfect solution for every server that is suffering load problems.
This article assumes you have at least basic knowledge of Linux, know how to use the shell, and most importantly, you host your site on your own VPS. The installation is quite simple and assumes you are running in the root account, if not you may need to add ‘sudo‘ to the commands to get root privileges. I will show you the step-by-step installation of Lighttpd web server on a CentOS system.
Prerequisites
- A server running one of the following operating systems: CentOS or RHEL-Based.
- It’s recommended that you use a fresh OS install to prevent any potential issues.
- SSH access to the server (or just open Terminal if you’re on a desktop).
- An active internet connection. You’ll need an internet connection to download the necessary packages and dependencies for Lighttpd and sufficient disk space available for the installation.
- A
non-root sudo useror access to theroot user. We recommend acting as anon-root sudo user, however, as you can harm your system if you’re not careful when acting as the root.
Install Lighttpd on CentOS
Step 1. First, add the EPEL yum repository to your system.
yum -y update
rpm -Uvh http://download.fedoraproject.org/pub/epel/6/i386/epel-release-6-8.noarch.rpm
Step 2. Installing Lighttpd on CentOS Linux.
By default, Wireshark is available on Rocky Linux 9 base repository. Now install Lighttpd using yum package manager:
yum install lighttpd lighttpd-fastcgi
Step 3. Start Lighttpd Server
service lighttpd start
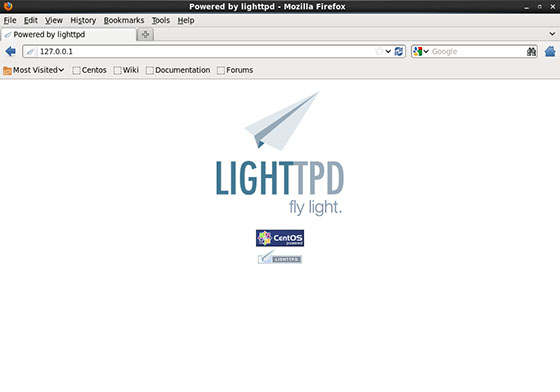
Step 4. Testing Lighttpd Web Server.
To make sure everything is installed correctly we will now test Lighttpd to ensure it is working properly. Open up any web browser and then enter the following into the web address:
http://localhost/ or http://your-IP-address

Note: Lighttpd’s default document root is /srv/www/lighttpd, you can use this or change it by editing the configuration file /etc/lighttpd/lighttpd.conf.
Congratulations! You have successfully installed Lighttpd. Thanks for using this tutorial for installing the Lighttpd web server on the CentOS system. For additional help or useful information, we recommend you to check the official Lighttpd website.