How To Install Lynis Security Audit on AlmaLinux 9

In this tutorial, we will show you how to install Lynis Security Audit on AlmaLinux 9. In an age where the digital realm is at the forefront of our daily lives, securing our Linux systems has never been more critical. Cyber threats are constantly evolving, making it essential for system administrators to maintain the security of their systems. Lynis, an open-source security auditing tool, is the answer to this challenge.
This article assumes you have at least basic knowledge of Linux, know how to use the shell, and most importantly, you host your site on your own VPS. The installation is quite simple and assumes you are running in the root account, if not you may need to add ‘sudo‘ to the commands to get root privileges. I will show you the step-by-step installation of the Lynis Security Audit on AlmaLinux 9. You can follow the same instructions for CentOS and Rocky Linux or RHEL-based.
Prerequisites
- A server running one of the following operating systems: AlmaLinux 9.
- It’s recommended that you use a fresh OS install to prevent any potential issues.
- SSH access to the server (or just open Terminal if you’re on a desktop).
- An active internet connection. You’ll need an internet connection to download the necessary packages and dependencies for Lynis Security Audit.
- Bpytop requires certain permissions that can only be granted to a superuser or a user with
sudoprivileges. Ensure that you have the necessary administrative access.
Install Lynis Security Audit on AlmaLinux 9
Step 1. First, let’s make sure we are working with the latest packages by updating the repositories. This step is crucial to ensure we install the most up-to-date version of Lynis and its essential dependencies. Open your terminal and execute the following command:
sudo dnf clean all
sudo dnf update
Step 2. Installing Lynis Security Audit on AlmaLinux 9.
Now, we are ready to install Lynis using the DNF package manager. To do this, execute:
sudo dnf install lynis
The system will take care of downloading and installing Lynis, along with the necessary dependencies. Once this process is complete, Lynis is at your disposal for security auditing.
Step 3. Running Lynis Security Audit.
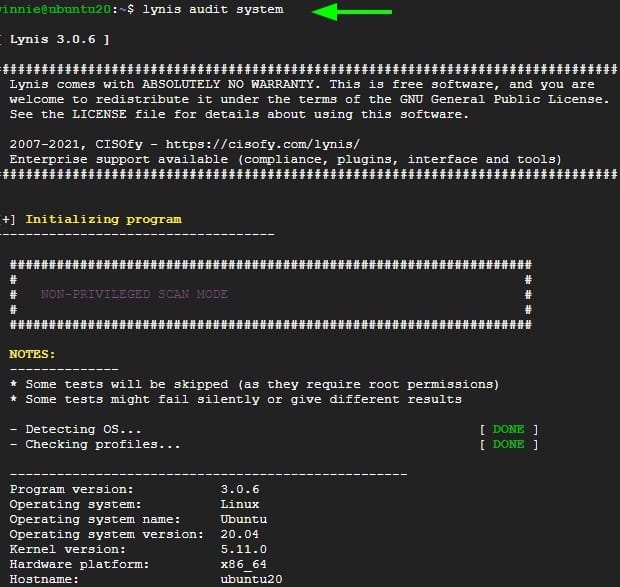
Lynis has been designed with user-friendliness in mind, making it accessible even for beginners. To kick off your journey towards a more secure system, you can perform a basic security audit with a simple command:
sudo lynis audit system
As soon as you hit “Enter,” Lynis will begin its comprehensive scan, analyzing your system for potential security vulnerabilities. Subsequently, it will generate a detailed report for your review.

Step 4. Scheduling Automatic Scans.
To maintain the security of your system consistently, it’s a good practice to schedule regular security scans with Lynis. Automation is the key to ensuring that your system remains protected without the need for manual intervention. Let’s set up automatic scans using cron jobs:
sudo crontab -e
Now, you can add a new cron job. The following command will run Lynis every Sunday at 2:00 AM:
0 2 * * 0 /usr/bin/lynis audit system
With this cron job in place, Lynis will initiate its security audit at the scheduled time. You can customize the schedule to suit your preferences and security policies.
Congratulations! You have successfully installed Lynis. Thanks for using this tutorial for installing the Lynis security audit tool on your AlmaLinux 9 system. For additional help or useful information, we recommend you check the official Lynis website.