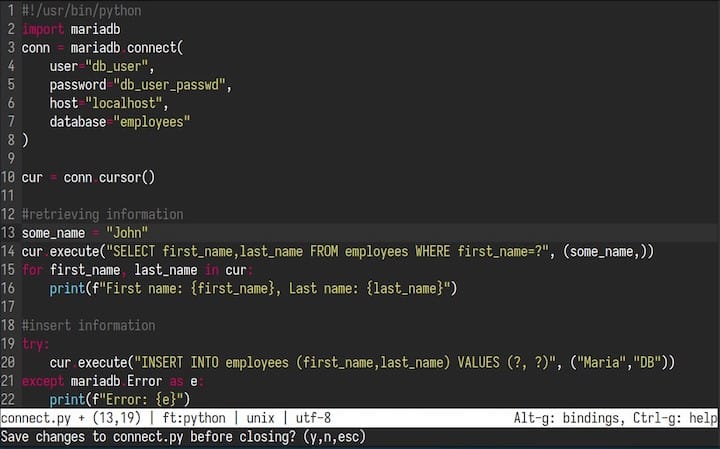
How To Install Micro Text Editor on Ubuntu 24.04 LTS

In this tutorial, we will show you how to install Micro Text Editor on Ubuntu 24.04 LTS. Micro is a modern, intuitive, and feature-rich text editor that has gained popularity among the Linux community. With its clean interface, extensive customization options, and advanced features, Micro stands out as a compelling alternative to traditional text editors like Nano and Vim.
This article assumes you have at least basic knowledge of Linux, know how to use the shell, and most importantly, you host your site on your own VPS. The installation is quite simple and assumes you are running in the root account, if not you may need to add ‘sudo‘ to the commands to get root privileges. I will show you the step-by-step installation of the Micro Text Editor on Ubuntu 24.04 (Noble Numbat). You can follow the same instructions for Ubuntu 22.04 and any other Debian-based distribution like Linux Mint, Elementary OS, Pop!_OS, and more as well.
Prerequisites
- A server running one of the following operating systems: Ubuntu and any other Debian-based distribution like Linux Mint.
- It’s recommended that you use a fresh OS install to prevent any potential issues.
- Basic familiarity with the command line interface.
- SSH access to the server (or just open Terminal if you’re on a desktop).
- An active internet connection. You’ll need an internet connection to download the necessary packages and dependencies.
- An Ubuntu 24.04 system with root access or a user with sudo privileges.
Install Micro Text Editor on Ubuntu 24.04
Step 1. Updating the Package Repository.
To begin, it’s always a good practice to update your system packages to the latest versions. This ensures that you have access to the most recent bug fixes, security patches, and compatibility improvements. Open your terminal and run the following commands:
sudo apt update
sudo apt upgrade
The sudo apt update command retrieves the latest package information from the Ubuntu repositories, while sudo apt upgrade installs the available updates. Depending on the number of updates available, this process may take a few minutes to complete.
Step 2. Installing Micro Text Editor.
Ubuntu 24.04 LTS offers multiple methods to install Micro Text Editor, catering to different user preferences and system configurations. Let’s explore each method in detail.
- Method 1: Installation via APT
The easiest and most straightforward way to install Micro is by using the APT package manager. APT is the default package management system in Ubuntu, and it simplifies the installation process by handling dependencies automatically.
First, check if Micro is available in the default Ubuntu repository by running the following command:
apt search micro
If Micro is listed in the search results, you can proceed with the installation using the APT package manager. Run the following command:
sudo apt install micro
APT will handle the download and installation of Micro and its dependencies. Once the installation is complete, you can verify the installed version by running:
micro --version
This command will display the version number of Micro installed on your system.
- Method 2: Installation via Snap
Snap is a universal package management system developed by Canonical, the company behind Ubuntu. It allows you to install applications in a sandboxed environment, ensuring better security and isolation from the core system.
To install Micro using Snap, you first need to ensure that the Snapd package manager is installed on your system. Run the following command:
sudo apt install snapd
Once Snapd is installed, you can proceed with installing Micro by executing:
sudo snap install micro --classic
After the installation is complete, you can launch Micro from the terminal or find it in your application menu.
- Method 3: Installation via Script
If you prefer a more manual approach or want to install the latest development version of Micro, you can use the official installation script provided by the Micro development team.
To download and run the installation script, use the following command:
curl https://getmic.ro | bash
This command downloads the installation script and executes it, automatically detecting your system architecture and installing the appropriate Micro binary.
Once the script finishes executing, you need to move the Micro binary to a directory in your system’s PATH to make it accessible from anywhere in the terminal. Run the following command:
sudo mv micro /usr/local/bin
You can now launch Micro by simply typing micro in the terminal.

Step 3. Configure Micro Text Editor.
Micro Text Editor offers a wide range of configuration options to customize your editing experience. The configuration file for Micro is located at ~/.config/micro/settings.json.
To open the configuration file, run the following command:
micro ~/.config/micro/settings.json
This will open the settings.json file in Micro, allowing you to modify various settings such as color schemes, keybindings, and plugins.
For example, to change the color scheme, locate the colorscheme option in the configuration file and set it to your desired theme. Micro comes with several built-in color schemes, such as default, solarized, and monokai.
{
"colorscheme": "solarized"
}
Micro also supports a wide range of plugins that extend its functionality. To enable a plugin, add its name to the plugins array in the configuration file. For instance, to enable the snippets plugin, add the following line:
{
"plugins": ["snippets"]
}
Remember to save the configuration file after making any changes. Micro will automatically reload the settings when you restart the editor.
Step 4. Using Micro Text Editor.
Now that you have successfully installed and configured Micro, let’s explore some basic usage commands and features.
To open a file in Micro, simply provide the file name as an argument when launching the editor from the terminal:
micro filename.txt
If the specified file doesn’t exist, Micro will create a new file with that name.
Congratulations! You have successfully installed Micro Editor. Thanks for using this tutorial for installing the Micro Text Editor on the Ubuntu 24.04 LTS system. For additional help or useful information, we recommend you check the official Micro Editor website.