How To Install MyPaint on AlmaLinux 9

In this tutorial, we will show you how to install MyPaint on AlmaLinux 9. For those of you who didn’t know, MyPaint is a versatile and free digital painting application that has gained immense popularity among artists and graphic designers for its user-friendly interface and an extensive range of brushes. If you’re an AlmaLinux 9 user and wish to install MyPaint from its GitHub repository via the Command Line Interface (CLI), you’re in the right place.
This article assumes you have at least basic knowledge of Linux, know how to use the shell, and most importantly, you host your site on your own VPS. The installation is quite simple and assumes you are running in the root account, if not you may need to add ‘sudo‘ to the commands to get root privileges. I will show you the step-by-step installation of the MyPaint digital painting application on AlmaLinux 9. You can follow the same instructions for CentOS and Rocky Linux or RHEL-based.
Prerequisites
- A server running one of the following operating systems: AlmaLinux 9.
- It’s recommended that you use a fresh OS install to prevent any potential issues.
- SSH access to the server (or just open Terminal if you’re on a desktop).
- An active internet connection. You’ll need an internet connection to download the necessary packages and dependencies for MyPaint.
- A
non-root sudo useror access to theroot user. We recommend acting as anon-root sudo user, however, as you can harm your system if you’re not careful when acting as the root.
Install MyPaint on AlmaLinux 9
Step 1. Before you begin, it’s essential to ensure your system is up-to-date to avoid potential compatibility issues. Open your terminal and run the following commands:
sudo dnf clean all
sudo dnf update
This command will fetch and install the latest updates for your system, keeping it in perfect sync.
Step 2. Installing Essential Development Tools.
To prepare your system for building MyPaint, you need some essential development tools. Install them with the following command:
sudo dnf install gcc-c++ cmake make autoconf automake libtool pkgconfig git
Next, you’ll want to ensure that you have all the necessary libraries and dependencies in place. Run the following command to install them:
sudo dnf install python3 python3-devel libjpeg-turbo-devel libpng-devel python3-numpy gettext-devel lcms2-devel libtiff-devel cairo-devel poppler-glib-devel libmypaint-devel
Step 3. Installing MyPaint on AlmaLinux 9.
It’s time to clone the MyPaint GitHub repository to your local machine. This step allows you to access the source code and build MyPaint. Use the following command to clone the repository:
git clone https://github.com/mypaint/mypaint.git
Navigate to the MyPaint directory using the ‘cd’ command:
cd mypaint
With the MyPaint source code at your disposal, configure the build with the following command:
./waf configure
Compile MyPaint by running the following command:
./waf
After successful compilation, you can install MyPaint using:
sudo ./waf install
This step completes the installation, making MyPaint accessible from your AlmaLinux 9 system.
Step 4. Launch MyPaint on AlmaLinux.
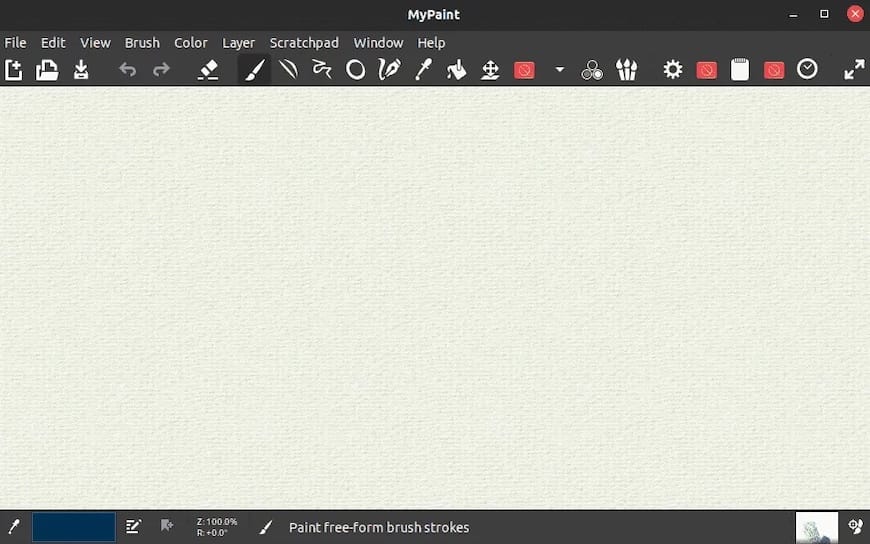
Once the installation is complete, you can launch MyPaint by searching for it in the applications menu or by running the following command in the terminal:
mypaint

Congratulations! You have successfully installed MyPaint. Thanks for using this tutorial for installing the MyPaint digital painting application on your AlmaLinux 9 system. For additional help or useful information, we recommend you check the official MyPaint website.