How To Install MySQL Workbench on Manjaro

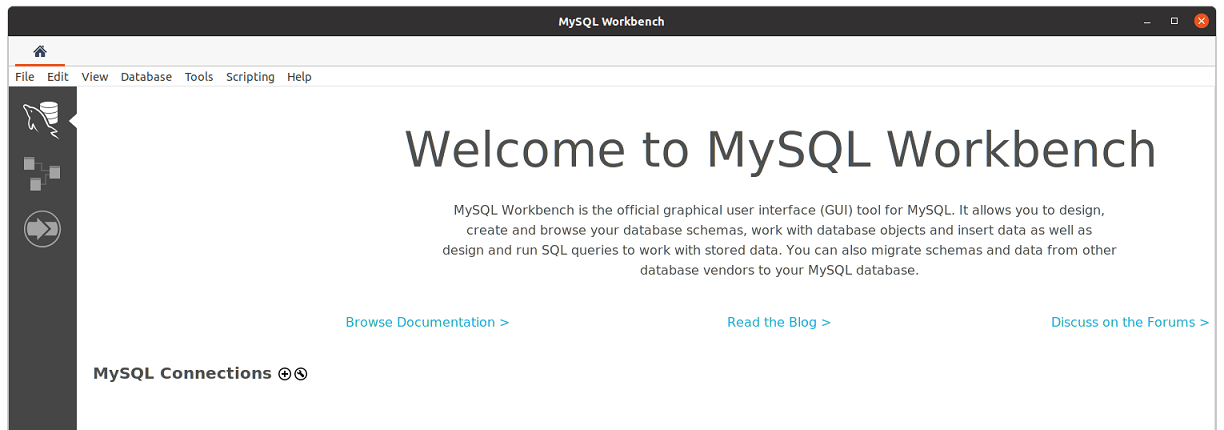
In this tutorial, we will show you how to install MySQL Workbench on Manjaro. MySQL Workbench is a unified visual tool for database architects, developers, and DBAs. It provides data modeling, SQL development, and comprehensive administration tools for server configuration, user administration, and much more. Manjaro Linux, known for its user-friendliness and accessibility, makes an excellent platform for running MySQL Workbench.
This article assumes you have at least basic knowledge of Linux, know how to use the shell, and most importantly, you host your site on your own VPS. The installation is quite simple and assumes you are running in the root account, if not you may need to add ‘sudo‘ to the commands to get root privileges. I will show you the step-by-step installation of the MySQL Workbench on a Manjaro Linux.
Prerequisites
- A server or desktop running one of the following operating systems: Manjaro, and other Arch-based distributions.
- It’s recommended that you use a fresh OS install to prevent any potential issues.
- SSH access to the server (or just open Terminal if you’re on a desktop).
- A stable internet connection is crucial for downloading and installing packages. Verify your connection before proceeding.
- Access to a Manjaro Linux system with a non-root sudo user or root user.
Install MySQL Workbench on Manjaro
Step 1. Before installing any new software, it’s a good practice to update your package database. This ensures that you’re installing the latest version of the software and that all dependencies are up to date. To update the package database, run the following command in the terminal:
sudo pacman -Syu
Step 2. Installing MySQL Workbench on Manjaro.
MySQL Workbench can be installed on Manjaro Linux through the Pacman package manager or an AUR helper like yay. Below are the detailed steps for both methods:
- Using Pacman
Execute the following command to install MySQL Workbench from the official Manjaro repositories:
sudo pacman -S mysql-workbench
- Using yay (AUR Helper)
If you haven’t installed yay yet, you can do so by running:
sudo pacman -S yay
Use yay to install MySQL Workbench from the AUR for potentially more up-to-date versions:
yay -S mysql-workbench
Step 3. Accessing MySQL Workbench on Manjaro.
Once MySQL Workbench is installed, you can launch it from the terminal using the command mysql-workbench or locate it in your application menu to start managing your databases.

Step 4. Troubleshooting Common Issues
Even with a smooth installation process, you might encounter some issues. Here are common troubleshooting tips:
- Dependency Issues: If you face dependency errors, ensure your system packages are fully updated with
sudo pacman -Syu.yayshould handle dependencies automatically for AUR installations. - Launching Issues: Should MySQL Workbench fail to launch, inspect the terminal output for any errors. Issues often stem from missing libraries or permission problems.
- Connection Issues: Verify that the MySQL server is running and accessible. Configuration of MySQL server settings or firewall adjustments may be necessary to establish connections.
- Authentication Method Errors: With MySQL 8’s new authentication method, compatibility issues may arise. Changing the user’s authentication method to
mysql_native_passwordvia the MySQL command line can resolve these issues.
Congratulations! You have successfully installed MySQL Workbench. Thanks for using this tutorial to install the latest version of the MySQL Workbench on the Manjaro system. For additional help or useful information, we recommend you check the official MySQL website.